
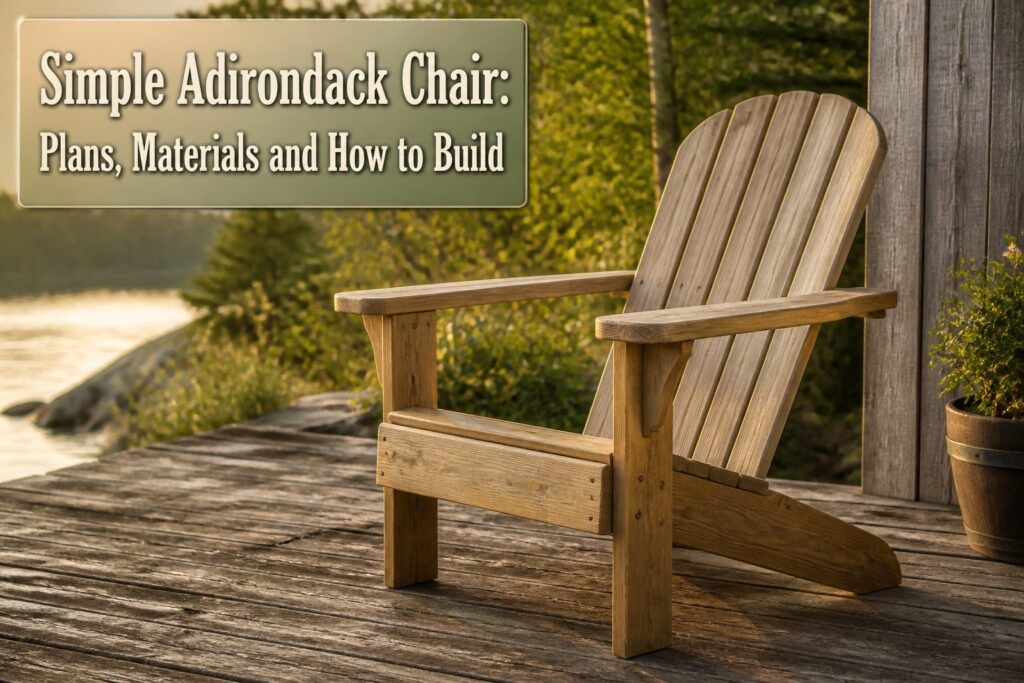
A simple Adirondack chair is a low-slung outdoor seat built from straight cuts of 2-by lumber, with a steeply angled back and wide arms that let you settle in for hours.
"Simple" means different things depending on who sits in it: the classic recline that defines the design also traps older knees and shorter legs, so the same plans do not work for every patio.
Most builds start with construction-grade pine and a $10 PDF that hands you the cut list, not free templates that leave you doing math in the lumber aisle.
Classic Adirondack Chair Plans
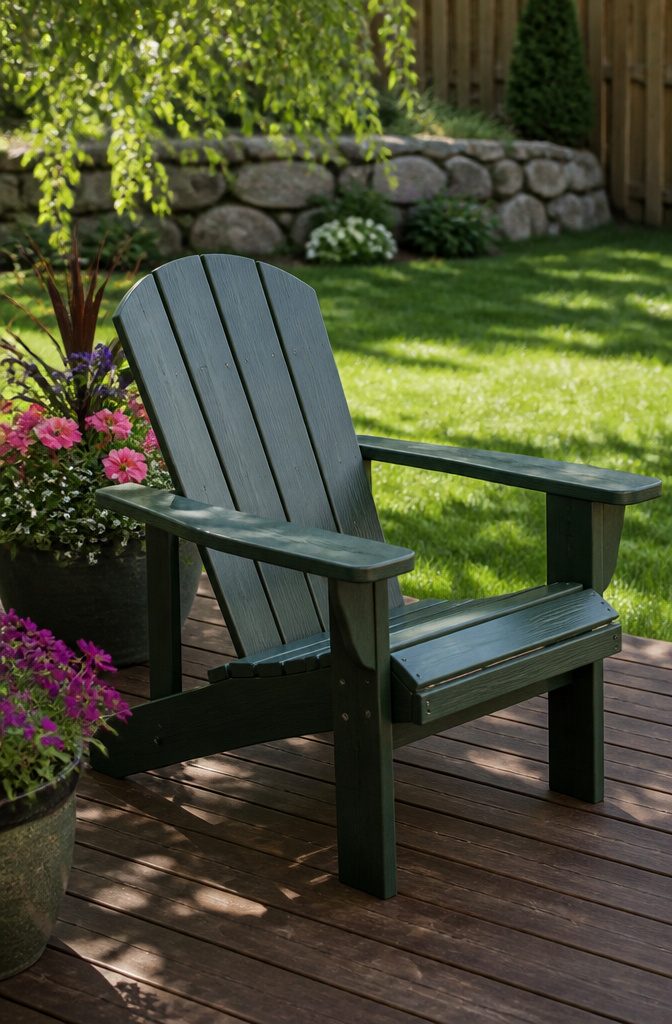
The classic Adirondack chair starts with a wide, stable seat and a tall, slanted back — the combination that defines the design and keeps it comfortable for hours.
Wide arms run level with the seat, giving you a place to set a drink or a book without reaching for a side table.
The seat itself slants back at an angle that lets you recline without sliding forward, and the whole frame sits low to the ground with legs that splay outward for balance.
Most plans build this from construction-grade 2-by lumber and 1-inch thick pine, materials you can pull from any home center without ordering ahead.
Cedar holds up longer outdoors if you want to spend a little more, but the standard starting point is basic pine.
A good set of plans will hand you a full cut list, parts illustrations, and step-by-step photos that keep the assembly uniform. Add whatever finish you like, and it is ready for the porch.
Super-Basic Adirondack Chair Plans
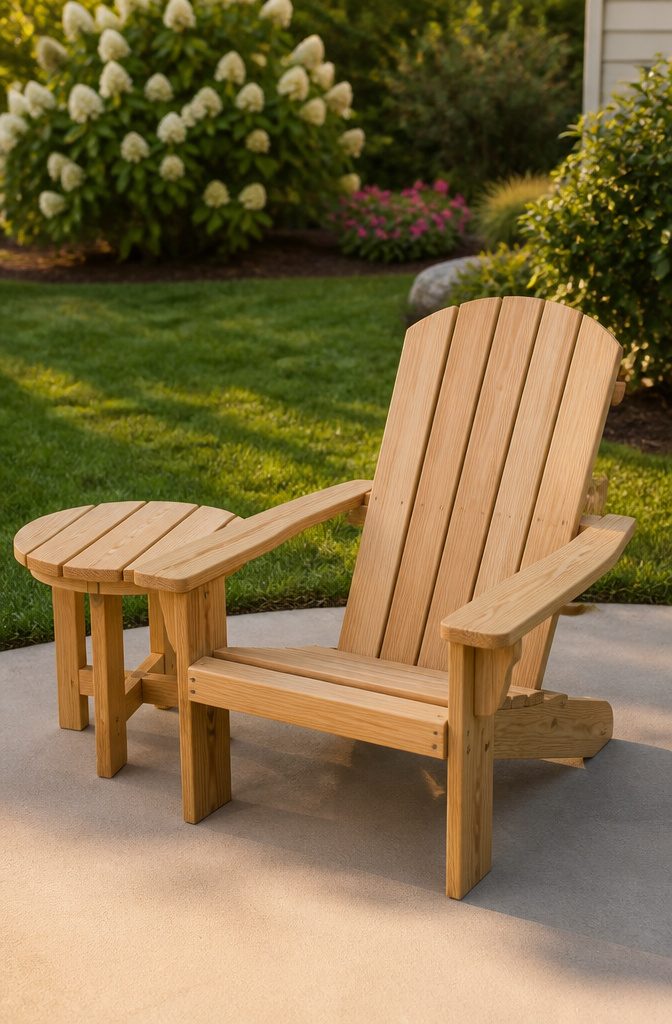
A classic Adirondack chair built from lumber you can grab at any home store is where most weekend builders should start.
The $10.00 downloadable PDF gets you a materials list, cut list, and step-by-step assembly instructions written for someone already comfortable with basic power tools.
No specialty lumber, no hard-to-find hardware. Just straightforward guidance that takes you from first cut to a finished chair you can finish however you like and set on the porch.
That price point matters because it keeps the commitment low while the instructions stay complete. I would pick this over free plans that skip the cut list and leave you standing in the lumber aisle doing math on your phone.
This plan gives up complexity for exactly what the name says: simple. You get the traditional look without design flourishes, which is the right call when you are building your first one or need a matched set by Sunday evening.
Easy Exit Adirondack Chair Plans
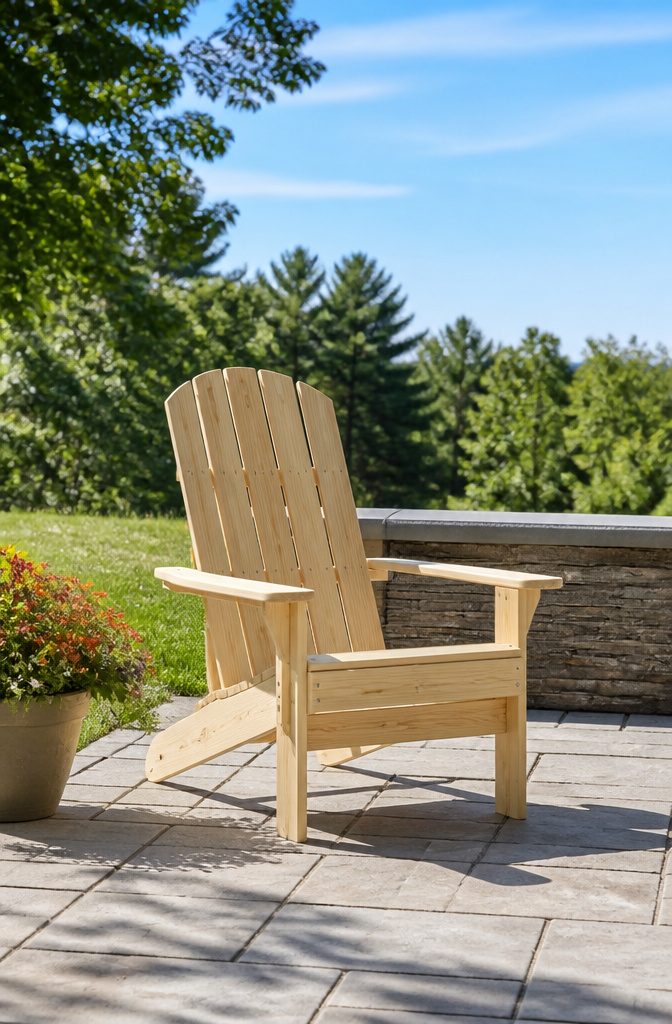
The classic Adirondack sits low and tilts back, which is fine until your knees remind you that standing up from a deep recline is a project of its own.
An easier-exit version shortens the seat and brings the back more upright, keeping the broad arms and slatted look but losing the bucketed-in feel.
The change is only a few inches in each direction, yet it flips who can actually use the chair.
Who this serves is straightforward: older builders finishing a set for their own patio, anyone with hip or knee limits, or a host who does not want guests doing a two-handed push-off just to fetch another drink.
The chair still reads as Adirondack from across the yard. It simply lets the person sitting in it rejoin the party without assistance.
Plans for this design, sometimes tagged "Grandpa" style, pair the adjusted geometry with standard 1x lumber and familiar joinery.
The build does not demand new skills; it demands noticing during layout that the seat support and back angle differ from the template you may have built before.
Measure against the drawing, not memory, and the rest of the weekend proceeds as usual.
Low Profile Adirondack Chair Plans
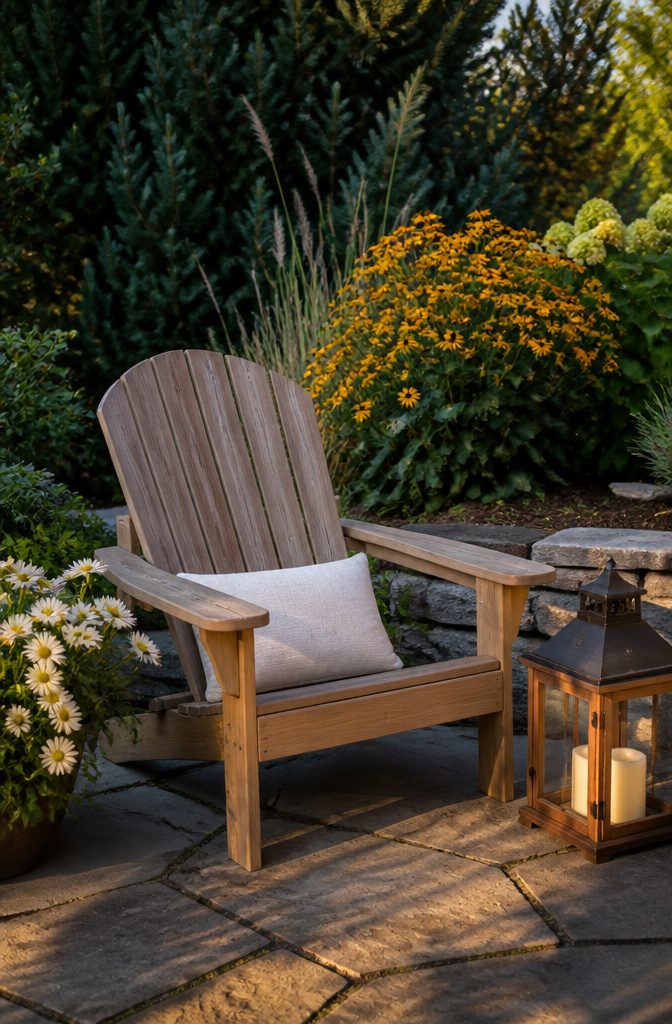
A curved top rail on a low-profile Adirondack chair does more than look relaxed. It lets the builder use a shorter back frame, which means less lumber in the vertical supports and a slightly lighter bill at checkout.
The trade is real: the seat sits lower to the ground and the back reclines farther than a classic build, so getting up takes more effort from the legs.
Some people want exactly that. The whole design is built for settling in, not hopping up.
The "Grandpa" chair plans from the same shop flip this logic.
They keep the low profile but shorten the seat depth and bring the back more upright, specifically so the sitter can push off the wide arms and stand without the usual struggle.
I would call that a different species of simple Adirondack chair, not a variation. The pure low-profile build commits to the lounge; the easy-exit version commits to accessibility.
Choose based on who will use it most afternoons, because the geometry decides the experience and there is no hardware fix for a seat that is too reclined to rise from gracefully.
Tall Adirondack Chair Plans
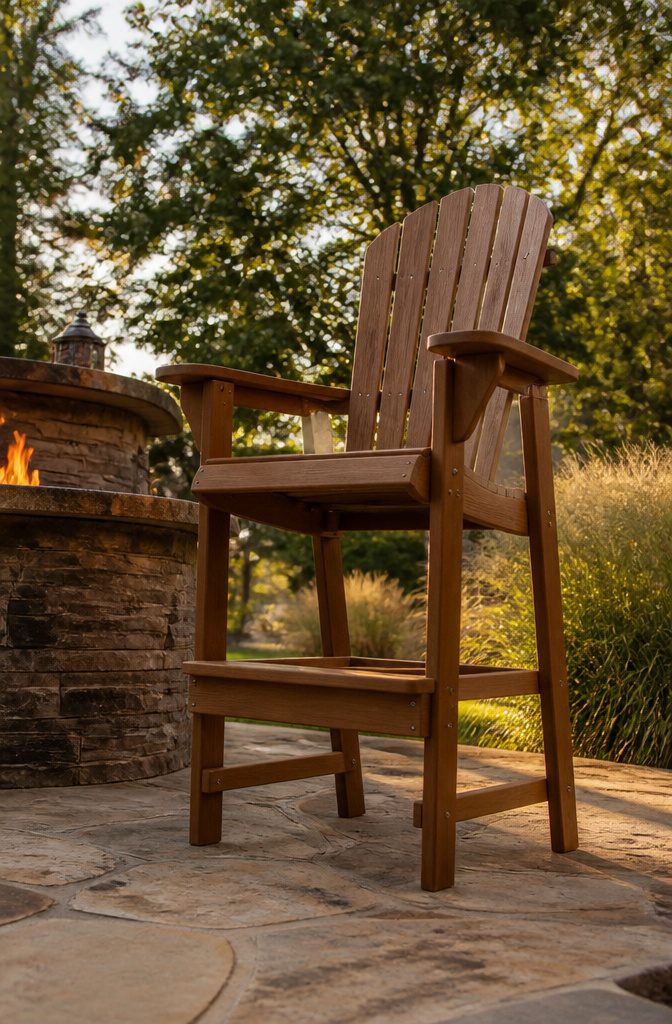
A tall Adirondack chair sits at bar height, roughly 28 to 30 inches to the seat, and the geometry has to change completely to get there.
The legs lengthen, obviously, but the arms also need to rise so you can slide the chair up to a counter without the armrests catching the edge.
The back angle stays relaxed, yet the whole frame feels different with your feet dangling rather than planted flat on a deck.
That dangling matters. Standard Adirondacks let you settle back with weight on your heels; a raised seat shifts load to the underside of your thighs and the seat bones.
I would not build one without a foot rail at the bottom of the front legs, around 7 to 8 inches up, to take pressure off the back of the knees during long sits.
The social use case is specific and worth it. Around an outdoor kitchen island or a fire-pit bar ledge, these chairs keep everyone at eye level with someone standing.
They read as casual Adirondacks from across the yard, but functionally they belong to a different category of furniture, closer to a stool with a back.
Plans that include full-size patterns help enormously here, since the proportional shift from standard height is easy to eyeball wrong and hard to correct once the legs are cut.
Rocking Adirondack Chair Plans
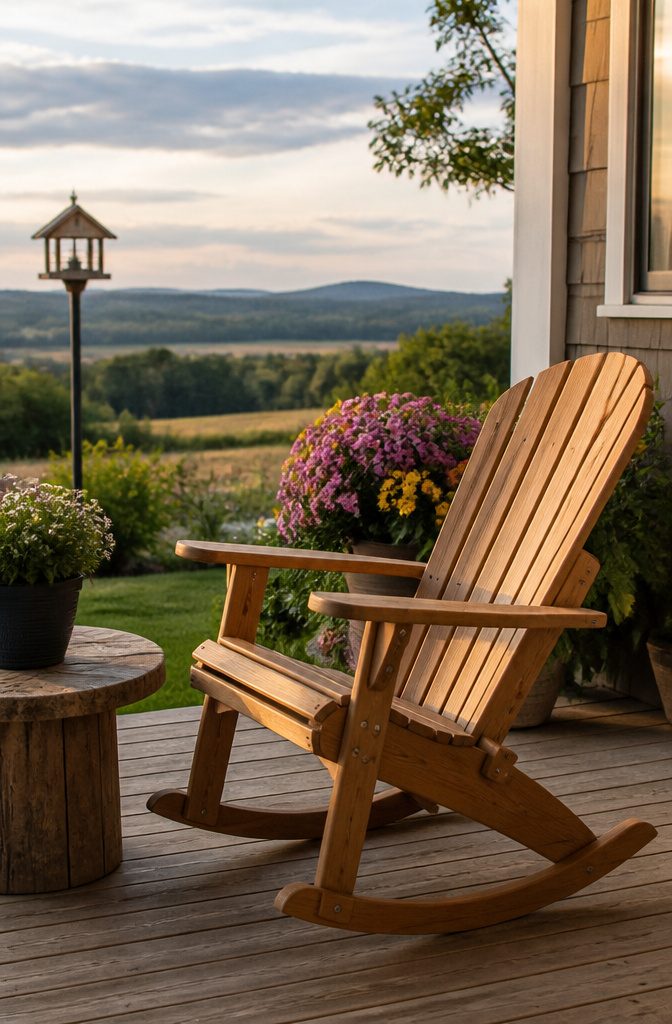
A rocking Adirondack chair needs a wider base and more upright seat than the classic recline, because the rocker rails lift the whole frame and change how your weight settles.
The traditional low-slung back that works on fixed legs throws you forward once rockers arc underneath; the seat back stays closer to vertical so your center of mass stays over the rails.
The rocker radius itself has to play against that recline. Too flat a curve and the chair skids instead of rolls; too deep and the upright seat pitches you backward.
Most workable plans settle on a moderate radius that lets both feet stay flat on the ground through the whole motion, which is exactly what the wider frame is there to support.
The extra width in the seat and arm spread keeps the rails from tipping when you shift or stand.
I would not try to convert a standard Adirondack plan by simply bolting rockers underneath.
The geometry fights you. Start with plans drawn for rockers from the first cut, or the angles never quite settle right.
Ultra-Modern Adirondack Chair Plans
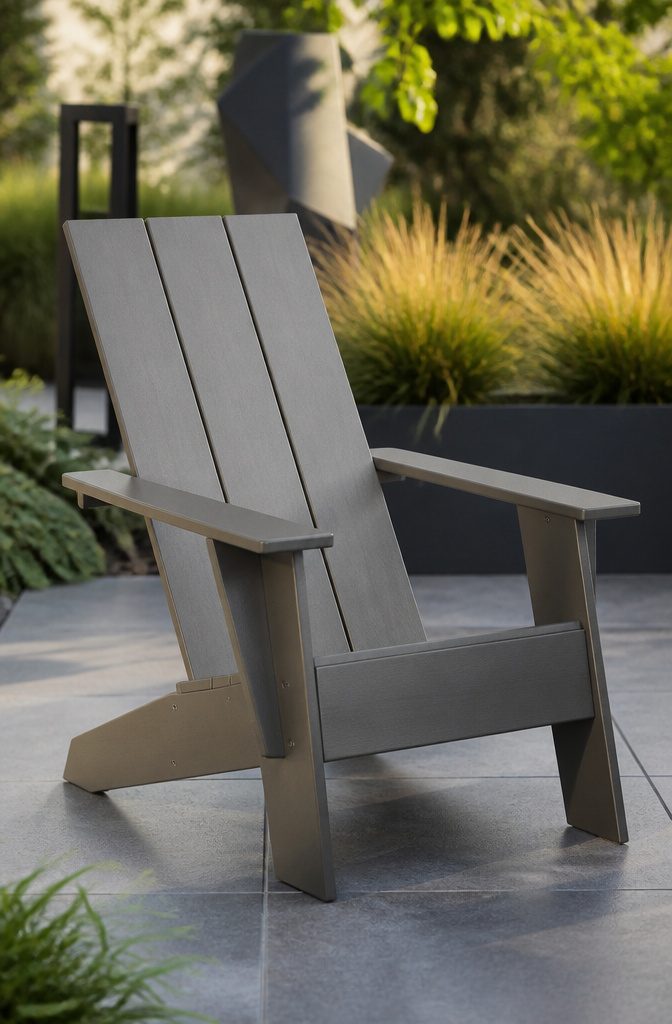
Wider boards strip the Adirondack chair down to its essentials. Where classic plans call for a dozen narrow slats across the back, a modern build uses just two wide boards for the same surface.
That change alone eliminates most of the cutting, since you are not ripping stock into three-inch strips or rounding over dozens of edges.
The visual result is a taller, more planar back with squared edges and uninterrupted grain lines. Proportions shift: the chair reads as a single mass rather than a lattice, which suits patios with clean-lined furniture already in place.
Material costs run higher on paper, because wide premium boards cost more per board foot than common narrow stock.
In practice the difference narrows, since waste drops sharply and you are not buying extra length to account for all those individual cuts.
I would not try this with construction-grade pine. Wide boards move more as they dry, and a back that warps throws off every joint below it.
Spend the slight premium on straight-grained cedar or a stable hardwood, or accept that you will need to let the stock acclimate longer before assembly.
The plans that pull this off well, rated beginner to intermediate, run about 24 to 40 pages and include 3D images plus full cut lists.
That depth matters because the forgiving gaps of slat construction are gone; your angles have to be right the first time.
Classic Plans With Curves
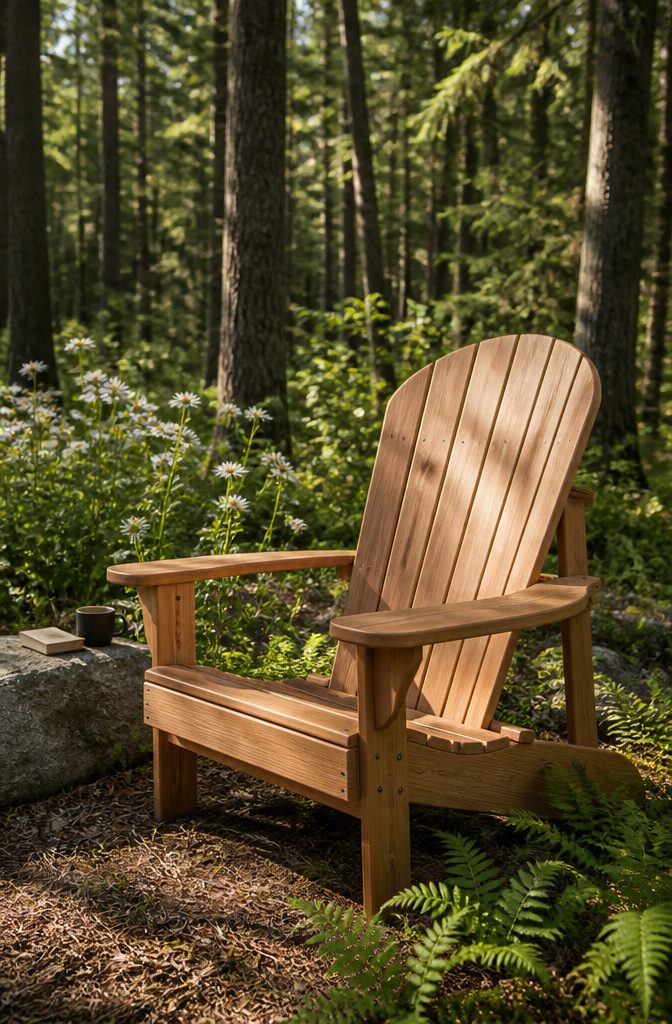
Full-size patterns for curved Adirondack chairs change the build more than you’d expect.
The templates add one extra step before any saw touches wood: you trace, rough-cut near the line, then fair the edge to the pattern with a jigsaw or rasp.
Straight-cut plans skip this entirely, and for a first build that speed is real.
The curves land in two places worth the trouble. A slightly bowed seat front removes the hard corner that digs into thighs after an hour.
A curved backrest, rather than a flat plank, actually catches the shoulder blades and lets the sitter relax rather than perch. Visually, that radius softens the whole silhouette from "lawn furniture" to something that looks designed.
Templating costs you an evening and a few feet of MDF or hardboard.
What you get back is identical parts. Without the pattern, five slats end up with five slightly different arcs, and the asymmetry shows from ten feet away.
I make the template from the plan’s printed paper, glue it to quarter-inch ply, then bandsaw and sand to a smooth edge.
For one chair this feels slow. For a matching pair, it’s faster than measuring each curve by eye.
What you give up is scrap. Curved cuts waste more stock, and the wider boards for templating add to the lumber list.
A straight-seat plan uses common 1x material efficiently; curved versions often need 5/4 or 6/4 stock to get the depth without a glue-up. For renters or anyone building on a apartment balcony, the dust and space matter too.
I still reach for the curved plans when the chair will sit on a porch I actually look at, and go straight-cut when it’s hidden behind a garage or destined for a campsite.
Modern Table and Chairs Plans
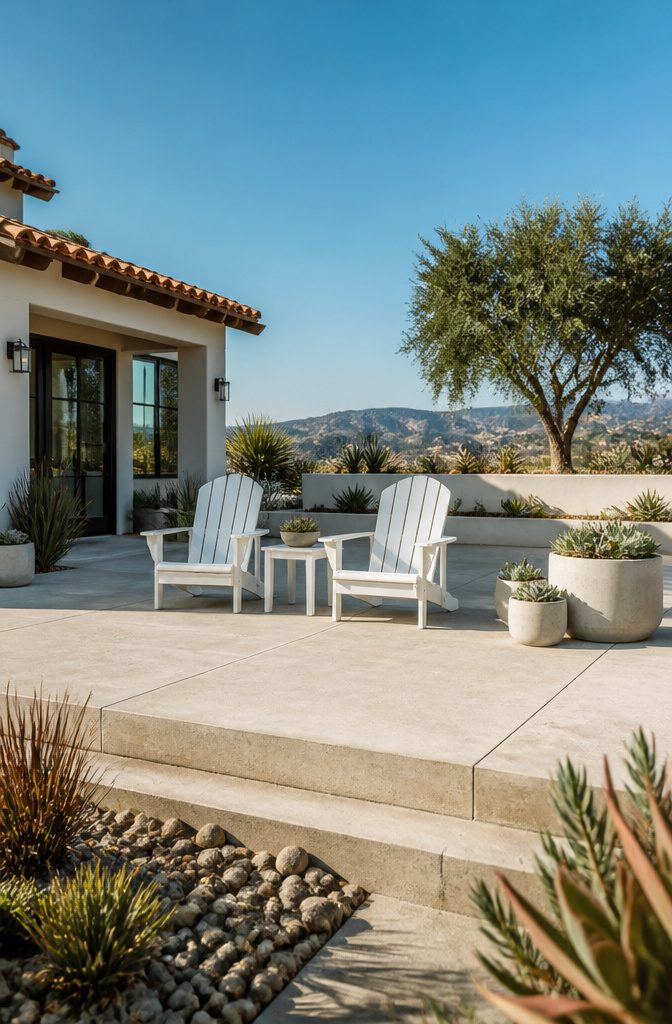
Some simple Adirondack chair plans include a matching end table built to the same stock thickness and from the same lumber list.
The table height typically sits flush with or just below the chair arm, which matters more than it sounds.
A drink or book stays within easy reach, and the visual line across both pieces reads as intentional rather than cobbled together.
Building both in the same weekend means one trip to the lumber yard and one can of finish covering every surface that will live outside together.
Wood from the same batch takes stain more consistently than boards bought months apart, and you avoid the subtle mismatch that happens when weather and sun have already shifted the color of the first piece you built.
The table adds maybe two hours to the build once the saw is already set up for the chair’s angles.
For a few extra board feet, you get a set that functions as furniture rather than a chair with an afterthought beside it.
Adirondack Loveseat Bench Plans
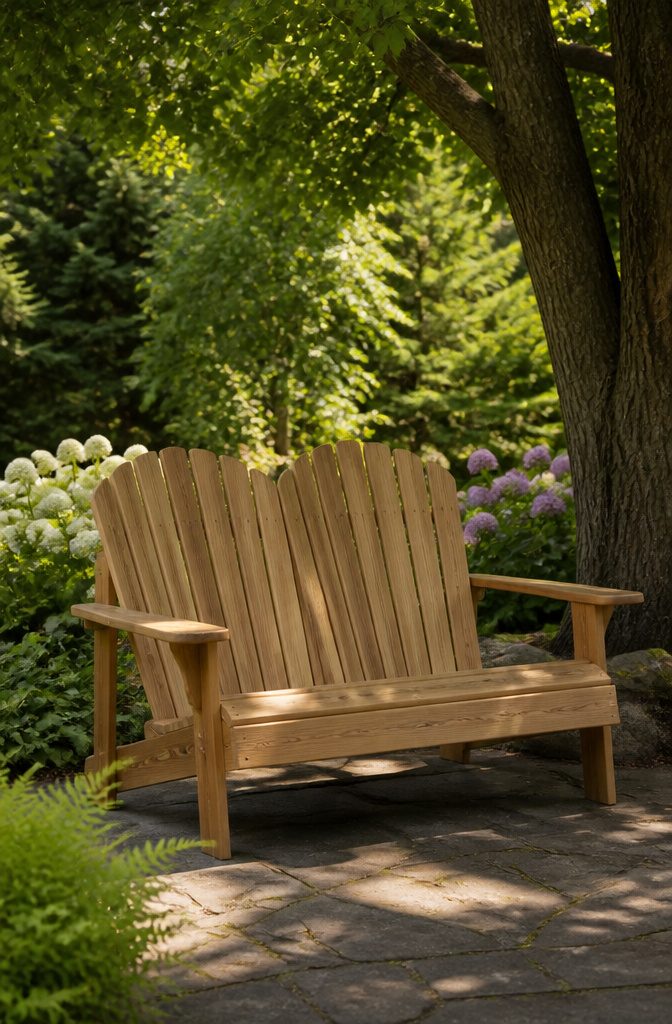
A loveseat stretches the classic Adirondack into something built for two, and that width changes almost every joint in the frame.
The seat boards run longer, the back slats widen, and the center of the span picks up a new support leg or a doubled-up stretcher to keep the frame from bowing when two adults settle in at once.
I would not skip that center support; the load on each side joint doubles, and even kiln-dried cedar will creep over a season or two without it.
The material jump is roughly half again as much lumber, not quite double, because the back rises on the same angle and the arms stay the same depth.
For the extra cost, you get a bench that actually draws people outside. Two chairs set at an angle work fine for conversation, but a loveseat forces proximity in a way that turns a solo perch into a shared ritual.
That social use justifies the added work and wood for me, though I would build it only if I had the patio width; at under five feet of span, two separate chairs tuck against a railing where a bench cannot.
Kid-Size Adirondack Chair Plans
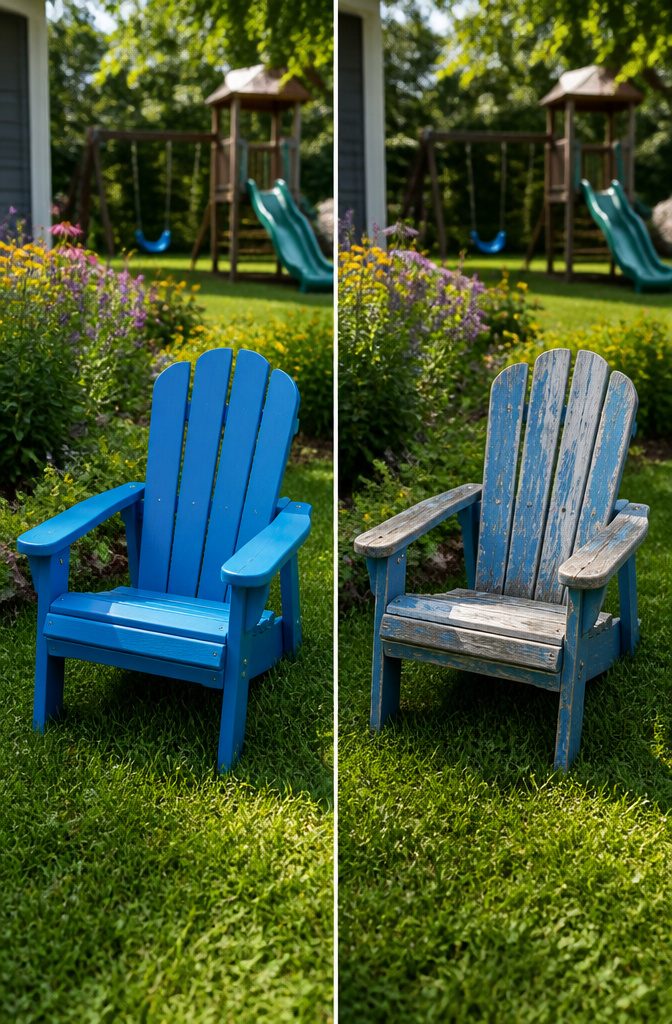
A child-size Adirondack chair drops to 25 inches tall, 25 inches deep, and 24 inches wide, which sounds like a straight scaling job but is not.
The back slats and seat deck shrink proportionally, but the rake of the back and the width of the arms need their own adjustment.
A lighter user will not weigh the chair down, so the base has to get wider relative to height or the thing tips when a two-year-old climbs in.
I would keep the seat closer to the ground than the math suggests, maybe an inch lower than a strict ratio would give, because stability matters more than authenticity for this age range.
The 2-to-10-year span is a wide one. A chair that fits a toddler will look oversized to a fourth-grader, but the deep seat that defines an Adirondack actually helps here.
The smaller child sits back and the larger one uses the extra depth as room to grow. I would not build the arms as thick as on an adult chair.
Two-inch stock looks right at full scale; at kid scale it crowds the seat and adds weight the child does not need to lift when they drag it across the patio.
Build time runs about two hours, which makes this a reasonable first project to hand to an interested kid with supervision.
The cuts are simpler than adult plans demand, and the shorter pieces are easier to clamp and manage on a small workbench.
Materials and Lumber
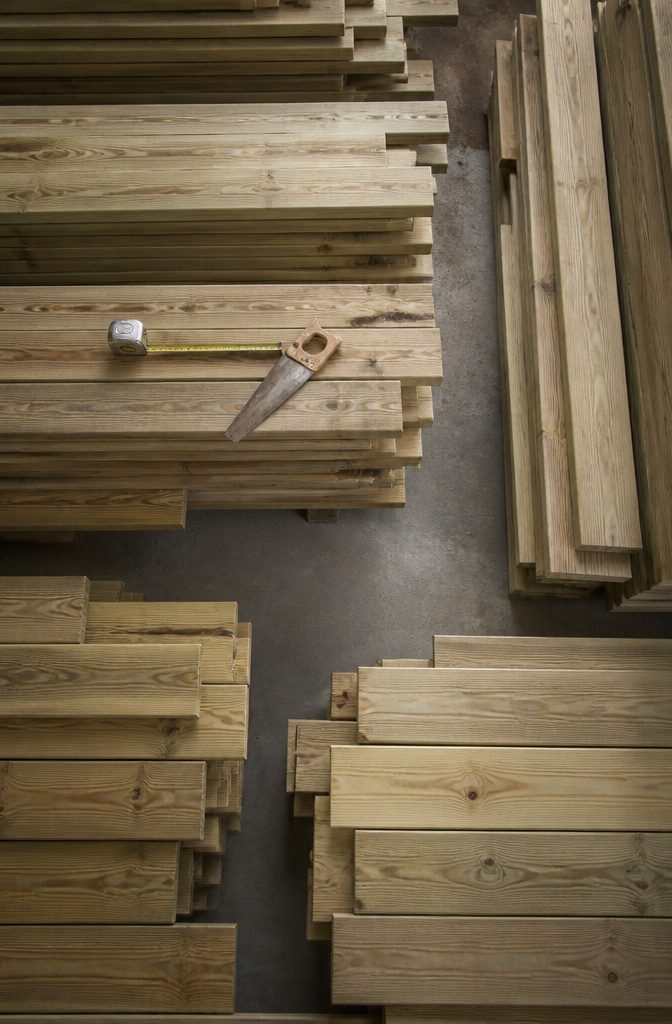
Construction-grade 2-by lumber and nominal 1-inch pine, actually three-quarters of an inch thick, are what every plan starts with and what the home improvement store stocks by the pallet.
That is the cheap path. The boards cost less, but construction-grade softwood drinks in moisture if it sits unpainted, and staining it only works for chairs that live under cover.
Paint is the practical finish here: an oil-base primer first, then a hard high-gloss oil enamel over that.
Straightness matters more than grade. A board with twist or bow throws off every joint no matter how careful the cut.
I run my eye down the edge in the aisle and set back anything that curves. The stores let you do this; take the time.
Cedar holds up better outdoors, no question.
It resists rot without the chemical load of pressure-treated legs. The Bob Vila plan builds the whole chair from it, and the durability is real.
The cost difference is where a renter’s decision lives. Cedar runs roughly double the price of the pine-and-2-by mix on a per-board basis, and for one chair the gap might hit thirty to fifty dollars.
That buys years of service, but only if this chair stays with you for those years. For a first build or a space you might leave behind, the construction-grade route wins.
Paint it dark green or white, keep the legs off damp grass with foil cake pans and rock salt if you want to fuss, and plan to replace it in five or six summers.
Tools for the Build
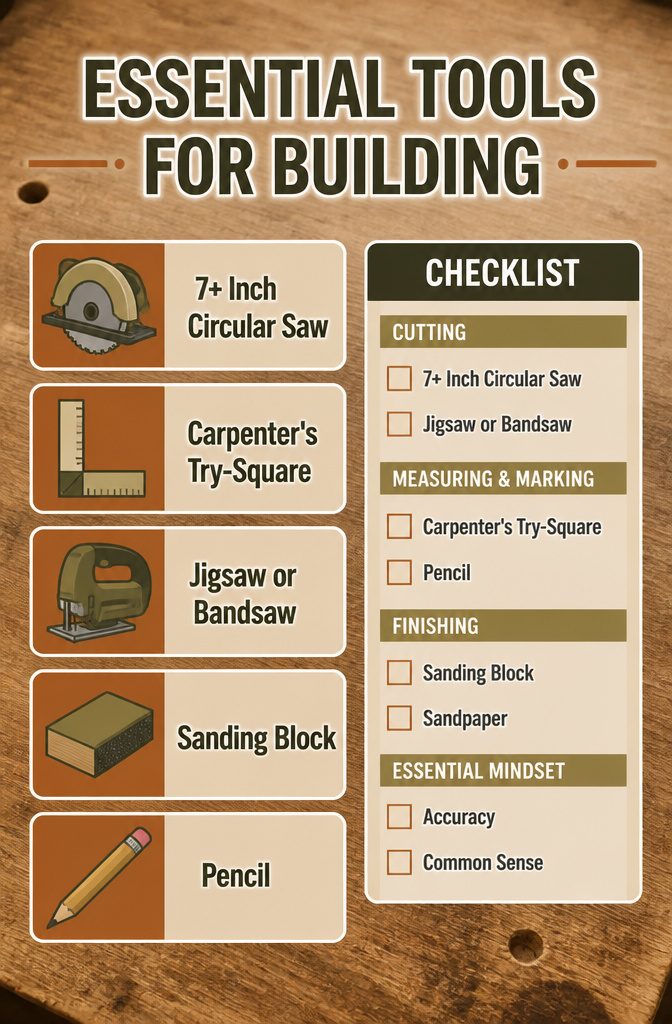
Most simple Adirondack chair plans assume you own a drill and a saw that can handle 2-by lumber.
A 7+ inch circular saw makes the straight cuts easiest, though a crosscut handsaw will get the job done if you have patience and a steady arm.
The Mother Earth News hand-tool plans work either way; their power-tool plans save maybe an hour but demand the same accuracy.
- A pencil and carpenter’s try-square matter more than almost anything else. They keep your 90-degree cuts square and your assembly from going catawampus when you bolt the pieces together.
- A jigsaw or bandsaw is nice for the curved cuts on more elegant plans, but the basic square-backed designs skip curves entirely.
- Sandpaper stapled to a wood block is the only finishing tool you truly need. Sand every edge before assembly, moving in straight lines without rocking at the ends. That five-minute step is what separates a chair that looks built from one that looks cobbled.
- Plans written for the average DIYer assume you are eyeballing joints and spacings, not machining to cabinetmaker tolerances. The wood itself will vary as much as a half-inch in any dimension, so a try-square and common sense beat a table saw you do not own.
Galvanized and Stainless Fasteners
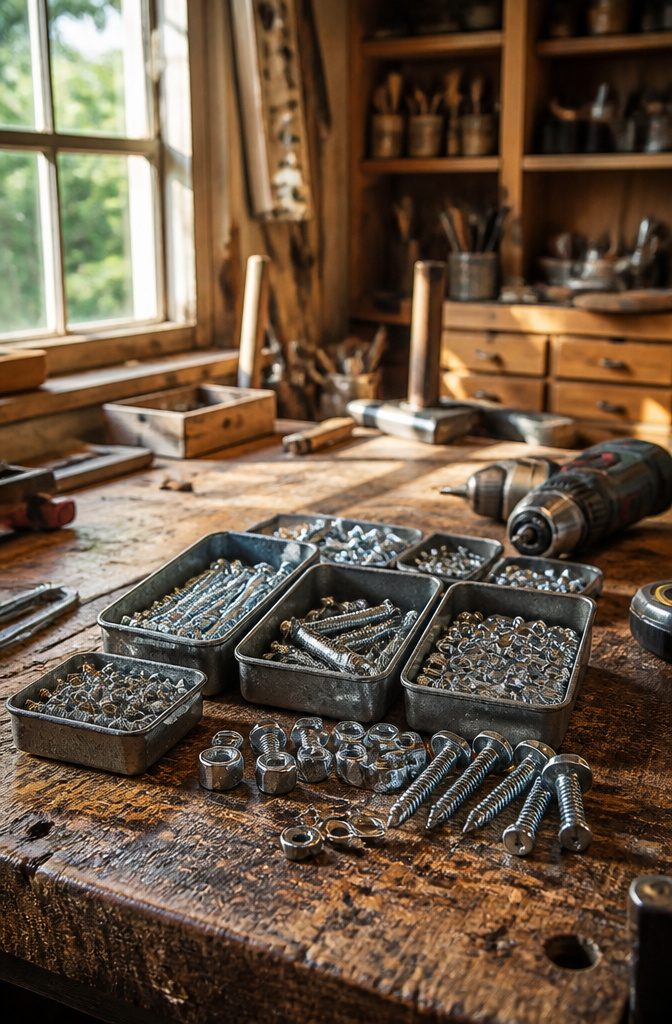
Standard steel screws look fine at first, but a season or two outside and the rust starts bleeding through the paint.
That bleed stains the wood around every joint, and once corrosion eats enough of the shank, the screw either snaps during tightening or works loose until the arm or slat pulls free.
For a chair that sits in sun and rain, galvanized or stainless-steel fasteners are the only sensible choice.
I use exterior-grade deck screws in either hot-dipped galvanized or 305 stainless steel. Both resist the moisture that pools in the angled pockets of an Adirondack chair’s frame.
Galvanized costs less and holds up well enough for most yards; stainless runs higher but never develops the white corrosion streaks that can still appear on cheaper galvanized hardware over the years. Either beats replacing pulled screws every other summer.
A #8 or #10 diameter with a coarse thread and sharp point drives easily into cedar or pine without pre-drilling every hole.
I prefer a star-drive head, since the bit seats deeper and strips less often than Phillips when I’m working at awkward angles under the slats.
Coated construction screws marketed for outdoor use are not the same thing; the coating scratches off during driving, and the steel underneath rusts just as fast as the standard stuff.
A Day’s Build
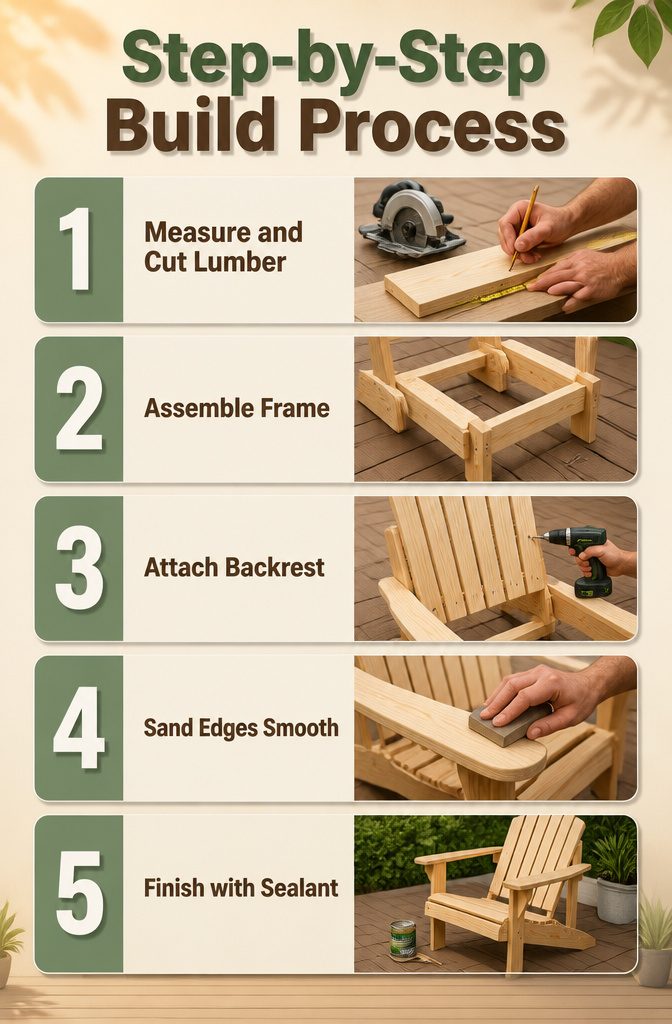
Most builders who pick a truly simple Adirondack chair plan can finish the whole job in one weekend day, with the morning going to cuts and the afternoon to assembly.
The problem is where that time actually disappears. Cutting takes longer than it looks, especially if you are stopping to check each angle against the template instead of trusting the first one.
A beginner working alone can lose two hours just re-measuring, and another hour figuring out that the back slats need slightly different spacing than the seat slats to look right.
Assembly rewards going slowly. The screws that hold the back to the rear legs need to hit center in stock that is often under an inch thick, and a split there means a recut or a visible plug.
I would rather clamp for five extra minutes than drive a screw into stressed grain. Finishing is the phase people skip to save time, which costs them a year later when water gets into end grain that never saw sealer.
Where the day really breaks is complexity. A plan with curved arms means a jigsaw or band saw and more sanding; a plan with straight 2×4 arms means the circular saw never leaves the table.
For a first build, that trade is worth making. You get the silhouette without the fiddly cuts, and you still have something that sits right on a patio by sundown.
Frequently Asked Questions
What materials do I need to build an Adirondack chair?
Construction-grade 2-by lumber and nominal 1-inch pine, actually 3/4-inch thick, are the standard starting point and stocked by any home center.
Cedar runs about double the price but resists rot without chemicals, making it worth the upgrade if the chair will sit outside for years.
You will also need galvanized or stainless-steel fasteners, a drill, and a saw that can handle 2-by stock. Paint or exterior finish rounds out the list.
How long does it take to build an Adirondack chair?
Most builders finish a simple Adirondack chair in one weekend day, with the morning for cuts and the afternoon for assembly. Beginners working alone often lose extra time to re-measuring and figuring out slat spacing.
Curved designs or a first build can push the job toward a full weekend. Finishing adds more time if you do not skip it.
Are Adirondack chair plans suitable for beginners?
Yes, the simplest plans are written for the average DIYer already comfortable with basic power tools. Straight-cut designs skip curves entirely and let a circular saw handle every cut.
The $10 downloadable PDF plans include a full cut list and step-by-step instructions that keep you moving without standing in the lumber aisle doing math. A child-size version takes about two hours and works well as a supervised first project.
How do you make easy Adirondack chairs?
Start with a straight-cut plan that uses common 2-by and 1-by lumber from any home store, no specialty stock or hard-to-find hardware.
Set up a circular saw for the straight cuts, check each angle with a try-square, and clamp pieces before driving screws to avoid splits.
Skip curved arms and templated backs for your first chair; the silhouette still reads right on a patio and you will finish by sundown.
What are the best inexpensive Adirondack chairs?
The cheapest path is building your own from construction-grade pine and 2-by lumber, which keeps material costs low and avoids retail markup.
Paint it dark green or white to protect the softwood from moisture, and expect to replace it in five or six summers.
A $10 plan with a full cut list saves more money than free plans that leave you guessing quantities and buying extra board feet.
What is a good alternative to Adirondack chairs?
An easier-exit Adirondack shortens the seat and brings the back more upright, losing the deep recline but keeping the broad arms and slatted look.
A tall Adirondack at bar height works around outdoor kitchen islands and fire-pit ledges, though it functions closer to a stool with a back.
A rocking Adirondack needs a wider base and more upright seat so your center of mass stays over the rails.
Is it cheaper to make your own Adirondack chairs?
Building your own is cheaper than buying finished chairs at retail, and the $10 plan cost is trivial against the markup on store-bought furniture. Construction-grade pine keeps the lumber bill small, though cedar doubles the material cost for better outdoor durability.
The real savings are in labor you trade for your own time, and in the ability to build exactly the size and style your patio needs.





