
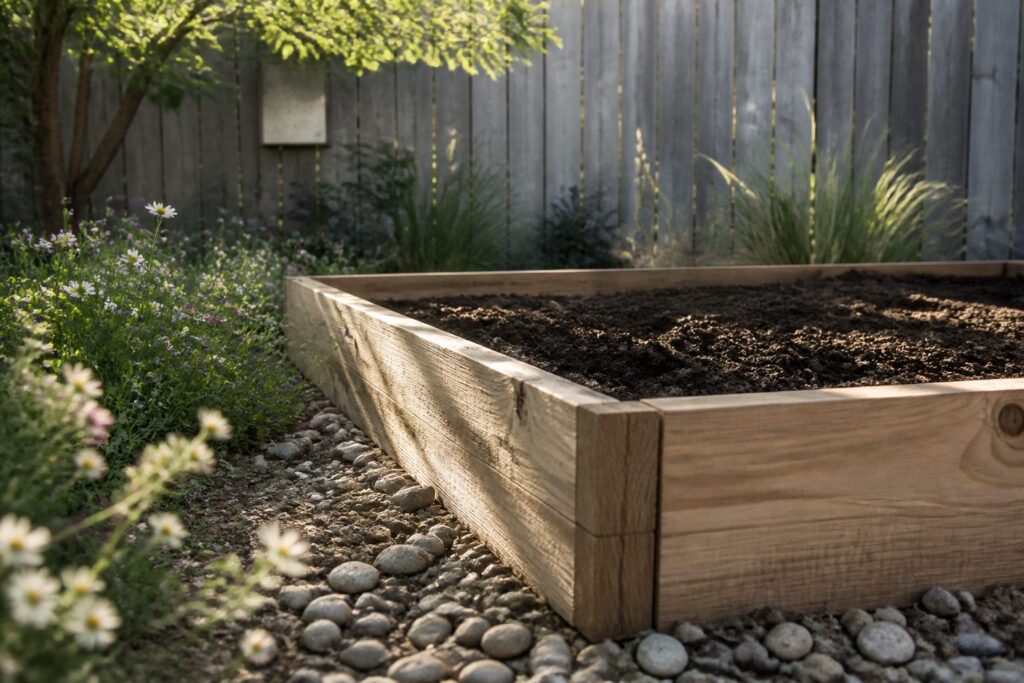
A raised garden bed is a framed box of soil built above ground level, and the mistake most beginners make is treating it like a container rather than a small farm plot with its own drainage and spacing rules.
Get the location wrong, and you will abandon the bed by July because a hundred feet of hose twice a day becomes a chore.
Start with untreated cedar if you want to build this weekend, or Corten steel if you want the bed to outlast the lease.
1. Choose a Location
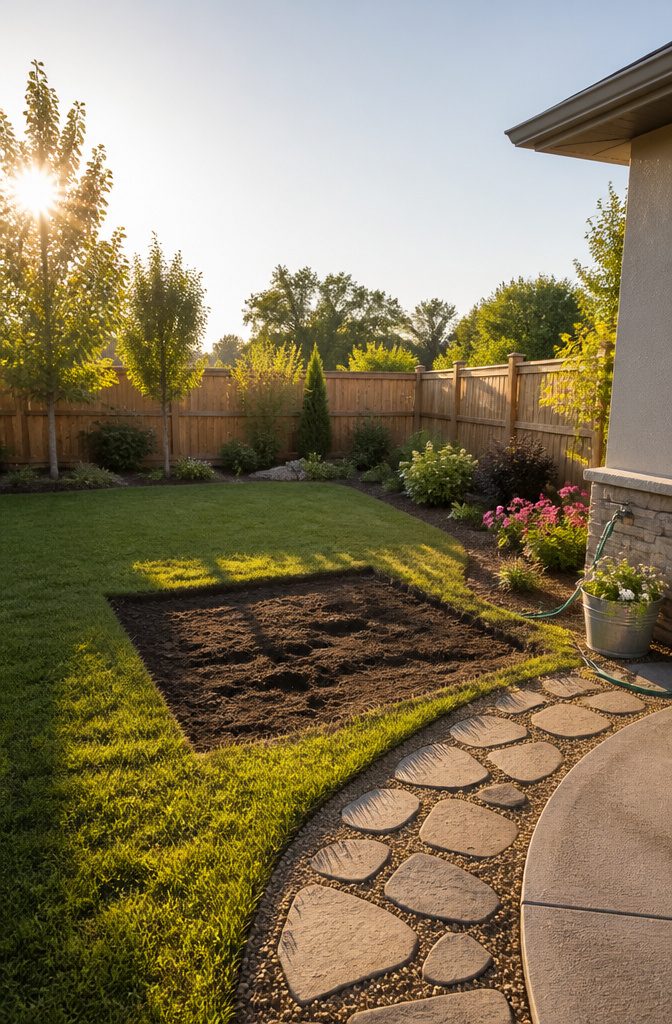
Most vegetables need 6 to 8 hours of direct sun to mature and set fruit, so the sunniest patch in your yard wins.
I walk outside around 9 a.m., noon, and 4 p.m. on a clear day and note which spots still catch light.
Trees shift with the seasons, so if you’re reading this in early spring, imagine summer leaves blocking that same angle.
A flat spot saves leveling work later, but the detail that trips up beginners is water.
Your hose has to reach the bed without stretching across the lawn like a tripwire. I have seen gardeners abandon beds by July because dragging a hundred feet of hose twice a day turned into a chore.
A spigot within reasonable range beats a perfect sun patch at the far fence line. If you have to choose, sunlight takes priority, but plan your hose route before you build.
2. Select Materials
Treated lumber belongs anywhere but a vegetable garden; the chemicals used to extend its life against rot will leach straight into your soil.
That leaves four real options, and each one asks for a different trade between what you spend now and how long the bed lasts.
Untreated cedar or pine is what most beginners picture, and it is the right call if you want to build the box yourself this Saturday.
Cedar resists rot far better than pine, though neither will match the lifespan of harder materials.
A food-safe stain helps, but even two-inch boards will soften eventually. The upside is cost and the fact that a handsaw and a drill are the only tools you need.
Steel runs the other direction. Galvanized or Corten steel beds arrive pre-formed, often heavy enough that four or five grown men are useful for getting them off the truck and through the narrowest gate on your path.
The soil warms faster in spring, the thin sides give you maximum growing area for the footprint, and the material is food-safe and recyclable.
Corten in particular wins on looks; that weathered rust finish hides scratches and ages into something that looks intentional on day one. Upfront cost and delivery logistics are the real hurdles.
Stone or concrete lasts the longest and sources locally, but it is an investment in labor and money that most first beds do not justify.
Composite boards split the difference on durability, though not every composite formulation handles the constant moisture against soil as well as marketing suggests.
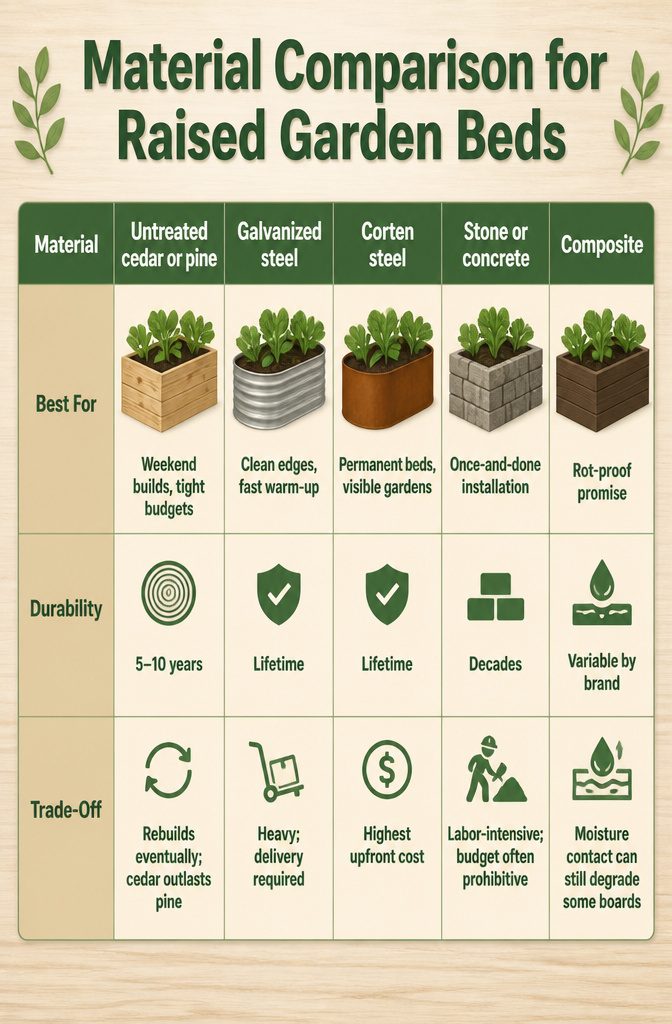
| Material | Best For | Durability | Trade-Off |
|---|---|---|---|
| Untreated cedar or pine | Weekend builds, tight budgets | 5–10 years | Rebuilds eventually; cedar outlasts pine |
| Galvanized steel | Clean edges, fast warm-up | Lifetime | Heavy; delivery required |
| Corten steel | Permanent beds, visible gardens | Lifetime | Highest upfront cost |
| Stone or concrete | Once-and-done installation | Decades | Labor-intensive; budget often prohibitive |
| Composite | Rot-proof promise | Variable by brand | Moisture contact can still degrade some boards |
For a first raised bed, I would take untreated cedar if I needed to keep the bill low and planned to treat the build as a learning year.
If the budget stretches to delivery and I wanted the bed to outlast the lease, Corten steel is where I would put my money.
3. Build the Frame
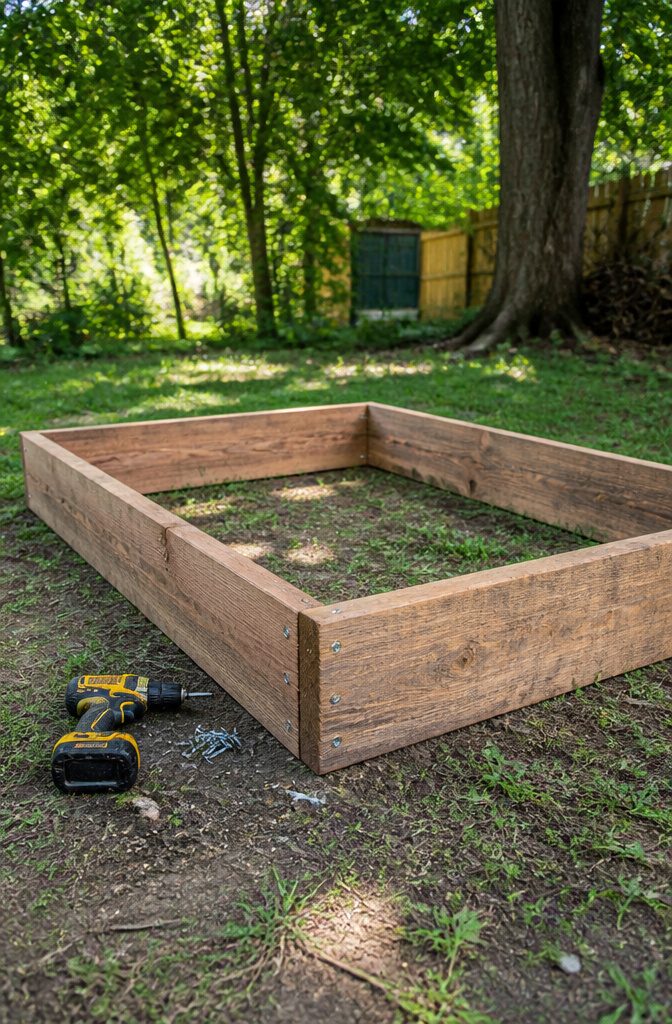
Screws win over nails for a beginner building a raised bed frame.
Nails back out as the wood swells and shrinks with moisture; screws grip and hold. I use exterior-grade deck screws, two per joint, and I always pre-drill so the boards don’t split.
The frame goes out of square the moment you stop checking it. Measure corner to corner diagonally; those two numbers match when the box is square.
If one diagonal is longer, push that pair of corners inward until they agree. A helper makes this faster, but a clamp and a scrap block work solo.
Corner bracing is where most first beds fail laterally. A single vertical post in each corner, screwed through from both sides, keeps the walls from bowing outward once soil goes in.
I skip fancy metal brackets; a 4×4 scrap cut to the bed height and anchored at the base does the same job for the cost of offcuts.
The finished frame should not wobble when you lean on it.
If it does, add a horizontal brace midway up the long sides before you fill it. That brace costs one extra board and saves rebuilding the whole thing next spring.
4. Prepare the Ground
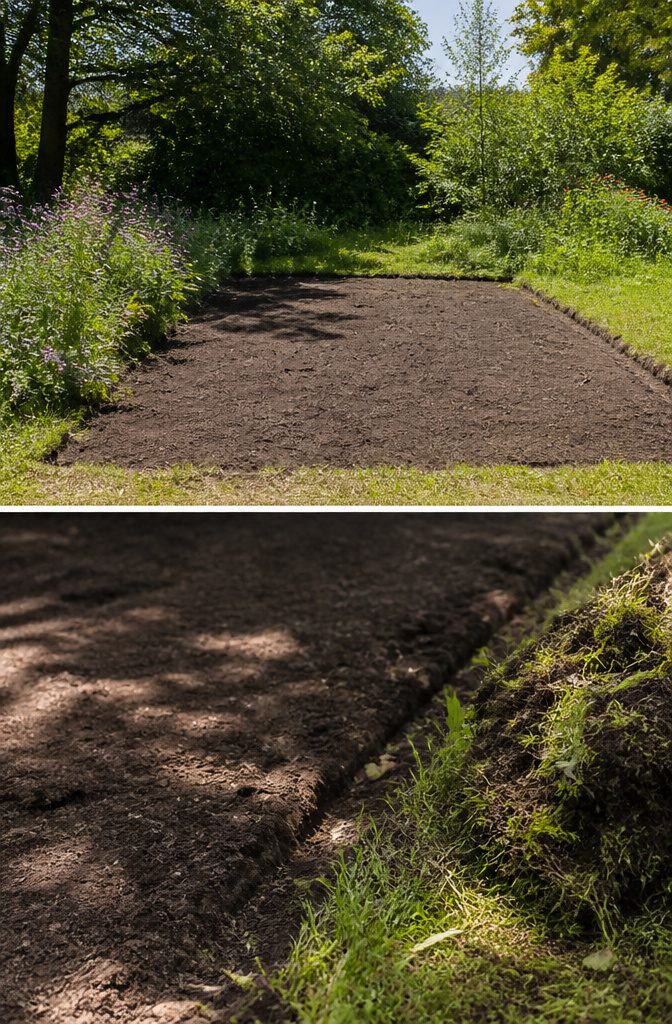
Grass and weeds underneath a raised bed will find their way up through good soil eventually, so clearing the ground matters more than the frame itself lets on.
Sod removal wins if you want to plant within the season; smothering with cardboard or a tarp takes a few months but leaves a richer base behind, and I would choose that path whenever my timeline allows it.
Digging by hand costs nothing but an afternoon and a shovel, while renting a sod cutter speeds things up for roughly the price of a mid-range power tool rental.
For weeds, solarizing through the hottest weeks, clear plastic sealed tight around the edges, kills seeds two to three inches down in four to eight weeks.
Leveling is where beginners often overwork themselves. A bed frame sitting half an inch off on one corner will settle unevenly once the soil weight hits it, so high spots deserve a quick dig.
But perfect flatness is not the standard; close enough that the frame sits firm from all sides is, because once that bed is filled with soil it is not moving again.
Low spots can be shimmed with soil underneath the frame, so I check for rock and root more than I chase a spirit level across the ground.
5. Fill the Bed
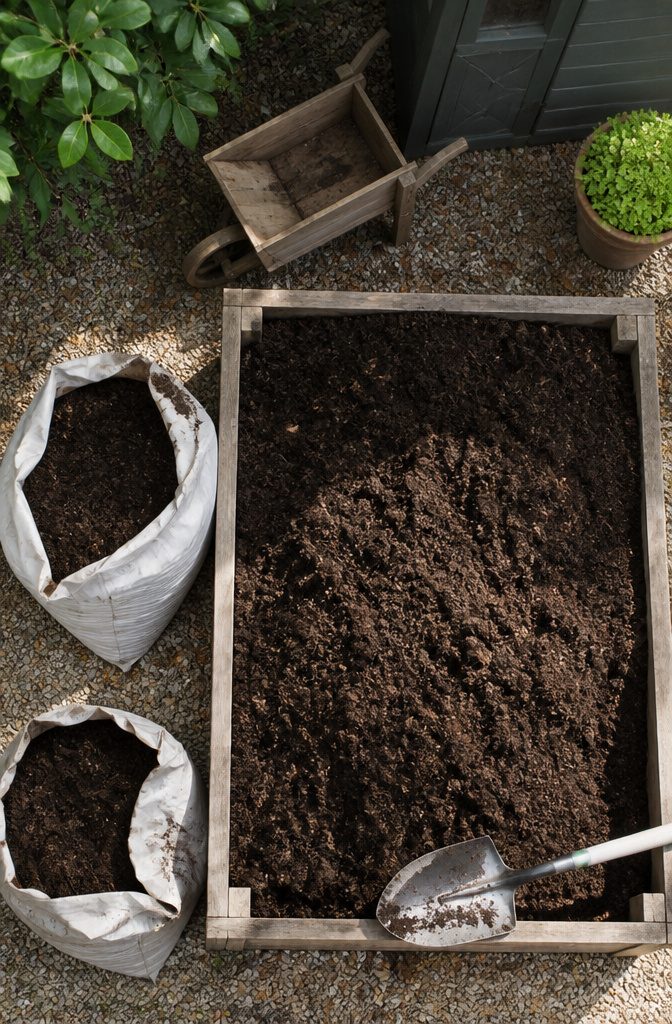
A 4 x 8 foot bed built to the common 12 inch depth holds exactly 4 cubic feet of soil, or just under 0.15 cubic yards. That math is what decides whether you haul bags from the garden center or call for bulk delivery.
Under 27 cubic feet total, bagged raised bed mix wins on convenience and you skip the minimum order fees. Go past that, and buying topsoil and compost by the cubic yard pays for itself fast.
The mix itself is straightforward: 50–60% topsoil and 40–50% compost. I lean toward the heavier compost side.
Topsoil gives the structure roots need to anchor, but compost is where the nutrients live, and raised beds have no subsoil to borrow from. If you are buying bulk, dig your hands in before you commit.
Good topsoil crumbles dark and smells like earth, not sour or sticky. Skip anything that feels like modeling clay.
Bagged "raised bed mix" with compost already blended works for a single small bed. For multiple beds, bulk is the only budget move that makes sense.
Fill the bed to the absolute top when you first load it in.
Fresh soil settles more than you expect, and a sunken bed casts shade on young plants and pools water where stems meet soil. That settling is why you start flush with the rim, not hoping to eyeball it later.
6. Plant
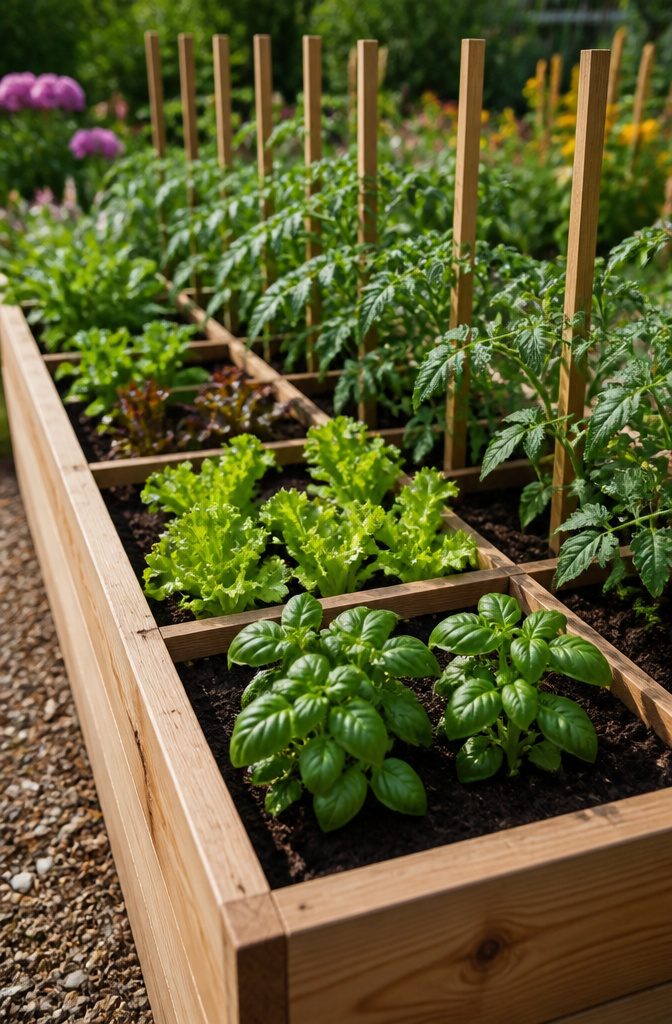
Tomatoes, lettuce, cucumbers, basil, and parsley are the five plants that earn their spot in a beginner’s raised bed.
Crowding hurts more than beginners think; poor air circulation and nutrient competition will keep every plant from reaching its full potential even when the soil itself is perfect.
The square foot method divides the bed into one-foot sections, which keeps spacing visible and prevents the temptation to squeeze in one more transplant.
Row spacing on seed packets assumes you need walking room on the ground; in a raised bed you walk around the perimeter, so you can tighten rows while keeping the in-row distance honest.
Grow plants with similar days to maturity together so the bed empties all at once and you can replant on a clean schedule.
Vining crops like cucumbers do best near the edge, where they can spill over the side instead of shading out their neighbors.
Trellises or cages along the back of the bed keep vertical growers from stealing light from lower plants. For a first season, dependable crops matched to your light and season beat an ambitious spread every time.
7. Water and Maintain
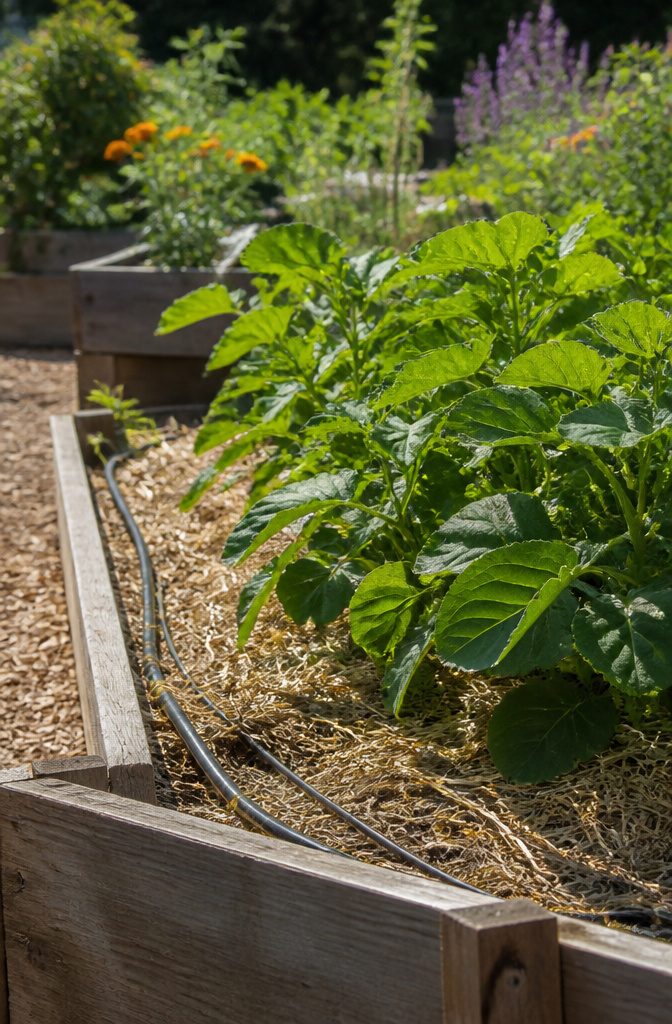
Raised-bed soil dries out faster than the ground around it, so I check moisture daily during hot stretches by feeling about two inches down.
Water deeply when it feels dry at that depth, and do it in the morning so leaves dry before evening.
Hand watering with a hose nozzle works fine for a single bed, but it eats time and it is easy to spray foliage without meaning to.
Drip lines or soaker hoses sitting on the soil let out a slow, steady stream straight to the root zone, and a timer handles the routine while you are at work.
The upfront cost is higher, yet for anyone running multiple beds or a tight schedule, the trade-off pays off by midsummer.
Mulch is the other half of this. A layer of straw or shredded leaves on top cuts evaporation and keeps the moisture you just put down from vanishing by noon.
I prefer straw for how clean it stays around plant stems, though leaves work if that is what you have.
Either way, the combination of deep, timed watering and a mulched surface is what lets a beginner skip the daily hose marathon and still harvest through August.
Bed Dimensions That Work
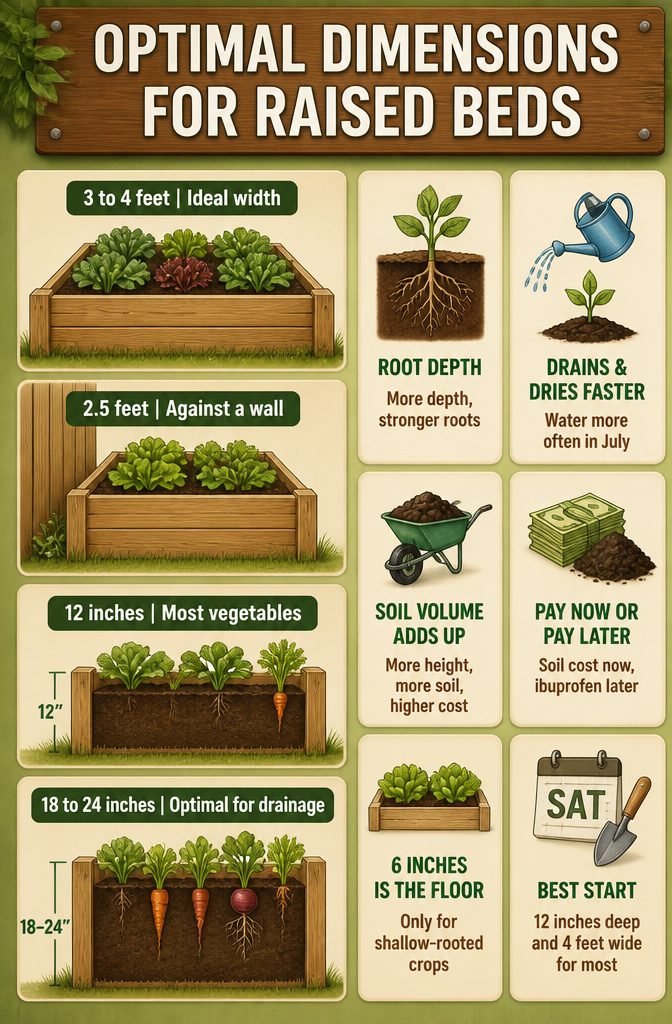
A 3 to 4 foot width is what makes a raised bed actually workable. Go wider and the center becomes dead space, plants you can’t reach without climbing in and compressing the soil you just loosened.
If the bed sits against a wall or fence where you can only tend from one side, pull that back to about 2.5 feet, which is roughly arm’s reach.
Depth is where beginners usually guess wrong. Six inches is the floor, and it only works for shallow-rooted crops.
Twelve inches handles most vegetables comfortably. I build to 18 or 24 inches when I can, partly for drainage, mostly because bending to ground level stops feeling like gardening and starts feeling like physical therapy.
Soil volume adds up fast: every inch of height equals a cubic foot of dirt you pay for and haul, so a 2-foot bed costs far more to fill than a 1-foot bed with the same footprint.
Taller beds also dry faster, so you’ll water more often in July.
You can spend on soil now, or spend on ibuprofen later. For a first bed on a weekend budget, 12 inches deep and 4 feet wide hits the balance most people actually live with.
Soil Preparation
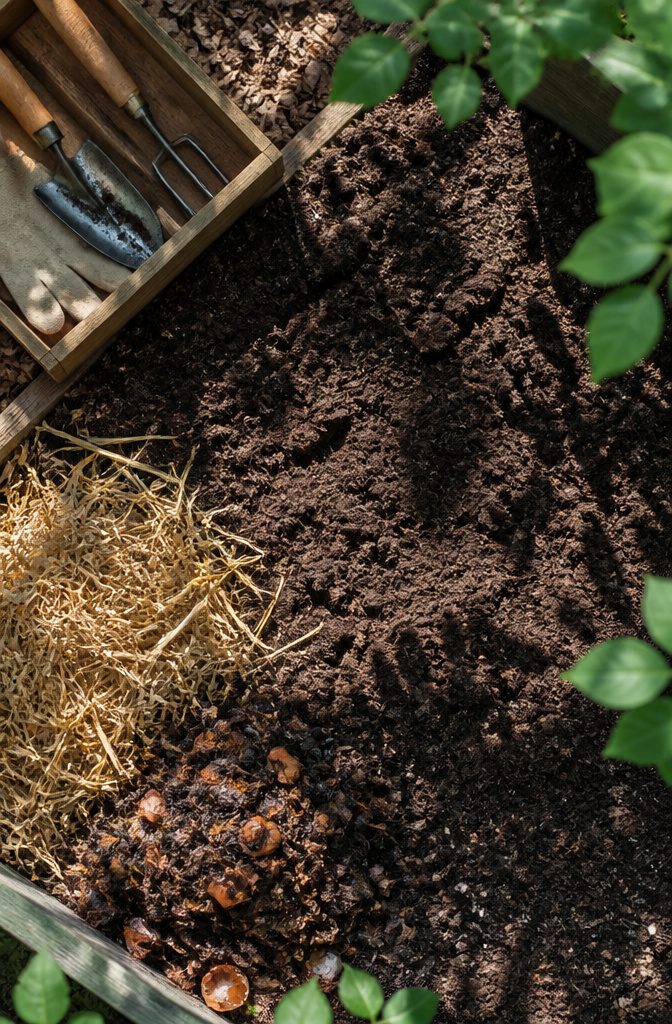
Topsoil at a landscape yard is not a regulated product. The bag might say "topsoil," but the contents range from dark, crumbly loam to sticky clay filler stripped off a construction site and run through a screen.
Before you buy bulk, dig into the pile with your hands. Good stuff smells earthy and breaks apart; cheap filler clumps or feels gritty and lifeless.
Ask where it came from. A reputable yard will tell you.
The mix that works is 50 to 60 percent topsoil and 40 to 50 percent compost, measured by volume.
Compost supplies the nutrients topsoil lacks on its own, and the blend stays light enough for roots to move through. Some bagged raised-bed mixes add perlite or peat moss to keep things fluffy.
In year one, I skip the perlite and vermiculite. The compost-topsoil blend drains fine if you got the ratio right, and you can always work in amendments later once you see how the bed actually behaves.
High-quality, nutrient-rich soil is a must for any and all gardens. Raised beds give you an immediate advantage over an in-ground garden because when you fill your raised bed, you can fill it with a blend of soil that’s superior to the native soil in your yard.
That "superior blend" is exactly why you built the bed. Spend your money here, not on drainage additives you may not need.
Watering Techniques
Morning watering wins, and the reason is disease pressure. Leaves that stay wet overnight invite the fungi that wreck a tomato season in one bad stretch.
Water deeply and less often; shallow daily sprinkles train roots to stay near the surface where they dry out fastest. Water at the base in the morning, then let the sun do the drying.
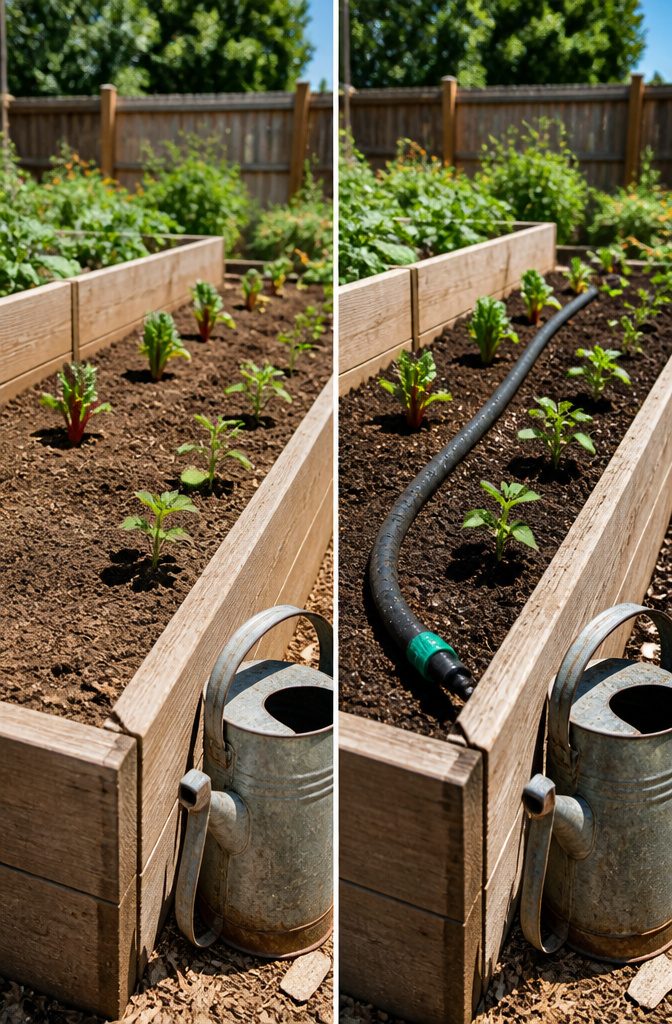
For how you get that water there, three options line up. A watering can or hose nozzle keeps you cheap and mobile, but it costs time every single day and it gets old fast.
You’ll also fight the urge to spray from above because wet foliage is exactly the risk you’re trying to avoid.
Soaker hoses sit on the soil and sweat water slowly, which is better for roots and better for your schedule, though they still need you moving the hose around if your beds are spread out.
Drip irrigation costs more upfront and takes the most installation, yet it runs itself on a timer and puts water precisely where roots live.
That precision matters in raised beds because the loose soil drains faster than ground-level dirt and dries out sooner.
Over one season, the time you get back usually pays off the extra spend if you have more than a couple of beds or any travel in your summer.
My call: start with a soaker hose if you’re running one bed and want to keep the weekend budget tight.
Scale to drip when the bed count does, or when you realize you’re missing Saturday mornings to standing with a hose.
Plant Selection for Beginners
Some plants earn their reputation because they actually cooperate with a beginner’s schedule and mistakes. Others look forgiving on the seed packet and then sulk for months.
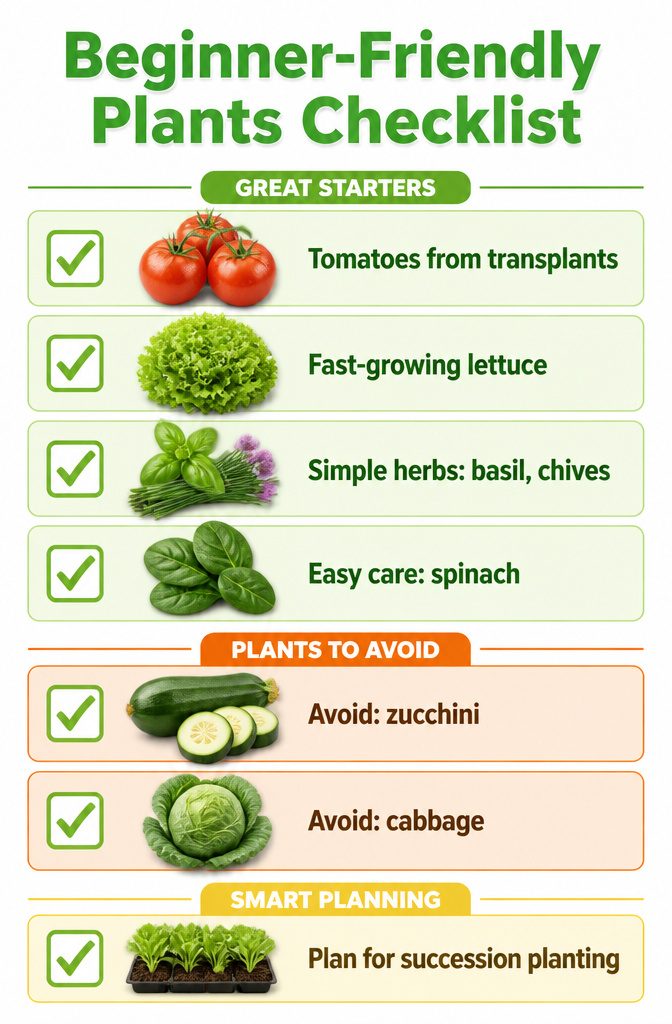
Tomatoes, lettuce, and herbs are the trio I start people with.
Tomatoes from transplants give you a harvest you can brag about in a single season, and the difference between a store tomato and a warm one off the vine keeps most people gardening.
Lettuce and spinach pay out in weeks, not months, which matters when you are deciding whether this hobby sticks.
Basil, chives, and parsley ask for little beyond snipping and water, and they turn a $3 pot into a summer of actual cooking.
The plants that look easy but are not:
- Zucchini and bush beans grow fast, then suddenly demand constant picking or they turn into baseball bats overnight
- Cabbage and cauliflower sit in the bed for 60 to 90 days, hogging space that could have given you three rounds of lettuce, and one hot week can wreck the head you waited for
- Carrots and beets seem simple, but uneven watering leaves you forked, stunted roots that do not photograph well
Succession planting is where lettuce earns its keep. Sow a short row every two weeks and you harvest continuous salads instead of one big glut.
Cabbage gives you one harvest per square foot per season, and that season is long enough that a beginner forgets why they planted it.
Choose lettuce for the learning year. Cabbage can wait until you have more than one bed and nothing left to prove.
Frequently Asked Questions
What is a raised bed garden?
A raised bed garden is a structure filled with soil that sits above the surrounding ground level.
It gives you full control over soil quality and drainage, which lets you grow productive plants even when native soil is compacted, contaminated, or otherwise poor.
The contained shape also keeps the bed from spreading and puts plants at a height that is easier to work with.
How deep should a raised bed be?
A raised bed should be at least 12 inches deep for most vegetables, though 6 inches is the absolute floor and only works for shallow-rooted crops.
Going to 18 or 24 inches improves drainage and saves your back, but every extra inch adds a cubic foot of soil per square foot of bed, so a 2-foot bed costs noticeably more to fill than a 1-foot bed.
What materials are best for raised beds?
Untreated cedar or pine, galvanized steel, Corten steel, stone or concrete, and composite are the main options, each with different trade-offs.
Cedar resists rot better than pine and suits weekend builds with basic tools. Corten steel lasts a lifetime and looks better as it ages, but costs more upfront and needs delivery help.
Stone lasts decades but demands heavy labor and budget. For a first bed, untreated cedar keeps costs low, while Corten steel is worth the investment if you want the bed to last for years.
How often should I water my raised bed?
Water deeply whenever the soil feels dry about two inches below the surface, which you should check daily during hot stretches.
Raised bed soil drains faster than ground soil and dries out sooner, so it needs more frequent attention than an in-ground garden. Morning watering is best, followed by mulch on the surface to slow evaporation.
What should you put in the bottom of a raised garden bed?
Fill the bottom with the same soil mix as the rest of the bed: roughly 50 to 60 percent topsoil and 40 to 50 percent compost.
Do not add plastic bottles, trash bags, or other filler to save money, since that limits root space and can contaminate the soil with plastic particles.
A liner of weed barrier cloth helps keep weeds out and prevents soil from washing away in heavy rain; add hardware cloth underneath if voles or burrowing animals are a problem in your area.
What should you not plant in a raised garden bed?
Avoid zucchini, bush beans, cabbage, cauliflower, carrots, and beets in your first season. Zucchini and beans grow fast then demand constant picking or they turn oversized and tough.
Cabbage and cauliflower occupy the bed for 60 to 90 days, blocking space that could yield multiple faster crops, and one hot week can ruin the head you waited for.
Carrots and beets need very even watering to form properly, and uneven moisture leaves you with stunted, forked roots.
What is the easiest vegetable to grow in a raised garden bed?
Lettuce is the easiest vegetable for a beginner’s raised bed because it pays out in weeks and asks for little beyond water and occasional snipping.
Tomatoes from transplants also cooperate well and give you a harvest worth bragging about in one season. Basil, chives, and parsley are similarly forgiving herbs that turn a small investment into a summer of fresh cooking.





