
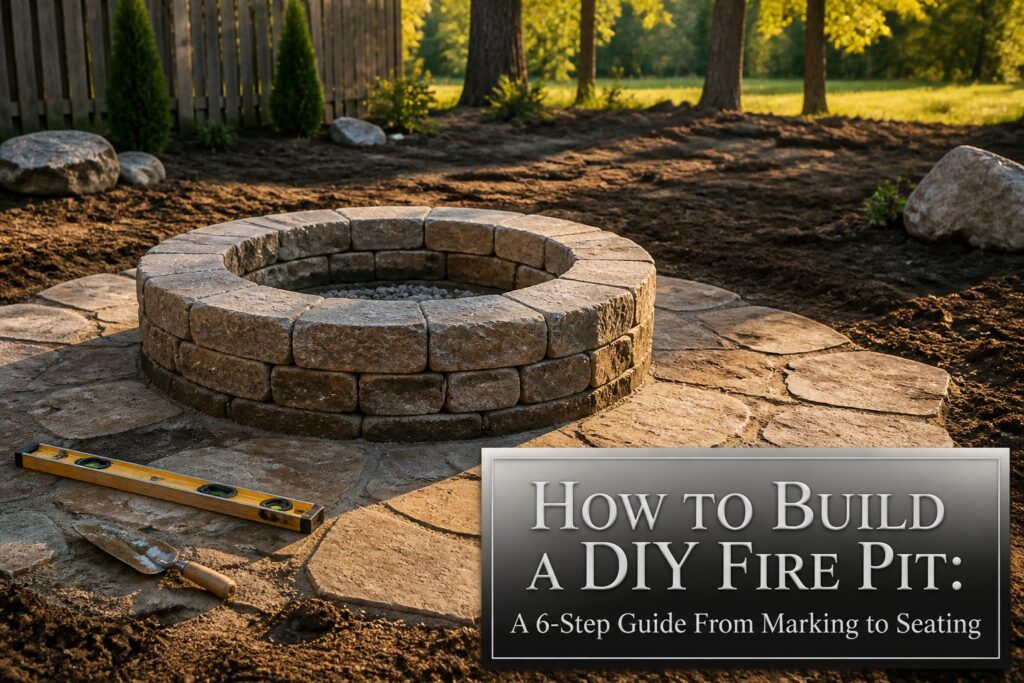
A finished fire pit that seats six runs about $450 and a full Saturday, or closer to $60 if you stack bare pavers and skip the metal ring. The mistake most people make is not the ring or the stone choice.
It is the base. A bowl-shaped bottom traps rainwater where your fire sits, and a tilted first course magnifies into a leaning wall by course four.
Six inches of crushed stone, checked with a 2×4 and a torpedo level, is what keeps the whole thing upright through the freeze and thaw.
1. Pick Your Spot and Mark the Circle
A flat, level patch of grass is the only foundation worth building on.
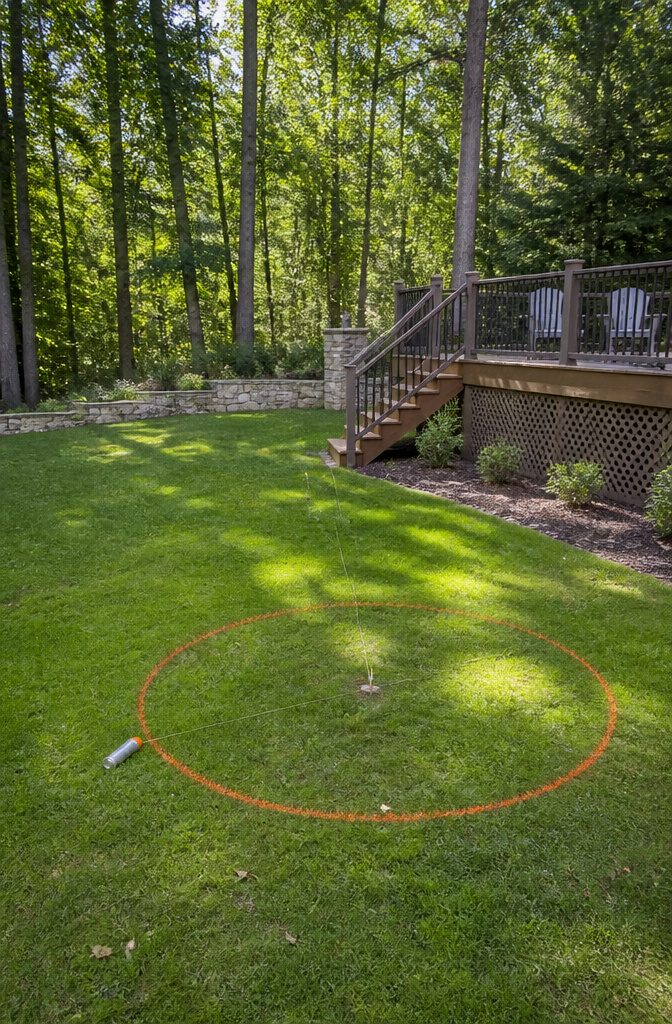
I start by pressing a stake into the center of where I want the fire pit to sit, then tie a string to it at half the diameter of my planned circle.
For a 15-foot seating ring, that string runs 7½ feet. Tie the other end to a can of spray paint, walk the circle slowly, and the line marks itself.
The 10-foot clearance from any structure, tree line, or fence is not a suggestion.
Most local fire codes adopt it as the minimum, and for good reason: embers rise farther than you think, and a shift in wind turns a cozy night into a call to the fire department.
I also watch for low branches overhead and spots where wind whips through, because a fire pit in a channel of air fights you on every light and sends sparks where they should not go.
Once the paint is down, I step back and imagine the chairs in place. The circle should leave breathing room for a cooler and a log stool without anyone sitting in the ash zone.
If the painted ring feels tight, now is the time to move the stake and repaint, not after the first ring of stone is set.
2. Dig to 6 Inches for Drainage
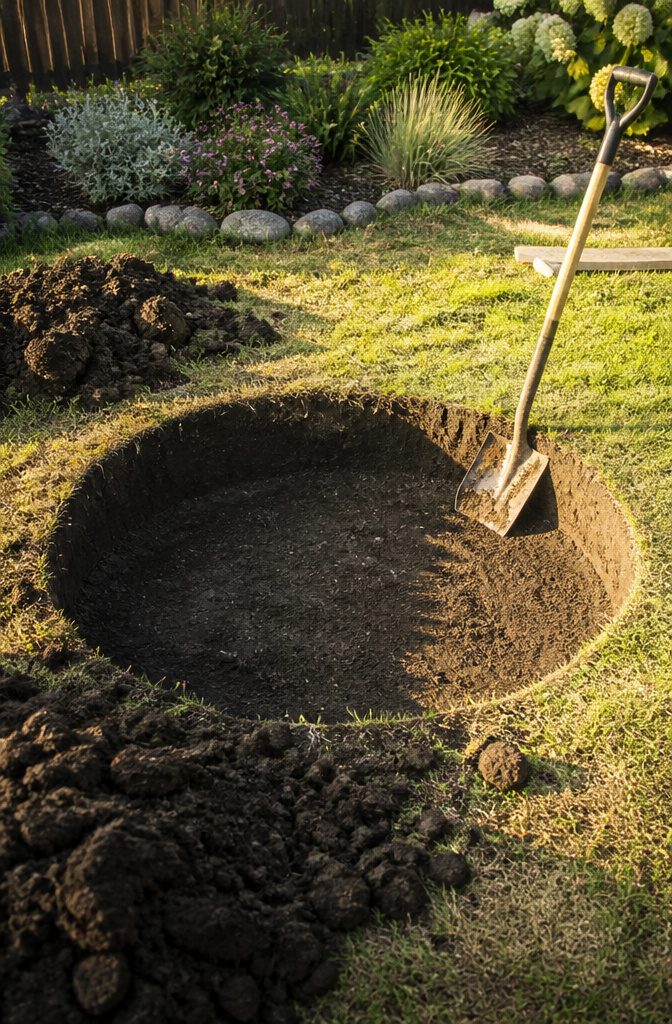
Six inches does not sound like much until you are the one moving it. Dig the full depth across the entire circle, not just the center, because a bowl-shaped bottom traps water where your fire sits.
What you want is a flat plane that tilts slightly toward one edge, just enough that a rain puddle finds its way out instead of soaking your gravel base.
The soil at that depth is usually darker and denser than the topsoil you stripped off first.
I aim for the bottom to feel firm underfoot when I step in to check it, with no soft spots where the shovel still sinks. Loose dirt will settle later and leave you with a lopsided ring.
If you hit a root or a rock the size of your fist, pull it; anything smaller than a softball can stay and get buried in the gravel layer above it.
When you are done, the walls of the hole should be nearly vertical where the first course of block will sit.
A slope here pushes your wall outward over a season of freeze and thaw. The finished pit floor should look like a shallow, flat-bottomed cereal bowl turned upside down, not a saucer and not a bucket.
3. Fill With Gravel to Ground Level
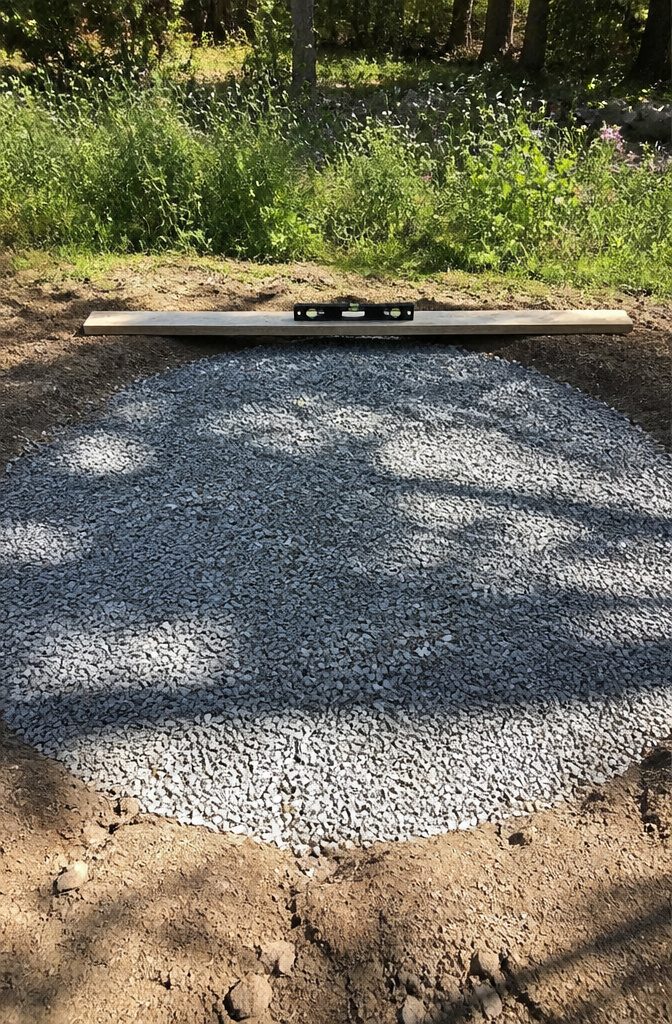
Crushed stone, not pea gravel, is what you want for the base. The sharp edges lock together under pressure and stay put once you tamp them, while rounded pea gravel keeps shifting like marbles in a bag.
I learned that distinction the hard way on a patio project years ago, and a fire pit base is no place to relearn it.
The layer needs to come up level with the surrounding ground, not domed or dipped. Your first course of pavers sits directly on that surface, and any tilt you build in here gets magnified as you stack higher.
I check with a straight 2×4 laid across the hole and a torpedo level on top; low spots get another handful of stone, high spots get raked back.
Take the time now. A wall that leans outward at course four started with a base that was off by half an inch.
4. Stack the Walls With Adhesive
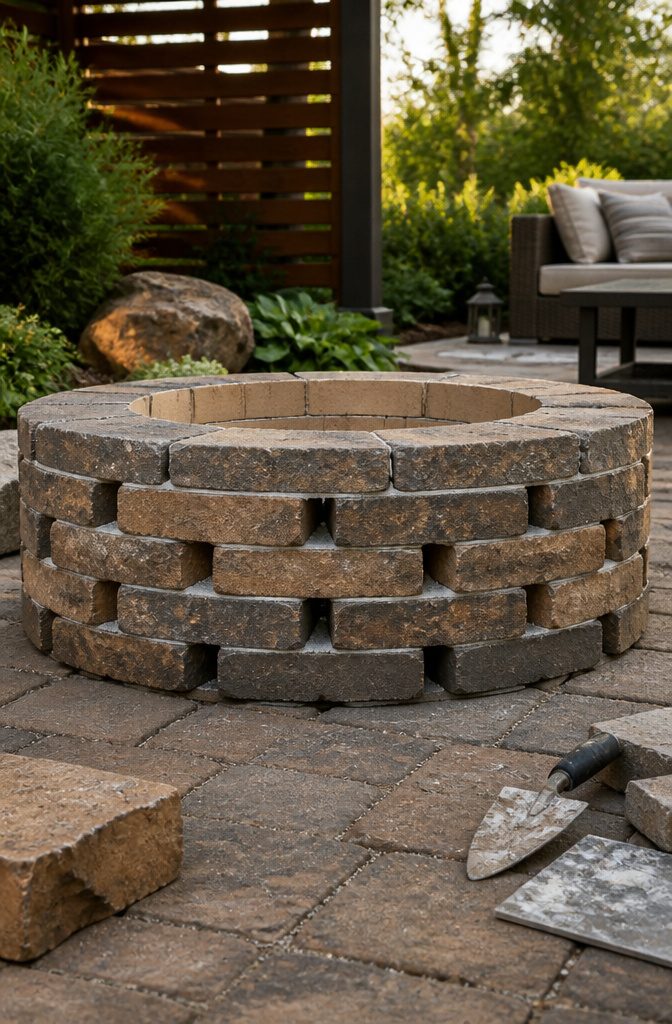
A single layer of landscape adhesive between each course of pavers or stones keeps the wall from shifting when the ground freezes and thaws.
I press a thin bead on top of the lower course, set the next stone, and tap it with a rubber mallet before the adhesive skins over.
Leave a 1-inch air gap between stones on at least every second course, and air feeds the fire at the bottom while smoke vents at the top for a cleaner burn.
Firebricks line the inside wall where the heat actually lives, and that difference matters. Regular clay pavers or concrete stones will crack or crumble after a few hot evenings; firebricks take the thermal cycling without spalling.
The outer ring of tumbled pavers or landscaping stones still carries the look, but the firebricks do the work. Count on about sixty firebricks for a standard pit diameter.
5. Set the Fire Ring If You Want One
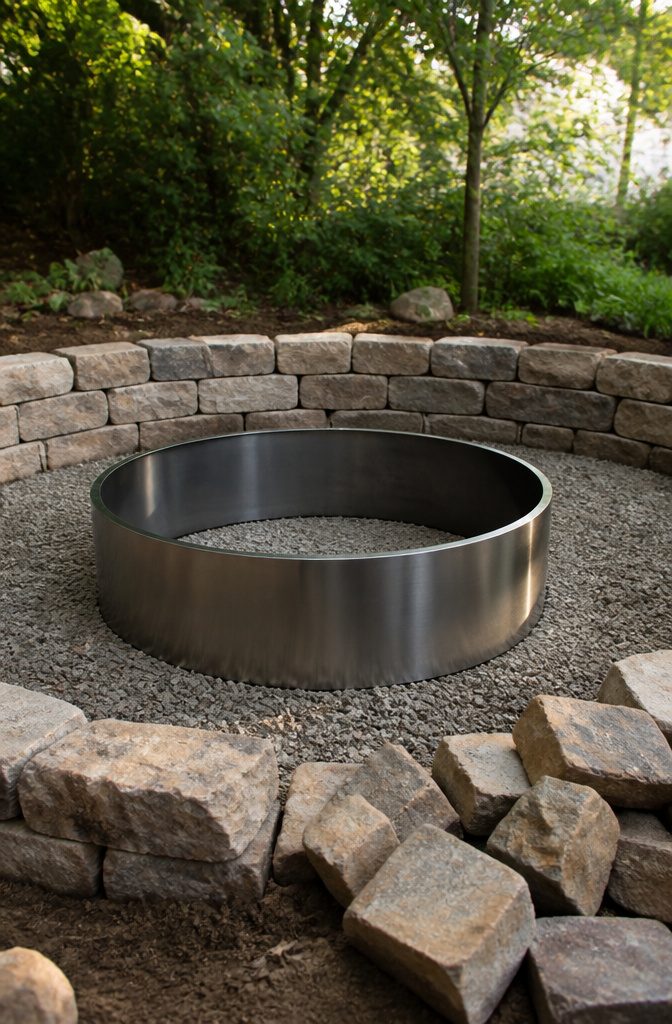
A metal fire pit ring sits in the center and gives the whole structure something solid to press against.
I think of it as a collar that keeps the walls from drifting outward and catches stray sparks that might slip through thin gaps.
If your pavers or stones are under two inches thick, or if you plan tall fires with real flame above the rim, the ring earns its keep.
The steel takes the direct heat so the surrounding masonry does not have to, and that matters when you are working with standard concrete pavers rather than fire-rated brick.
Thick natural stone changes the math. A six-inch wall of dense fieldstone or a low fire pit built only for evening coals does not need the extra barrier; the mass itself absorbs and disperses heat well enough.
I skip the ring in those cases and put the sixty or eighty dollars toward gravel or a better grade of capstone.
The ring also gives you a fixed diameter to build against, which keeps your circle honest as you stack.
Without it, you are eyeballing the curve row by row, and a wandering wall shows. Set it on your gravel base before the first course goes down, check that it is level, and build each stone tight to its edge.
6. Add Seating and Finish Around It
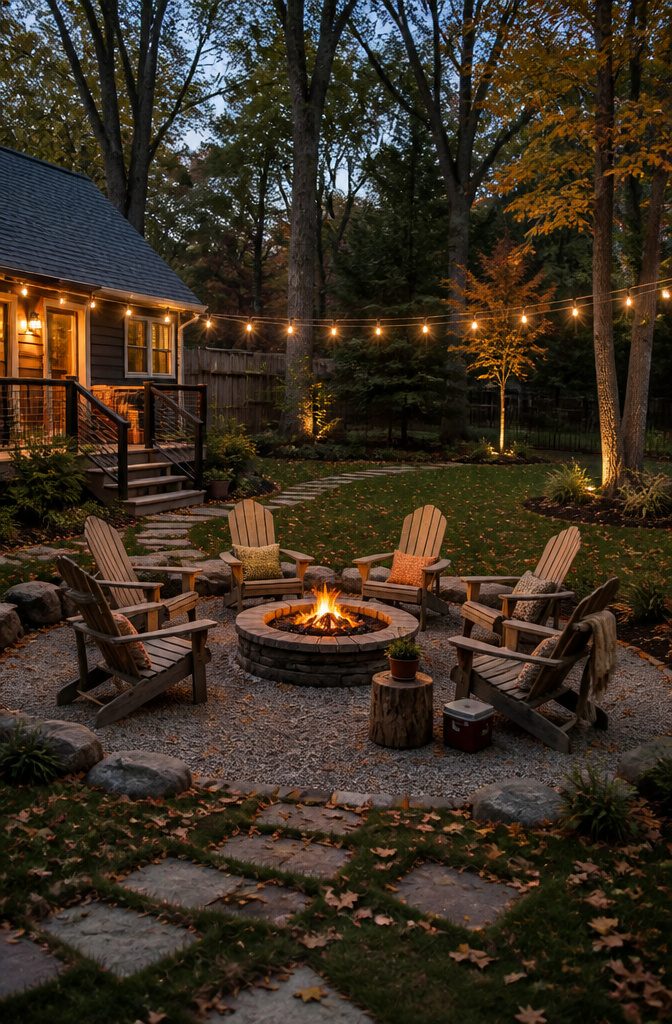
A 15-foot diameter circle around the pit fits six Adirondack chairs with enough room left for a cooler and a log stool or two.
That is the benchmark I keep in mind, though I scale it to whatever the yard actually allows. A 16-foot span handles six to eight chairs if the space is there; tighter spots simply hold fewer seats closer in.
I prefer Adirondack chairs for the low recline and the way they keep faces out of the smoke line, though built benches work when the budget is tight.
String lights overhead add more to the night than any pillow does, just keep them off a direct line above the flame. Side tables, potted plants, and outdoor pillows finish the space without needing a second weekend.
What This Costs in Real Numbers
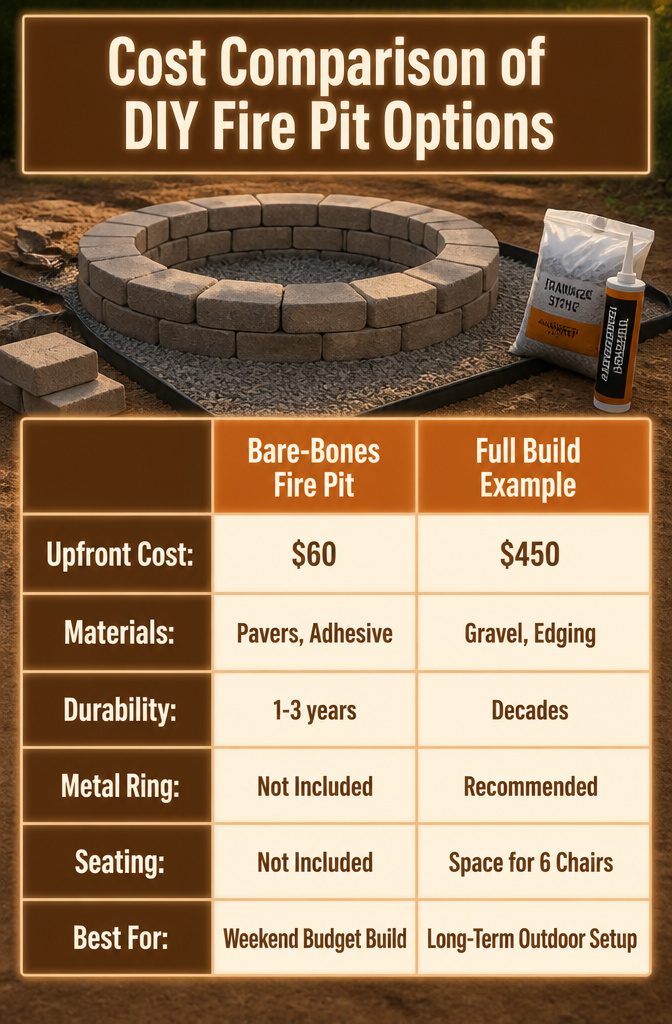
A bare-bones fire pit runs about $60 if you skip the metal ring and stack thirty-six pavers at $0.77 each, which comes to $27.72 before tax.
Add a bag or two of drainage stone and a tube of construction adhesive, and the total lands near $53.29.
That gets you a functional pit; it will not last forever without a ring to take the heat, and the pavers will eventually crumble or spall.
The $450 build from the 15-foot diameter example tells a different story.
That figure covers the full ring of gravel, landscape edging, fabric, and the space to set six Adirondack chairs around the pit with walking room for a cooler. Size drives the cost more than anything else at that scale.
What pushes the spread is three choices.
A metal fire ring adds $40–$80 but saves the wall from thermal shock. Seating built into the perimeter, whether paver caps or salvaged wall block, can double the material count.
And paver choice matters: standard concrete pavers at the home center run under a buck apiece, while textured or tumbled stone faces climb toward $3 or $4 each.
For a weekend build on a real budget, the ring is where I would spend first and worry about seating later.
Three Designs and What Each Gives Up
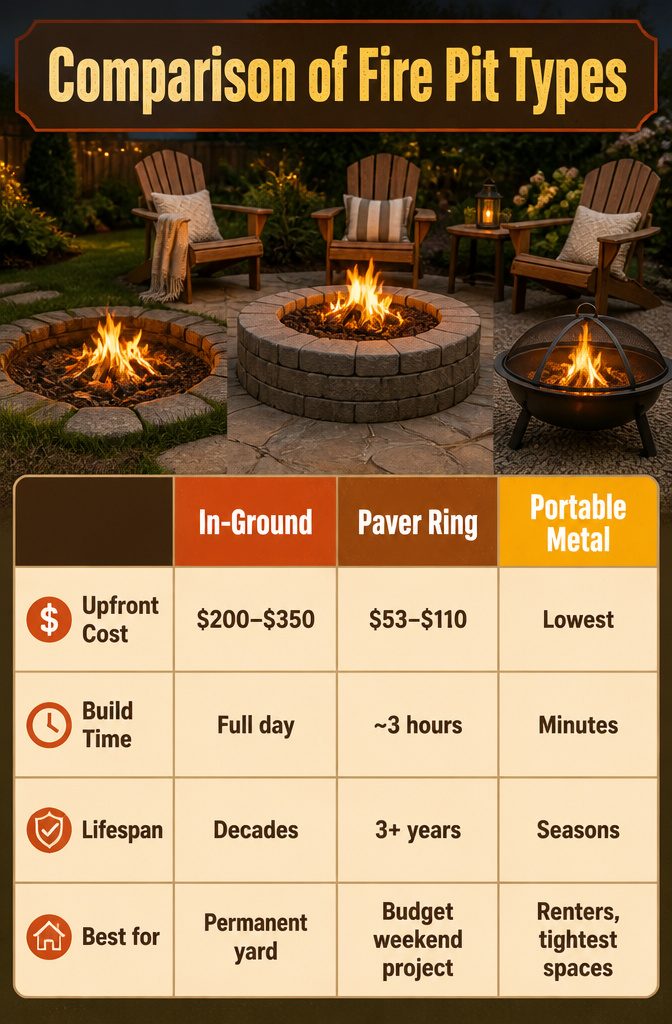
An in-ground pit asks the most of your Saturday. Digging six inches through grass and whatever rocks the Midwest hides under it is real labor, and drainage gravel adds cost, but the payoff is permanence.
No one tips it over, and the fire sits low enough that wind hardly bothers the flame. That height is exactly the problem: guests stare down at the coals, and chairs need to be low or the circle feels awkward.
Above-ground paver rings split the difference. A build like the one that ran about $53 in gray pavers or closer to $110 in River Red takes roughly three hours once you account for the trial-and-error of spacing and the store runs.
You will still chip a corner or two with a hammer to make the fit work.
Pavers radiate heat outward, which keeps feet warm on cool nights, though the outer ring does not get hot enough to burn bare skin. Over years of heavy use, the blocks can crack or the sand between them wash out.
Portable metal bowls require zero digging and move with you, which matters if you rent.
They also tip, spill ash, and rust through in a few seasons. Most store-bought metal pits look like what they are: temporary.
| In-ground | Paver ring | Portable metal | |
|---|---|---|---|
| Upfront cost | $200–$350 | $53–$110 | Usually lowest; n/a |
| Build time | Full day | ~3 hours | Minutes |
| Lifespan | Decades | 3+ years; pavers may crumble | Seasons |
| Best for | Permanent yard | Budget weekend project | Renters, tightest spaces |
I would take the paver ring for a first build. The in-ground pit wins on durability, but only if you own the dirt you are digging in.
Check Fire Codes Before You Dig
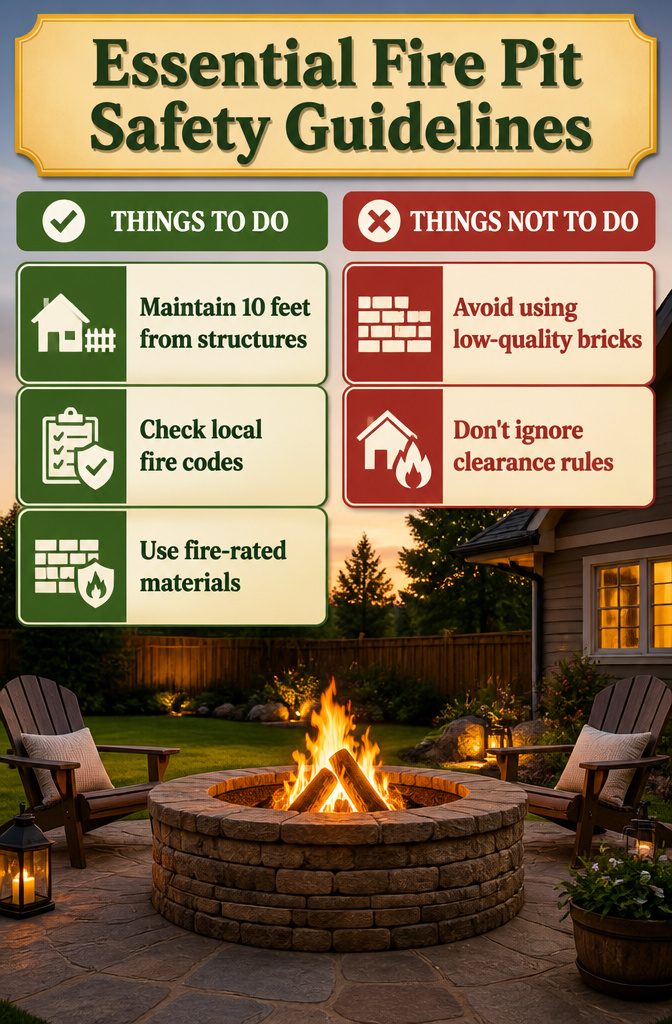
A fire pit needs at least 10 feet of clearance from your house, garage, or fence, and that number comes straight from what most home insurance policies require.
I treat it as the bare minimum, not the target, because embers travel farther than you expect on a breezy night.
Local fire codes add another layer. Some towns ban open burning entirely; others limit pit size, fuel type, or hours.
A quick call to your fire marshal or building department takes ten minutes and saves you from a fine, a cease-and-order, or worse, an insurer denying a claim because the pit sat four feet from your siding instead of ten.
Materials matter too. Standard clay bricks or ordinary pavers will crack or spall after a few hot fires, so the inner ring should be firebrick or a rated metal insert.
I have seen DIY builds that skip this to save $30, then watched the walls crumble within a season. The extra cost buys you years of safe use, not just peace of mind.
Frequently Asked Questions
How deep should I dig for a fire pit?
Dig 6 inches deep across the entire circle, not just the center.
A flat plane that tilts slightly toward one edge lets rain drain out instead of soaking your gravel base. Nearly vertical walls where the first course of block will sit keep the wall from pushing outward over time.
What materials do I need to build a fire pit?
You need concrete pavers or stones, crushed stone for the base, landscape adhesive, and firebricks to line the inside wall where the heat concentrates.
A metal fire pit ring is optional but recommended if your pavers are under 2 inches thick or you plan tall fires. Skip pea gravel; the sharp edges of crushed stone lock together and stay put under pressure.
How much does it cost to build a DIY fire pit?
A bare-bones build runs about $60 using thirty-six pavers at roughly $0.77 each, plus drainage stone and adhesive.
A larger 15-foot diameter setup with full gravel, edging, fabric, and seating space lands near $450. Adding a metal fire ring pushes the total up $40–$80 but saves the wall from thermal shock.
Is it cheaper to buy or build a fire pit?
Building your own is cheaper for anything beyond a basic portable metal bowl, which costs least upfront but rusts through in a few seasons.
A DIY paver ring at $53–$110 outlasts store-bought metal and costs far less than pre-built masonry kits or professional installs.
What is the best thing to put in the bottom of a fire pit?
Crushed stone, not pea gravel.
The sharp edges interlock when tamped and create a stable, level surface for your first course of pavers. Bring the layer up even with surrounding ground so your wall starts flat; any tilt here gets magnified as you stack higher.





