
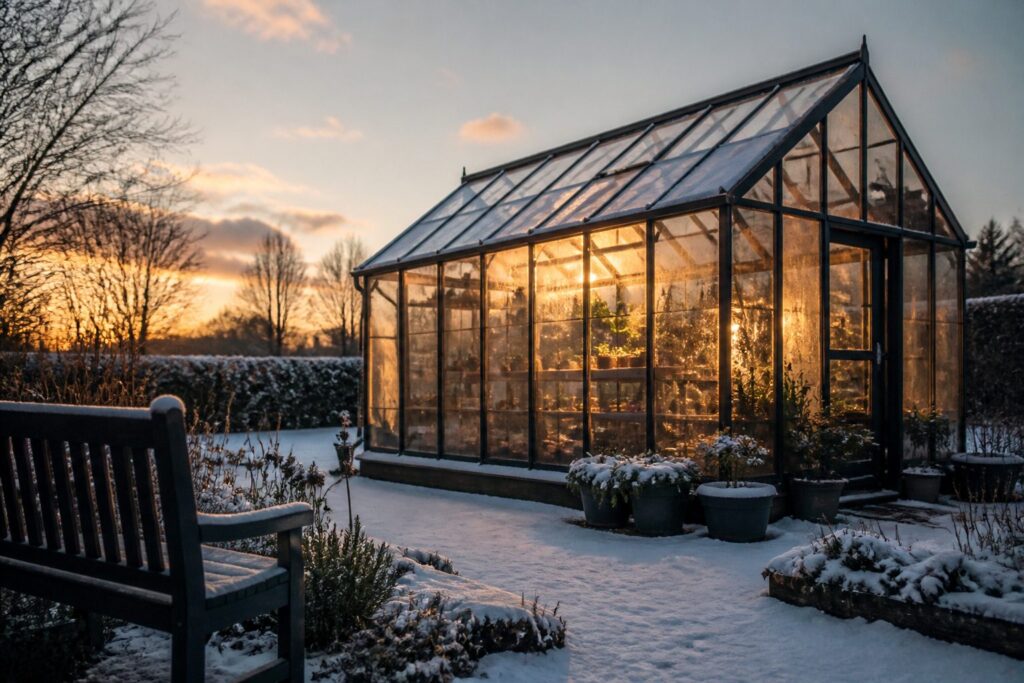
Winter greenhouse maintenance is the seasonal work of inspecting, cleaning, and adjusting your structure so it survives freezing temperatures without structural failure or pest infestations.
Most greenhouses are rated for only 20 lbs/ft² of snow load, which wet accumulation reaches faster than it sounds.
I start by sighting down the frame for panels out of plumb and fasteners that wiggle under fingertip pressure, because a dime-width gap in November becomes a bent cross-member by March.
Inspect the Structure Before the Cold Sets In
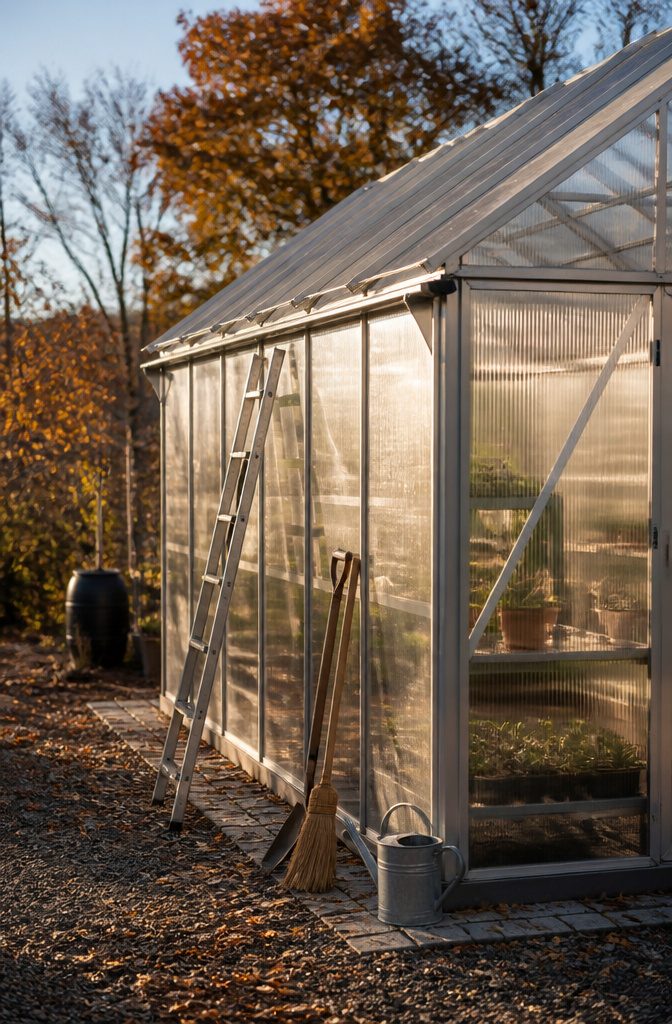
A greenhouse frame that looks straight in October can settle into a lean by January.
I start every winter prep by sighting down the length of the structure for panels that have drifted out of plumb, rooflines that sag between rafters, and fasteners that wiggle under fingertip pressure.
Most greenhouses are rated for about 20 lbs/ft² of snow load, which sounds generous until wet snow stacks up dense and heavy.
At 6–8 inches of accumulation, I get the long-handled broom or snow rake out and pull it down from the ground, never from the roof itself, and never all from one side at once.
The sudden shift in load is what warps a frame.
The bolts and brackets are the part I used to forget. Winter wind and freeze-thaw cycles work steel fittings loose a fraction of a turn at a time.
I now check structural bolts at least twice yearly, once before the cold and once as it breaks, tightening anything that moves under light pressure.
A gap you can slide a dime into in November becomes a bent cross-member by March.
Clean Every Surface and Disinfect Before You Close Up
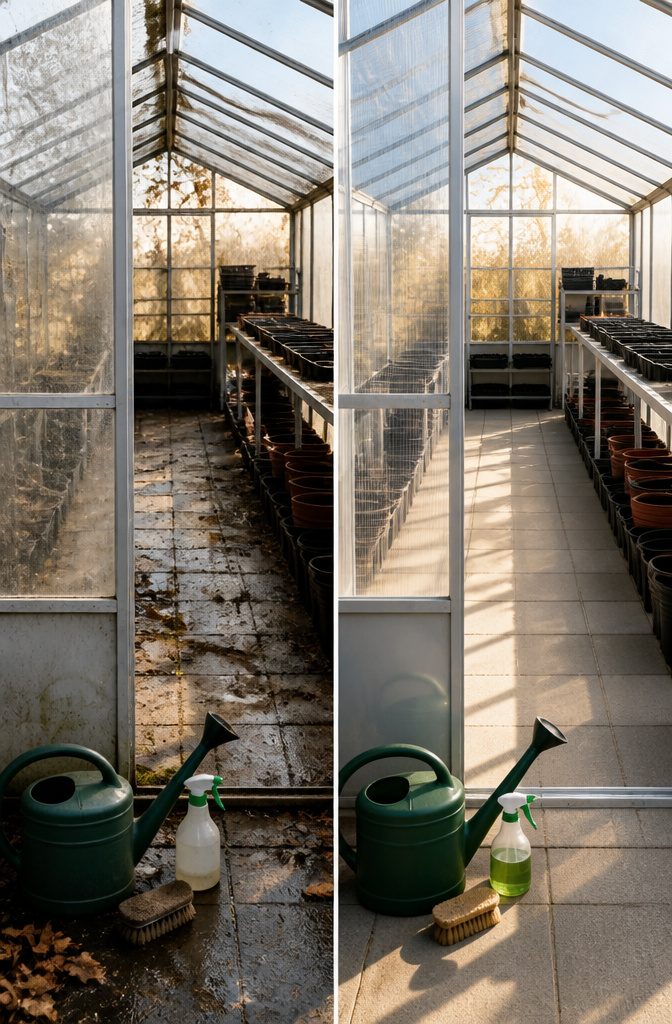
Dead plants and debris left inside over winter are where pests and diseases spend the cold months waiting for spring.
I pull every spent plant, sweep the floor until it’s clear, and then go after the corners where spiders and fungus gnats actually hide.
A mild soap solution scrubs the interior walls and floors clean without risking the UV-protective coating on polycarbonate panels.
High-pressure washers and harsh chemicals strip that coating and shorten panel life, so I skip them entirely. For the irrigation lines, I flush them out and disinfect to clear algae buildup that would otherwise clog the system before March.
I also disinfect every tool, pot, and tray with a bleach-and-water solution before I store them.
Throw out the disposable ones; they’re not worth the risk. Cobwebs come down, gutters get cleared, and panels get wiped inside and out with a soft sponge and clean water.
The whole job takes an afternoon if you start on a sunny day in late fall, and it pays back directly in the number of pest problems you don’t fight come spring.
Winterize Irrigation and Drain All Water Lines
Water expands by about 9 percent when it freezes, and that expansion generates enough force to split PVC, crack brass fittings, and warp aluminum lines.
Every hose, pipe, and valve in your greenhouse needs to be bone dry before the first hard freeze, or you will be replacing hardware in spring.
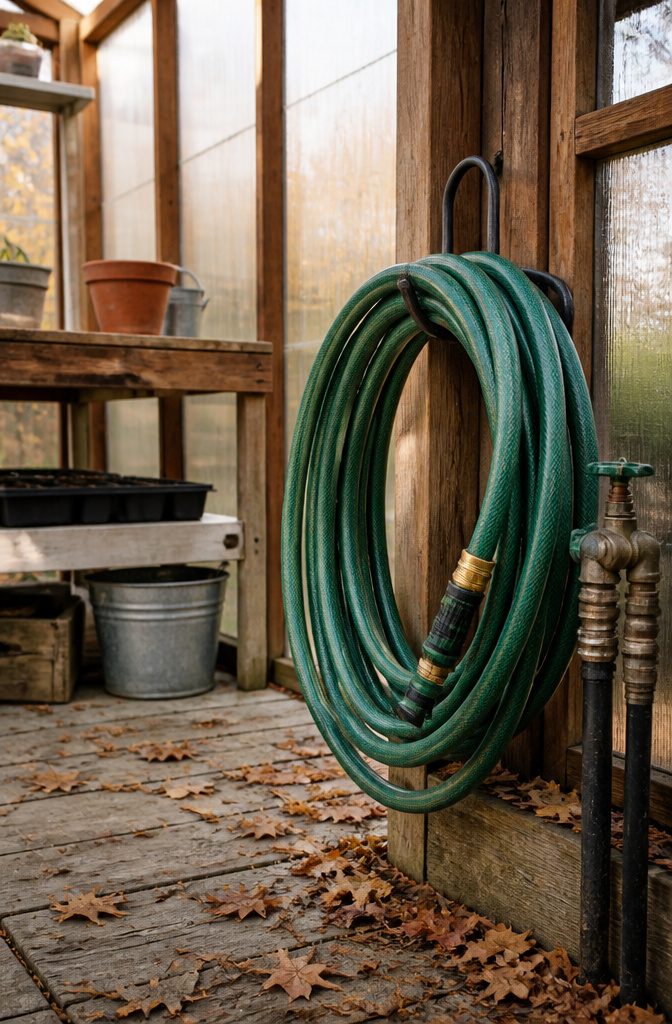
I drain hoses from the highest point downhill, then coil them in a shed or garage where temperatures stay above freezing.
The sun can degrade rubber over a winter left outside, so even "frost-proof" storage beats a wall hook exposed to the elements.
For permanent irrigation lines, I open every drain valve and low-point bleeder, then run the system briefly with compressed air if I have a compressor handy.
Without air, I disconnect the head and blow through the open line with lung power; it is tedious but it works. A line that still drips when you shake it is a line that will freeze.
Drip emitters and misting nozzles trap water in their tiny chambers.
I unscrew them, shake them dry, and store them in a jar indoors. The threads on these small parts strip easily if you force them frozen, so the two minutes of prevention pays back tenfold.
Adjust Vents for Winter Airflow
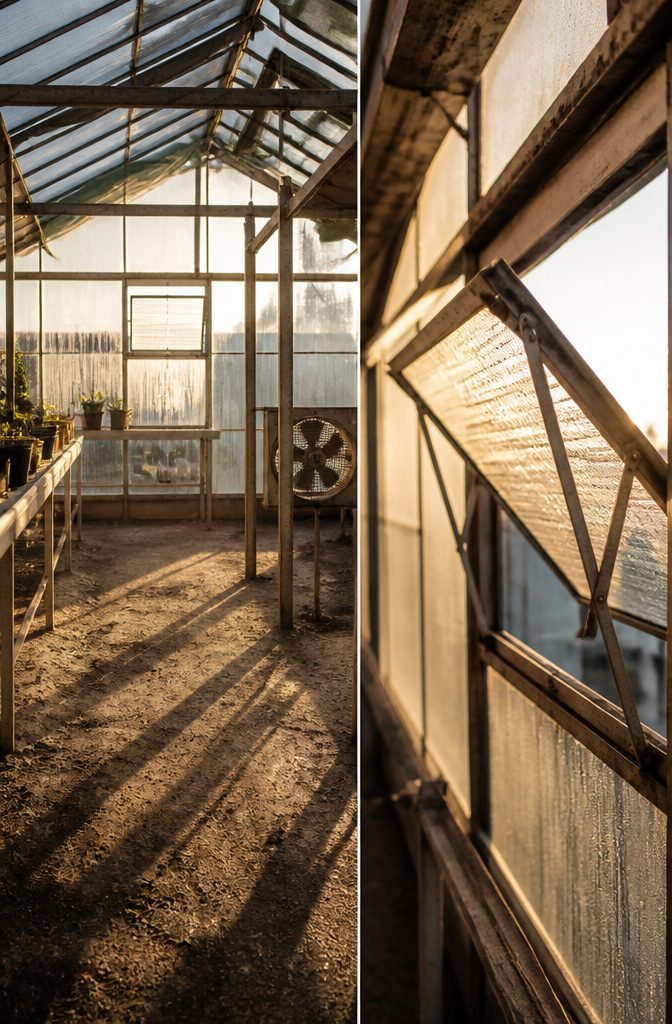
Sealed and stagnant is where the trouble starts in a winter greenhouse. Moisture evaporates from soil and transpires from leaves, and with nowhere to go it condenses on every cold surface: the glazing, the frame, and the plants themselves.
Relative humidity above 80 percent is where fungal disease risk rises sharply, with botrytis and mildew developing fast in cold, still, wet air.
The fix costs you a few degrees, and I would pay that price every time.
Crack a window for an hour or two on sunny winter days, or let an exhaust fan run briefly during the warmest part of the afternoon. You lose a little heat and remove a great deal of moisture.
Watch the panels in the morning: water droplets on the inside of the glazing mean overnight humidity stayed too high, and you need more air exchange during the day.
Combustion heaters like propane add to the problem by releasing water vapor with the heat.
Electric heaters or a properly vented wood stove warm the air without that extra moisture load. Either way, you want balanced airflow, not a sealed box.
Clear Snow Load Before It Threatens the Frame
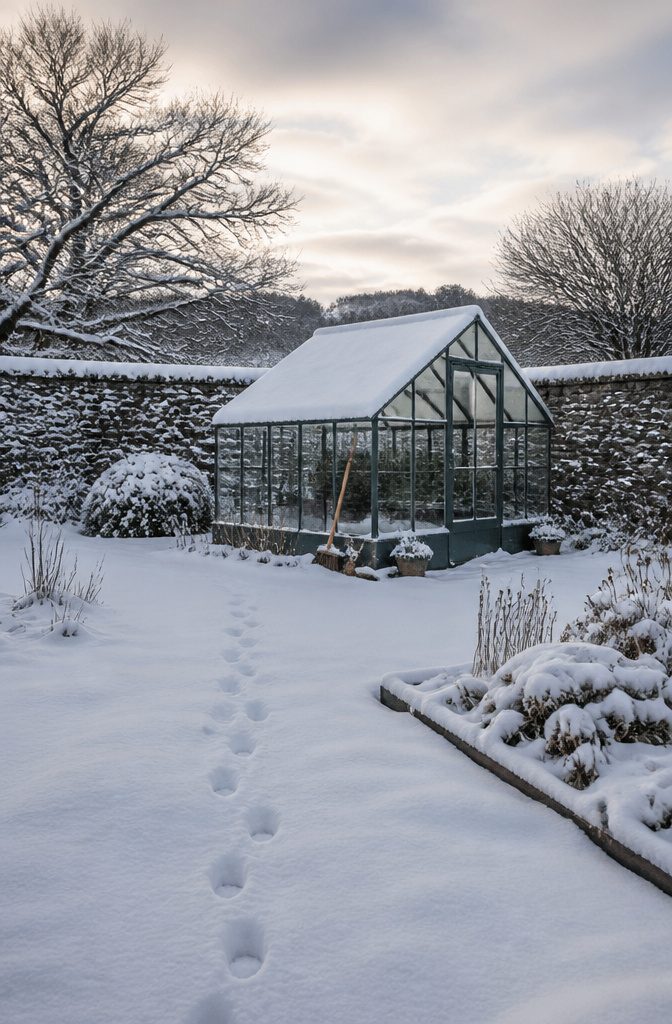
Most greenhouses are built to handle about 20 lbs/ft² of snow load, which sounds generous until wet, heavy accumulation starts pressing on the frame.
I clear my roof when snow reaches 6 to 8 inches, before the weight has a chance to compact into something denser and harder to shift.
A long-handled broom or snow rake lets me work from the ground, pulling the load down in gradual passes so I do not jolt the structure with a sudden release.
The tool matters less than the timing.
Waiting until the greenhouse groans under drifted snow turns an easy hour of maintenance into a risky rescue. Sharp implements are out, and climbing the roof is not worth the gamble on brittle panels or slick framing.
After any heavy storm, I stop at the door and scan the eaves for sliding ice before I step inside.
A sheet that breaks loose overhead can do real harm, and sagging sections or split framing visible from a distance mean the structure needs professional eyes, not mine.
Check Heating and Add Thermal Mass
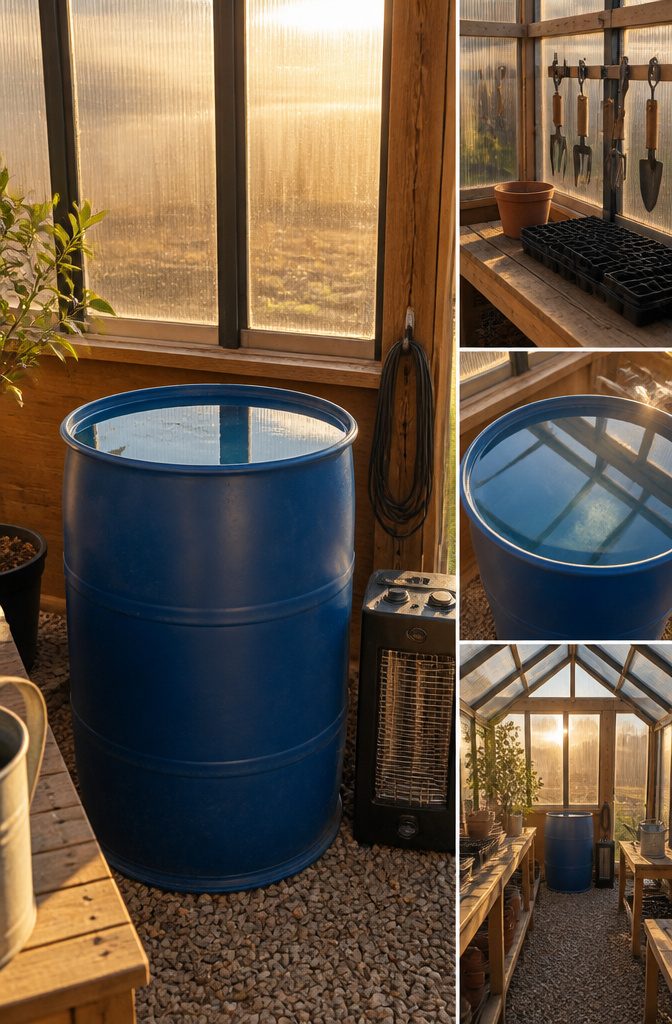
Heaters get tested in autumn the way smoke detectors get tested after the news runs a battery-fire story: too late, but better than never.
I run each unit until the thermostat clicks off, then feel the outlet cord for warmth that hints at resistance, and I check the intake for dust that turns a 1,500-watt element into a 1,200-watt liability.
If the fan stutters or the ceramic core smells like burning hair, that unit gets replaced before the first freeze, not after.
The glazing does most of the work once the sun drops. Standard 6mm twin-wall polycarbonate carries an R-value of roughly 1.6, while 10mm four-wall bumps that to about 2.1 with twice the walls and three times the air chambers.
The thicker material holds roughly 30 percent more heat, which means less load on the heater and slower temperature drop after dark. Most consumer greenhouses ship with the thinner stuff, so the heater matters more.
For overnight stability, I fill a 55-gallon barrel with water and set it where the afternoon sun hits it longest.
The water should enter the tank around 120°F if you have a hose bib that runs hot, or let solar gain do the work over a clear day.
The barrel releases that stored heat from dusk until about three in the morning, bridging the gap when the heater works hardest.
One barrel won’t carry a greenhouse through a week of clouds, but it smooths the nightly curve enough that the heater cycles less and the electric bill drops.
Swap to Cold-Hardy Crops by Late Fall
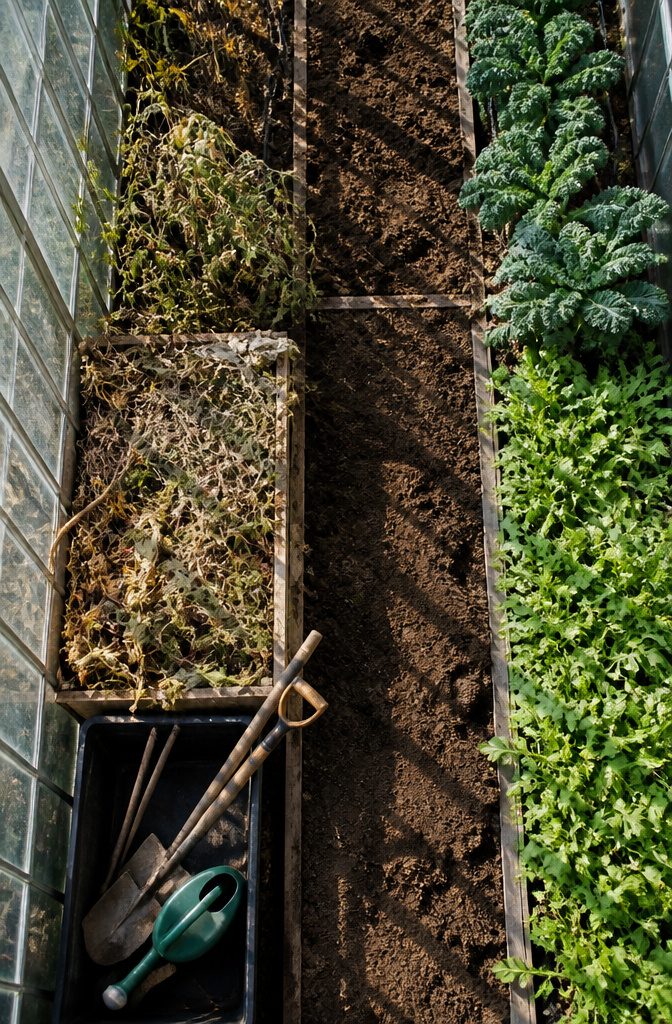
The last warm-season tomatoes and peppers need to come out before they rot and spread mold spores through an unheated greenhouse. I pull the plants, harvest any usable fruit, and turn the space over to crops that can handle frost.
Kale, spinach, arugula, mache, and hardy lettuce are the reliable backbone for winter production without heat.
Root vegetables like carrots, beets, and radishes survive freezing temperatures in the soil, while brassicas including broccoli, cabbage, and Brussels sprouts actually sweeten after cold exposure. Garlic and onions round out the planting.
Timing matters more than variety.
Most of these need to be established before daylight hours shorten, so late fall planting is cutting it close for slow growers. Fast greens can still go in, but anything needing strong roots should already be in the ground.
A single layer of floating row cover laid directly over the plants adds 5–8°F of frost protection, often the difference between harvest continuing and stopping entirely.
It costs almost nothing and stays in place through the coldest nights. In Zones 5 and 6, that combination typically carries spinach and mache into December or January with no supplemental heat at all.
Polycarbonate Against Glass: What Holds Heat
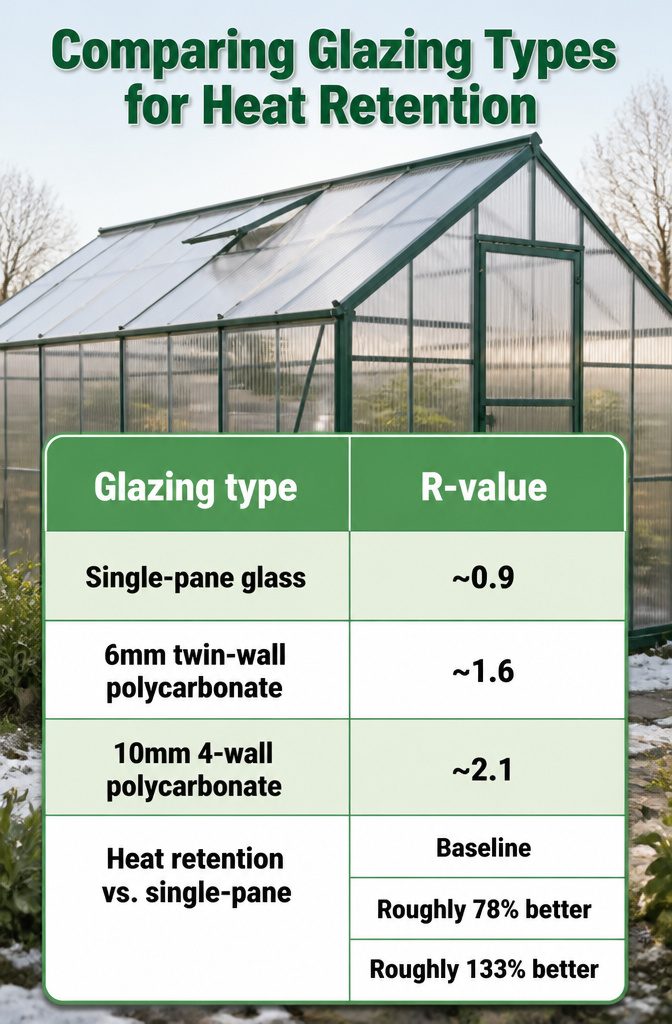
Most of the heat your greenhouse loses after dark escapes through the glazing, not the frame.
The panels are doing roughly 85 to 90 percent of the insulation work, so material choice here is where winter maintenance starts paying off or costing you.
Single-pane glass rates about R-0.9, which means heat moves through it fast once the sun drops.
Standard 6mm twin-wall polycarbonate, the glazing on most consumer kits, sits around R-1.6. Step up to 10mm 4-wall polycarbonate and you hit roughly R-2.1, with twice the walls and three times the air chambers inside.
That 30 percent jump over twin-wall buys extra weeks of shoulder-season growing without running a heater, and smaller bills if you do heat.
| Glazing type | R-value | Heat retention vs. single-pane |
|---|---|---|
| Single-pane glass | ~0.9 | Baseline |
| 6mm twin-wall polycarbonate | ~1.6 | Roughly 78% better |
| 10mm 4-wall polycarbonate | ~2.1 | Roughly 133% better |
I would not put single-pane glass on a greenhouse I planned to use past October in most U.S. climates.
The upfront savings disappear in heating costs or lost plants. Polycarbonate also handles snow load and impact better, which matters when you are not checking the structure daily in bad weather.
What you give up is clarity: glass looks cleaner longer, and if your greenhouse sits outside a kitchen window you look through every morning, that counts for something. For a working winter structure, though, polycarbonate wins.
Electric Heat Against Passive Solar: Two Approaches
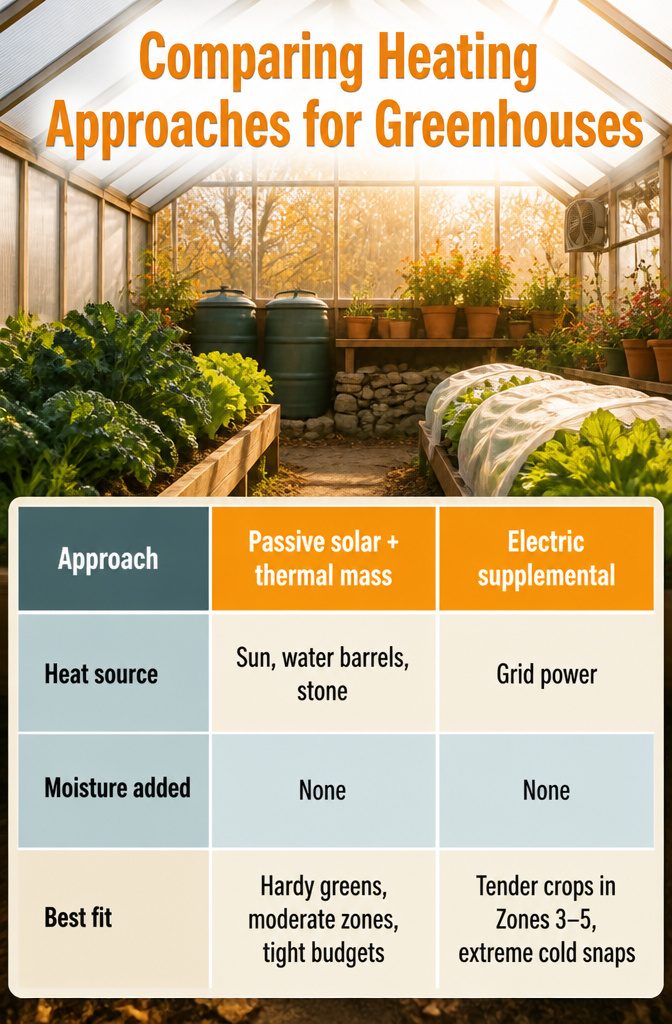
Passive solar carries most of the winter load in a well-oriented greenhouse, with thermal mass and row cover doing the heavy lifting for hardy crops through shoulder season and beyond.
Electric heat is the drier choice; it warms air without adding moisture, which matters when condensation already threatens your glazing on cold nights.
Combustion heaters like propane dump water vapor into the space, raising humidity exactly when you least want it.
| Approach | Heat source | Moisture added | Best fit |
|---|---|---|---|
| Passive solar + thermal mass | Sun, water barrels, stone | None | Hardy greens, moderate zones, tight budgets |
| Electric supplemental | Grid power | None | Tender crops in Zones 3–5, extreme cold snaps |
I would run passive solar alone until the crop demands more than hardy greens or the zone drops below what glazing and row cover can handle.
Adding electric heat means pricing a dedicated circuit into your winter utility bill before you commit; a space heater should never share a line with your grow lights or fans.
Wood stoves offer relatively dry heat too, but installation and ventilation put them outside most weekend-budget operations. For reliability, electric wins; for cost, passive solar does.
Cold-Hardy Plants and Tender Ones: Know the Difference
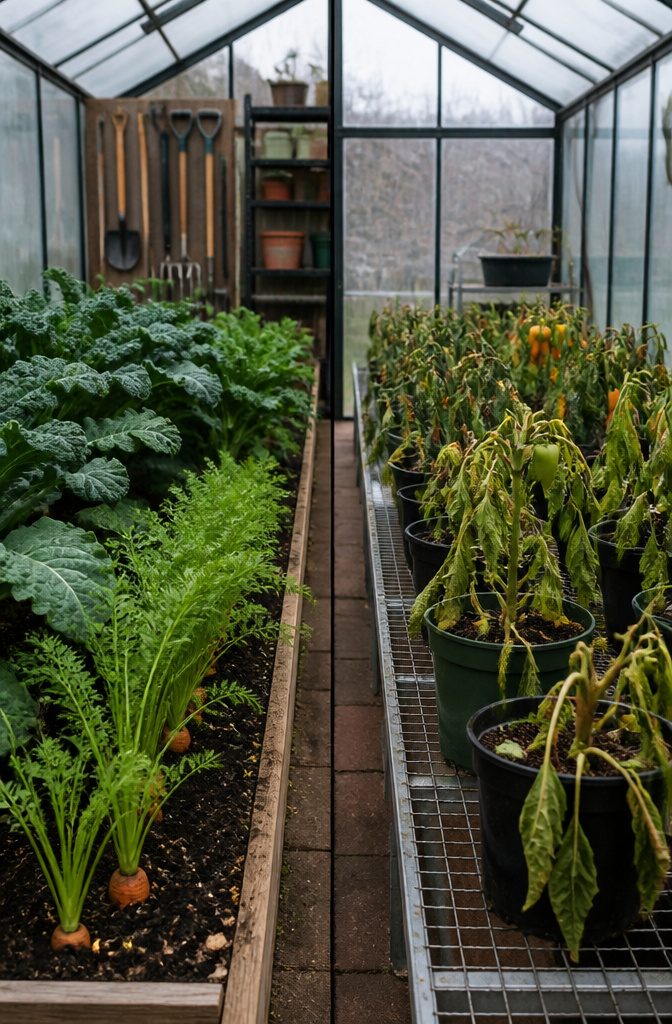
Leafy greens, root vegetables, and alliums handle unheated greenhouse conditions without complaint.
Brassicas actually improve in cold weather, turning sweeter as temperatures drop. These are the crops to establish going into winter, not the ones to pull out.
Tender plants are a different calculation entirely. Tomatoes, peppers, citrus, and orchids demand supplemental heat or they will not survive.
An unheated structure settles close to outside temperature overnight, so row cover over the plants buys you only a few weeks in Zones 5 and 6, carrying harvest into December or January at best.
| Plant type | Unheated tolerance | What it needs |
|---|---|---|
| Kale, arugula, chard, lettuce | Full | Nothing added |
| Carrots, beets, radishes, turnips | Full | Nothing added |
| Garlic, onions, leeks, scallions | Full | Nothing added |
| Brussels sprouts, broccoli, cabbage, kohlrabi | Full | Nothing added; flavor improves |
| Tomatoes, peppers, citrus, orchids | None | Active heating |
| Perennial propagation | Partial | Occasional frost blanket |
If you are heating the space, you are heating for the tender minority. My preference is to let the cold-hardy crops carry the winter and move the tender ones indoors.
Low-tech protection like frost blankets or Walls of Water around individual plants creates insulated air pockets without the cost of warming the entire greenhouse.
Why Structure, Cleaning, and Ventilation Matter Most
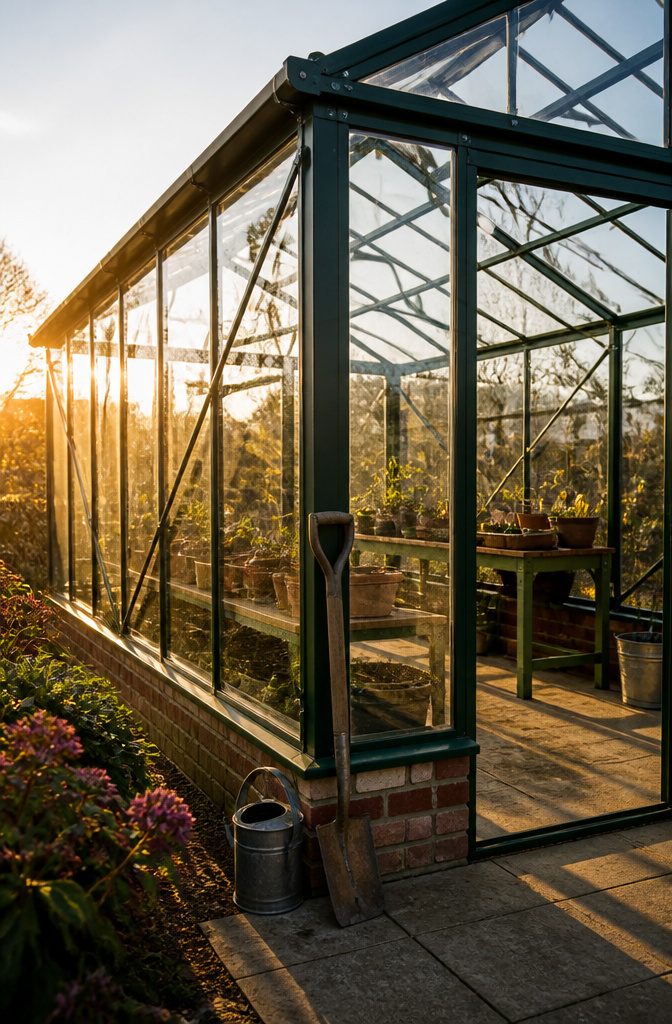
Snow loads and wind gusts test a greenhouse frame harder than any other season.
I start every winter prep by pressing on corners and joints to feel for flex, because movement there means the structure is already losing the battle against weight it has not yet taken on.
A rigid frame holds; a shifting one needs bracing now, not after the first storm.
Cleaning ranks second because the pests and fungal spores that survive winter do not announce themselves.
They wait in debris, in irrigation lines, on bench surfaces. A mild soap scrub and a flush of the water system costs an afternoon and removes the overwintering population before spring growing gives it a foothold.
Skip this, and you are managing disease in March instead of preventing it in November.
Ventilation closes the loop. Winter sealing traps humidity, and condensation on the glazing in the morning signals relative humidity high enough to invite rot.
Cracking a vent for an hour on a sunny afternoon trades a few degrees for air exchange that keeps the enclosure below the danger threshold.
The reader who prioritizes these three before fussing with heaters or crop swaps builds a greenhouse that survives to grow another year.
Frequently Asked Questions
Is it safe to enter a greenhouse after a heavy snowstorm?
Pause at the door and scan the roof for sliding ice before you step inside.
A sheet that breaks loose overhead can cause serious injury. After any heavy storm, look from a distance for sagging sections or split framing that would signal structural damage.
How often should I check my greenhouse structural bolts?
Check structural bolts at least twice yearly, once before cold weather arrives and again as winter breaks.
Freeze-thaw cycles and winter wind loosen steel fittings gradually, and a gap you can slide a dime into in November becomes a bent cross-member by March.
What can you grow in a greenhouse in winter without heat?
Kale, spinach, arugula, mache, and hardy lettuce grow reliably in an unheated greenhouse. Root vegetables like carrots, beets, and radishes survive freezing temperatures in the soil, while brassicas including broccoli, cabbage, and Brussels sprouts actually sweeten after cold exposure.
Do I need to winterize my greenhouse every year?
Yes, annual winterization is recommended even when only minor repairs are needed. Regular inspection and maintenance prevent small issues from becoming major problems and extend the life of your structure.
How much snow can my greenhouse handle?
Most greenhouses are rated for about 20 lbs/ft² of snow load. That rating sounds generous until wet, heavy snow stacks up dense, so start clearing at 6 to 8 inches of accumulation before the weight compacts into something harder to shift.
What do you do with a greenhouse in the winter?
Winter greenhouse maintenance centers on seven tasks: inspecting the structure, cleaning and disinfecting surfaces, winterizing irrigation, adjusting vents for airflow, clearing snow loads, testing heating systems, and swapping to cold-hardy crops.
How do the Amish heat their greenhouses?
Common approaches for any grower seeking low-cost heat include passive solar with water barrels for thermal mass, electric heaters, or properly vented wood stoves.
What cannot be grown in a greenhouse?
It does note that tomatoes, peppers, citrus, and orchids demand supplemental heat in winter and will not survive in an unheated structure.
What is the ideal temperature for a greenhouse in the winter?
For unheated structures, hardy crops survive near outdoor temperatures with row cover adding 5 to 8°F of frost protection. Tender plants require active heating to survive at all.





