
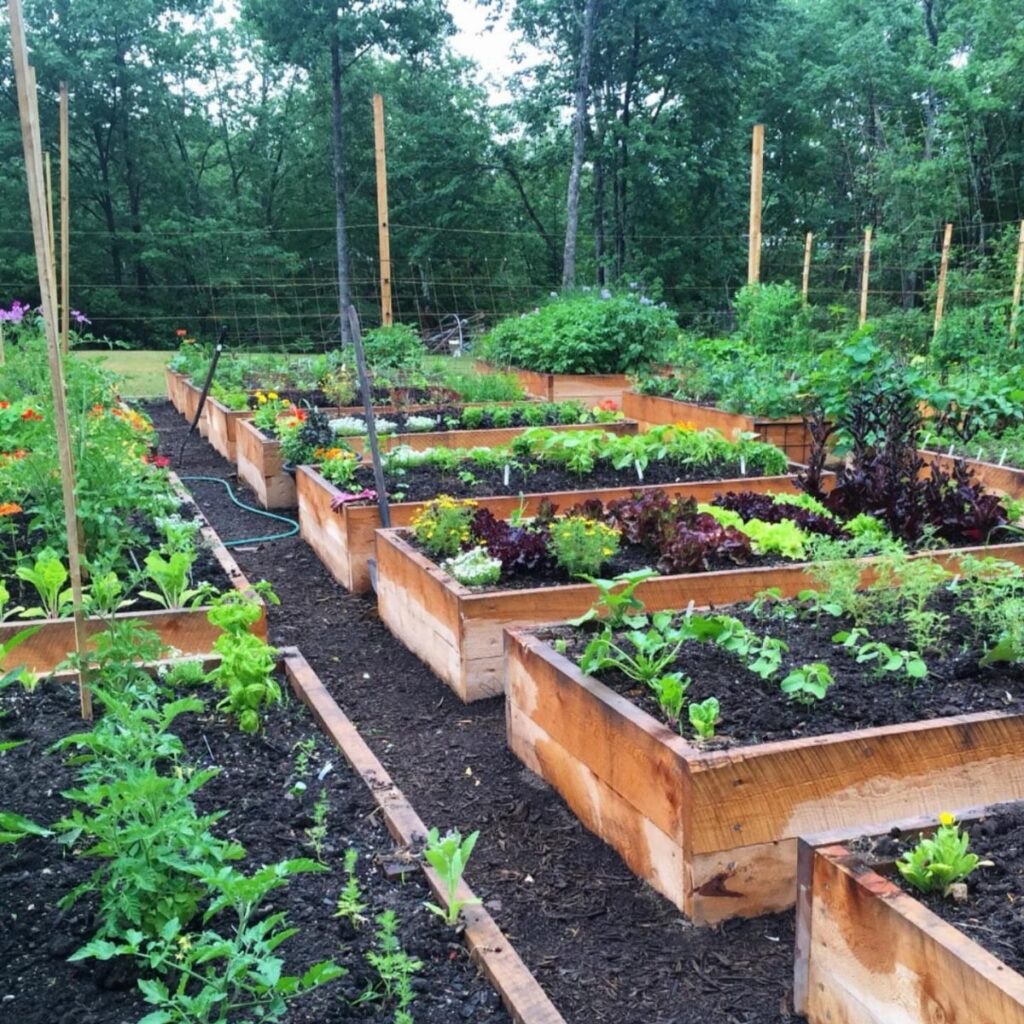
The ideas below run from a few cinder blocks to the cost of fieldstone and reclaimed brick, with most sitting in a weekend of cutting and assembly.
What picks one over another is whether you own the ground you are building on, since renters need planters that stack and move while homeowners can sink rebar deep enough to hold.
I will start with galvanized planters for that reason: they drain well, the zinc coating outlasts rot, and empty they weigh little enough to carry to the next place.
1. Galvanized Planters
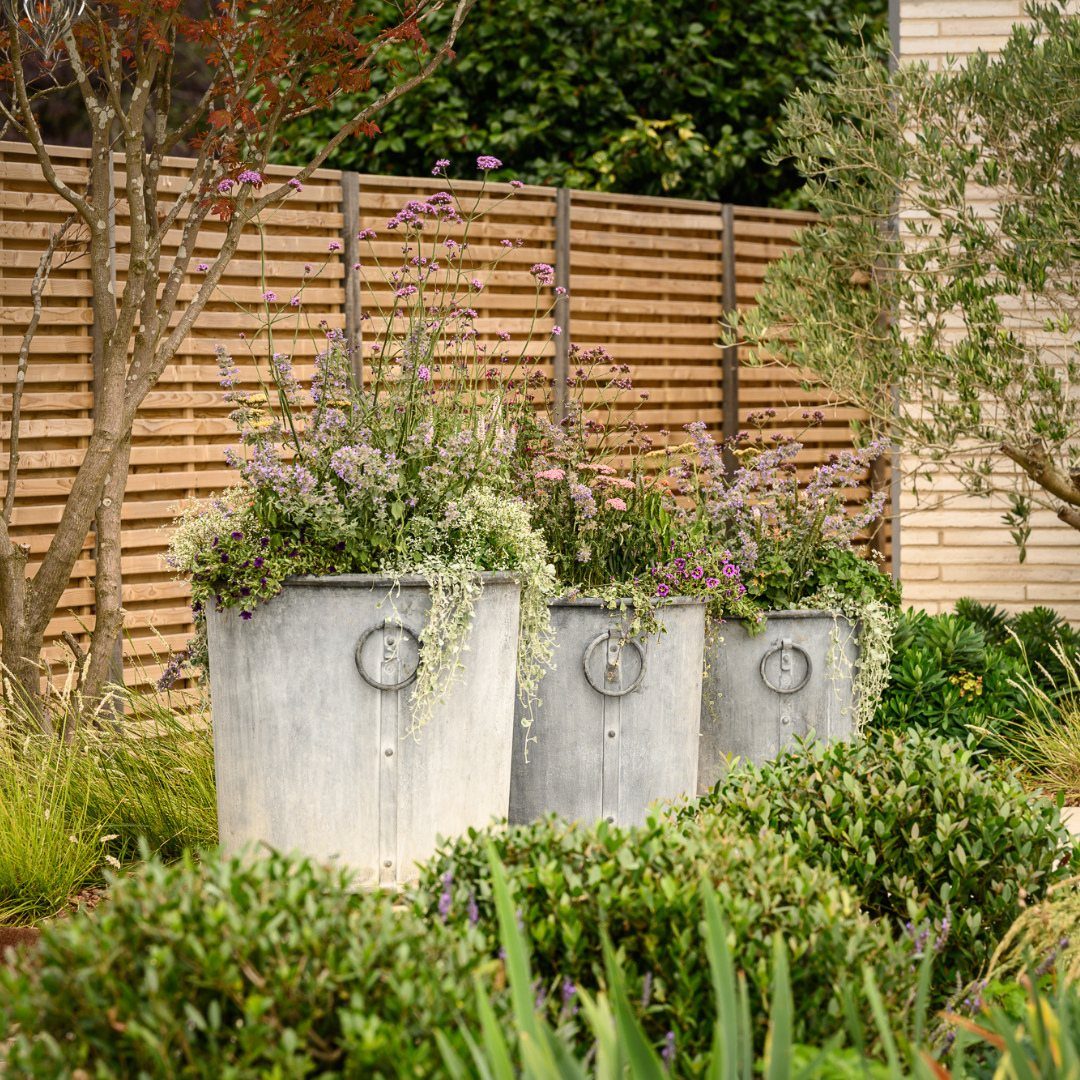
Galvanized planters give you raised beds without building anything permanent.
The bucket shape sits right on soil or patio, drains well, and the zinc coating handles years of wet dirt without rotting. I like them for renters who need to take their garden when they move; empty, stack and go.
2. Geometric Design
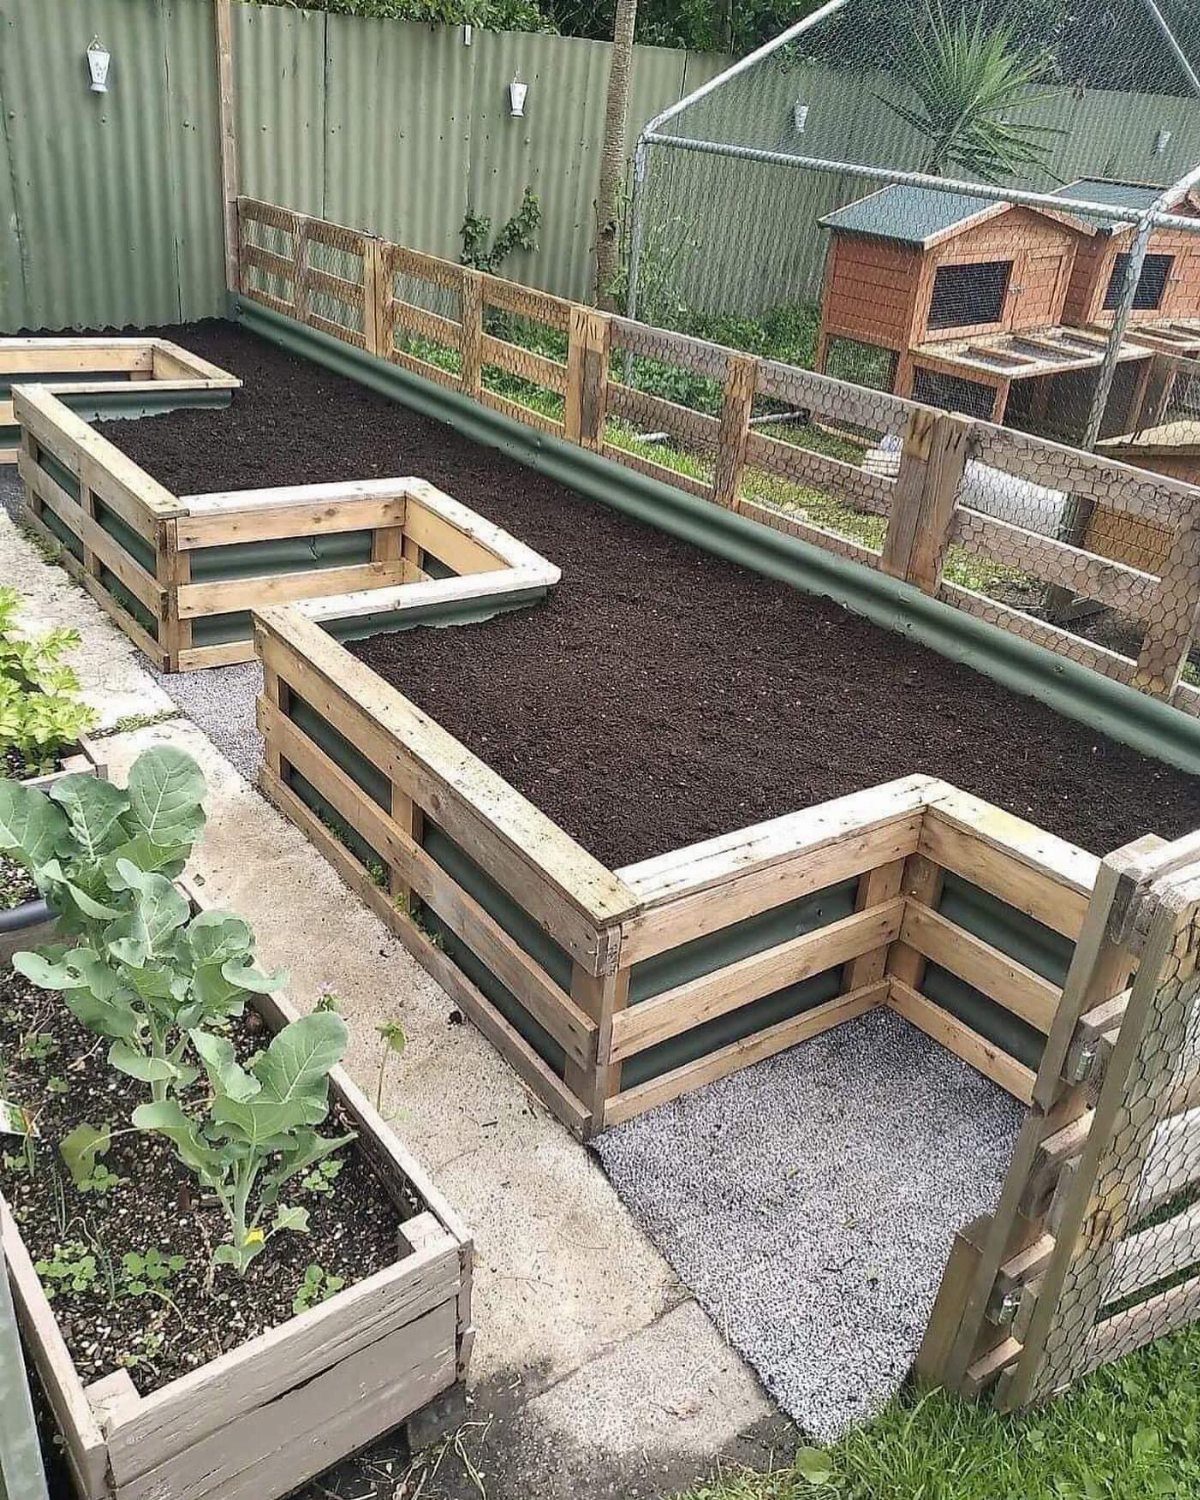
A zigzag or angled layout breaks up a long yard into usable sections.
Deep recesses in front suit root vegetables; the back rows handle leafy greens, and the gravel path keeps your boots clean at harvest. Geometry costs nothing extra in materials; it just takes planning the cuts.
3. Wooden DIY Raised Garden Bed
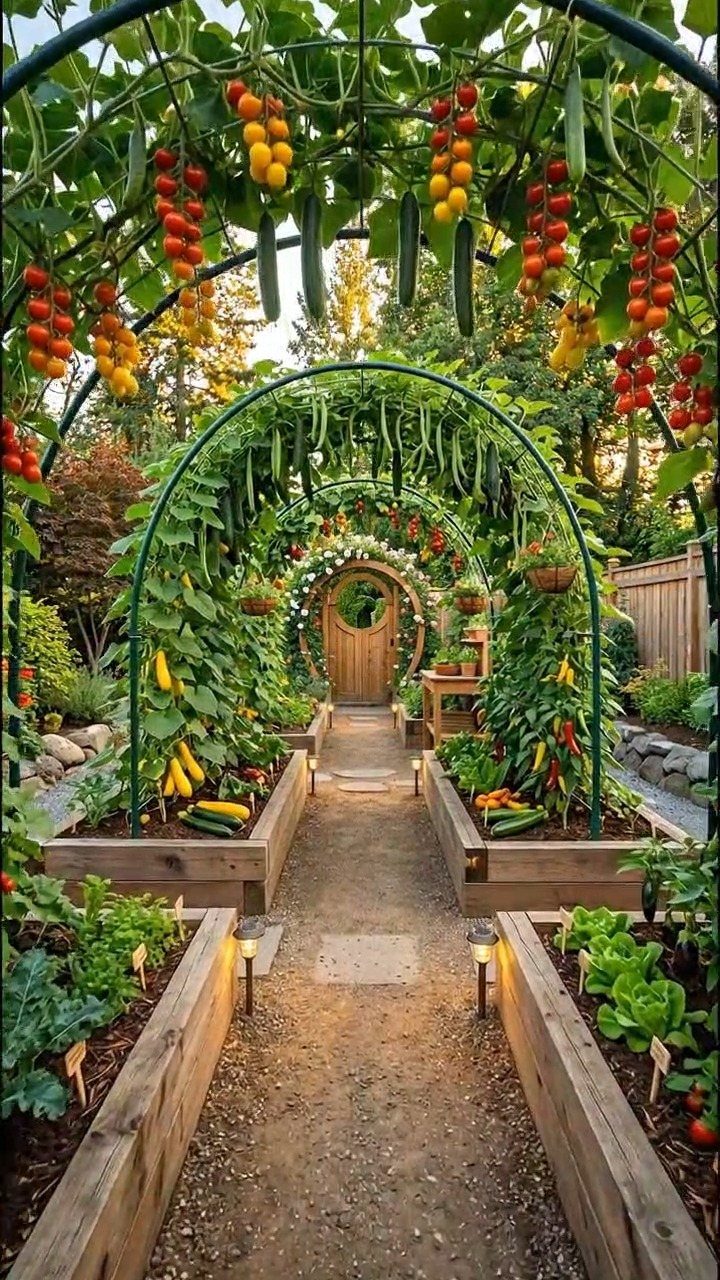
Wood frames with arched metal trellises turn a walkway into something you walk through, not past.
Cedar or redwood holds up years untreated; pressure-treated pine costs half but needs a liner against edibles. The arches carry tomatoes and cucumbers up and out of slug reach, which I care about more than the looks.
4. Elevated Wood Planter Boxes
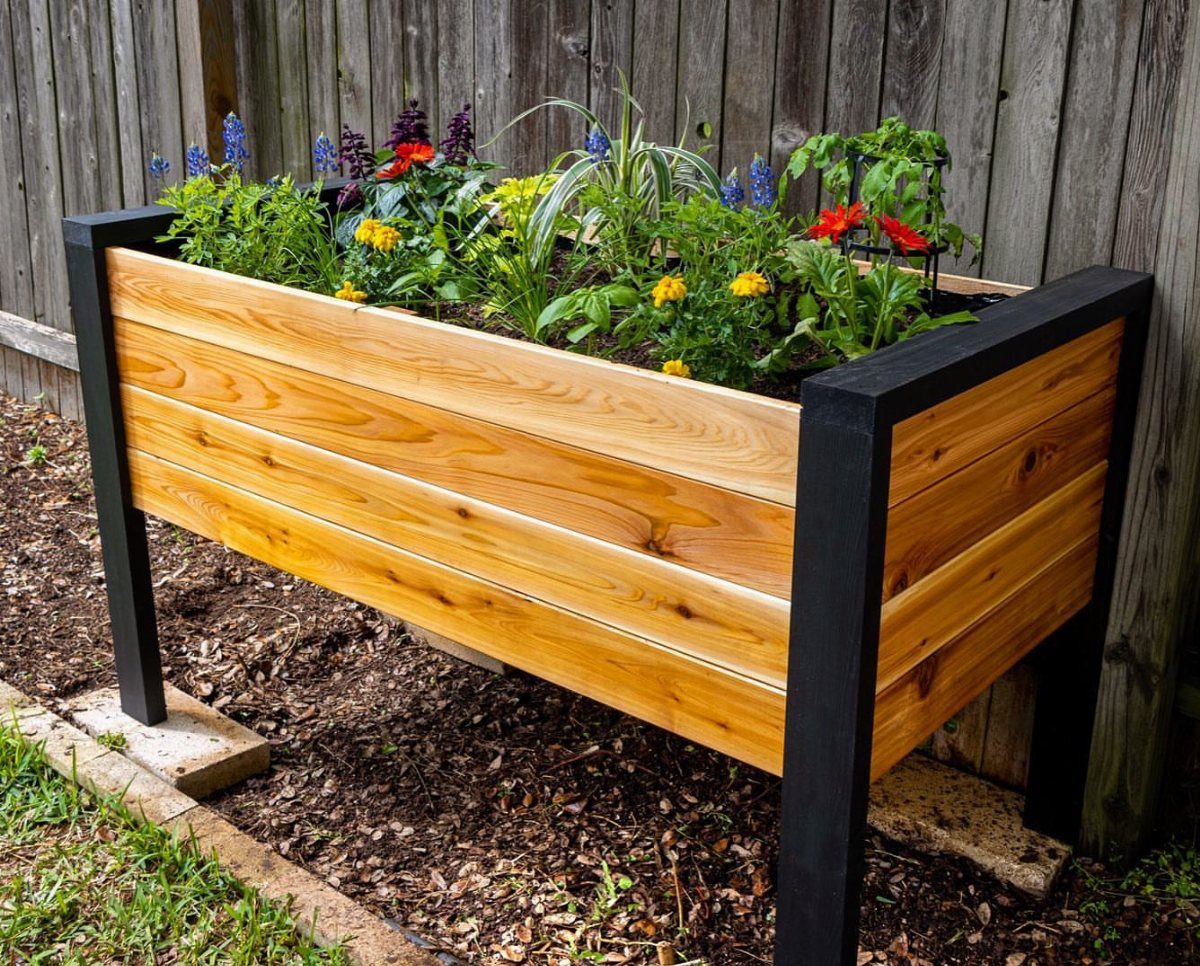
Standing height saves your knees and your back. A box on legs with a slatted floor drains properly; fill it with quality potting mix, not garden soil, or it weighs too much and compacts.
I would add caster wheels if you need to chase sun or dodge late frost on a patio.
5. Raised Beds with Trellises
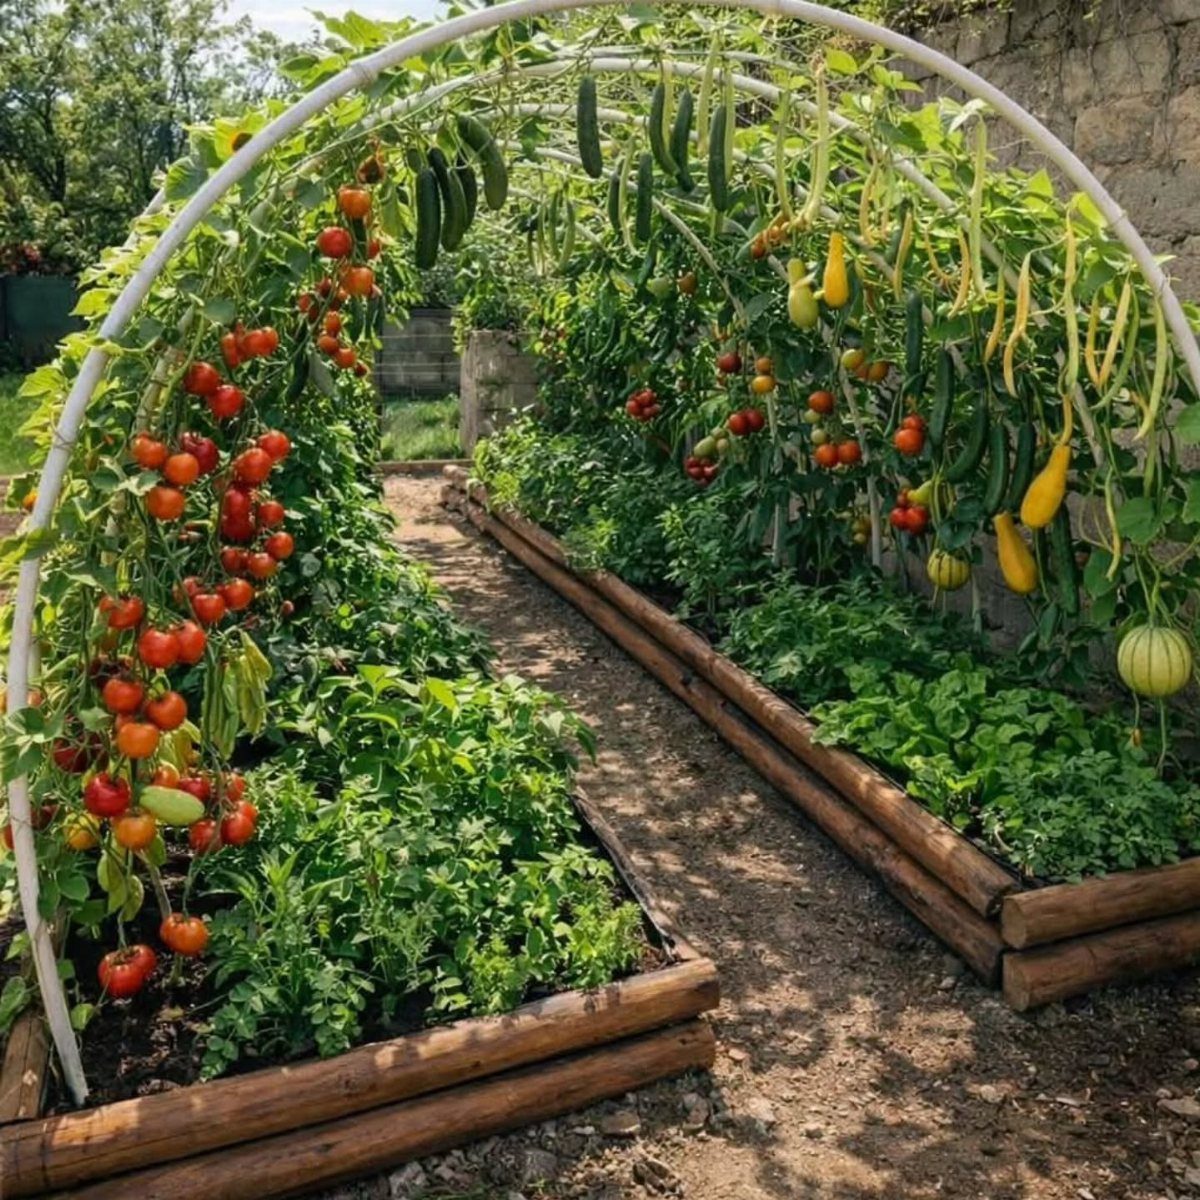
Log-sided beds with arched trellises give you the classic potager look with one weekend of work.
White-painted PVC or painted wood arches match the fence style; grow tomatoes, cucumbers or pole beans up them and you double your harvest in the same footprint.
The logs will shift and gap over seasons; stake corners with rebar driven well below the frost line.
6. Metal Bed
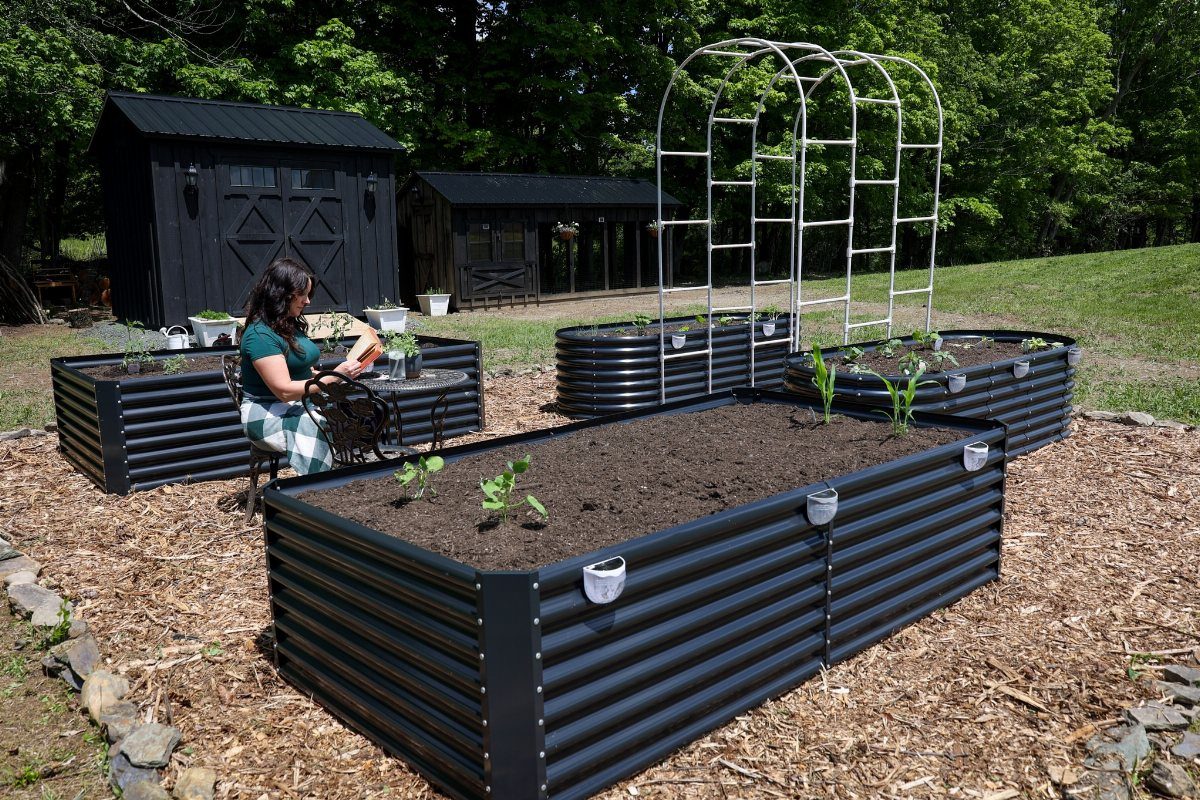
Corrugated metal panels bolted to wood frames cost less lumber now that dimensional lumber prices have stayed high. I would use aluminum or galvanized if I were buying new, but salvaged roofing is hard to beat for price.
7. Tiered Vertical Garden Bed
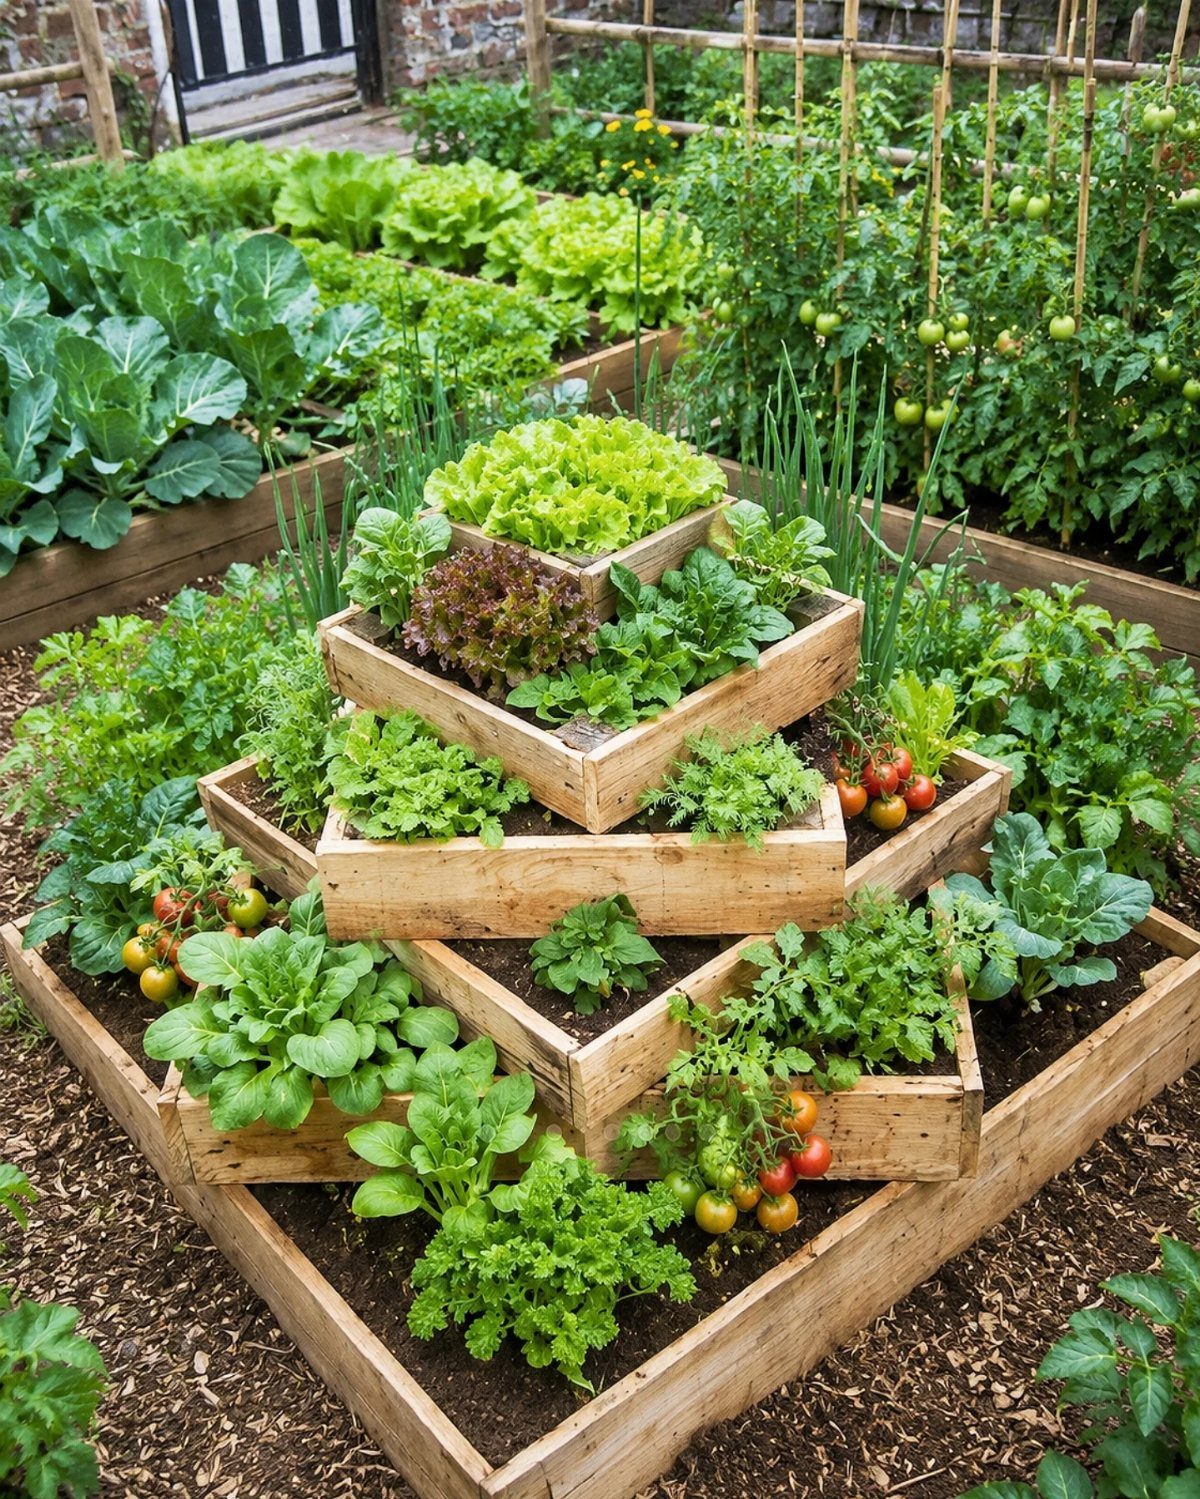
A pyramid of stacked boxes puts salad greens at waist height and root vegetables below, all in a footprint narrow enough for a balcony corner.
Cedar slats hold soil without bowing if you cross-brace each tier. I would line the interior with landscape fabric to keep the tiers from rotting where soil touches wood.
Watering runs downhill; the top box dries first, so plant drought-tolerant herbs up there and let moisture collect for tomatoes in the base. Fill with potting mix, not garden soil, or the weight collapses the stack.
8. Cinder Block Raised Garden Bed
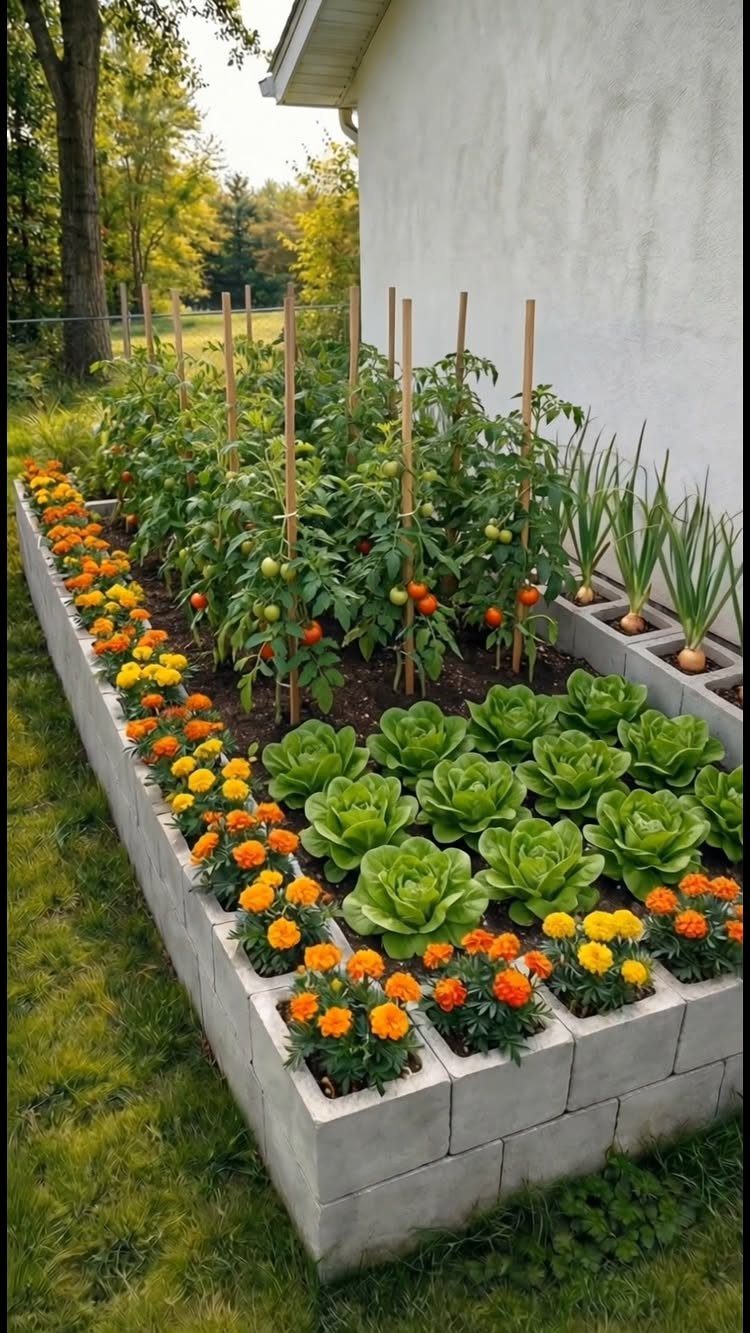
Concrete blocks run cheap at the big-box stores and interlock without mortar; a small bed takes roughly two dozen. The hollow cores fill with soil for marigolds or onions, and the thermal mass warms roots faster in spring.
Stack them two high for carrot depth, one for lettuce. I would cap the top course with flat pavers so I do not scrape my knees on sharp edges.
The pH leaches slightly alkaline over years; test every season if you are growing acid-loving crops like blueberries.
9. Natural Stone Raised Bed
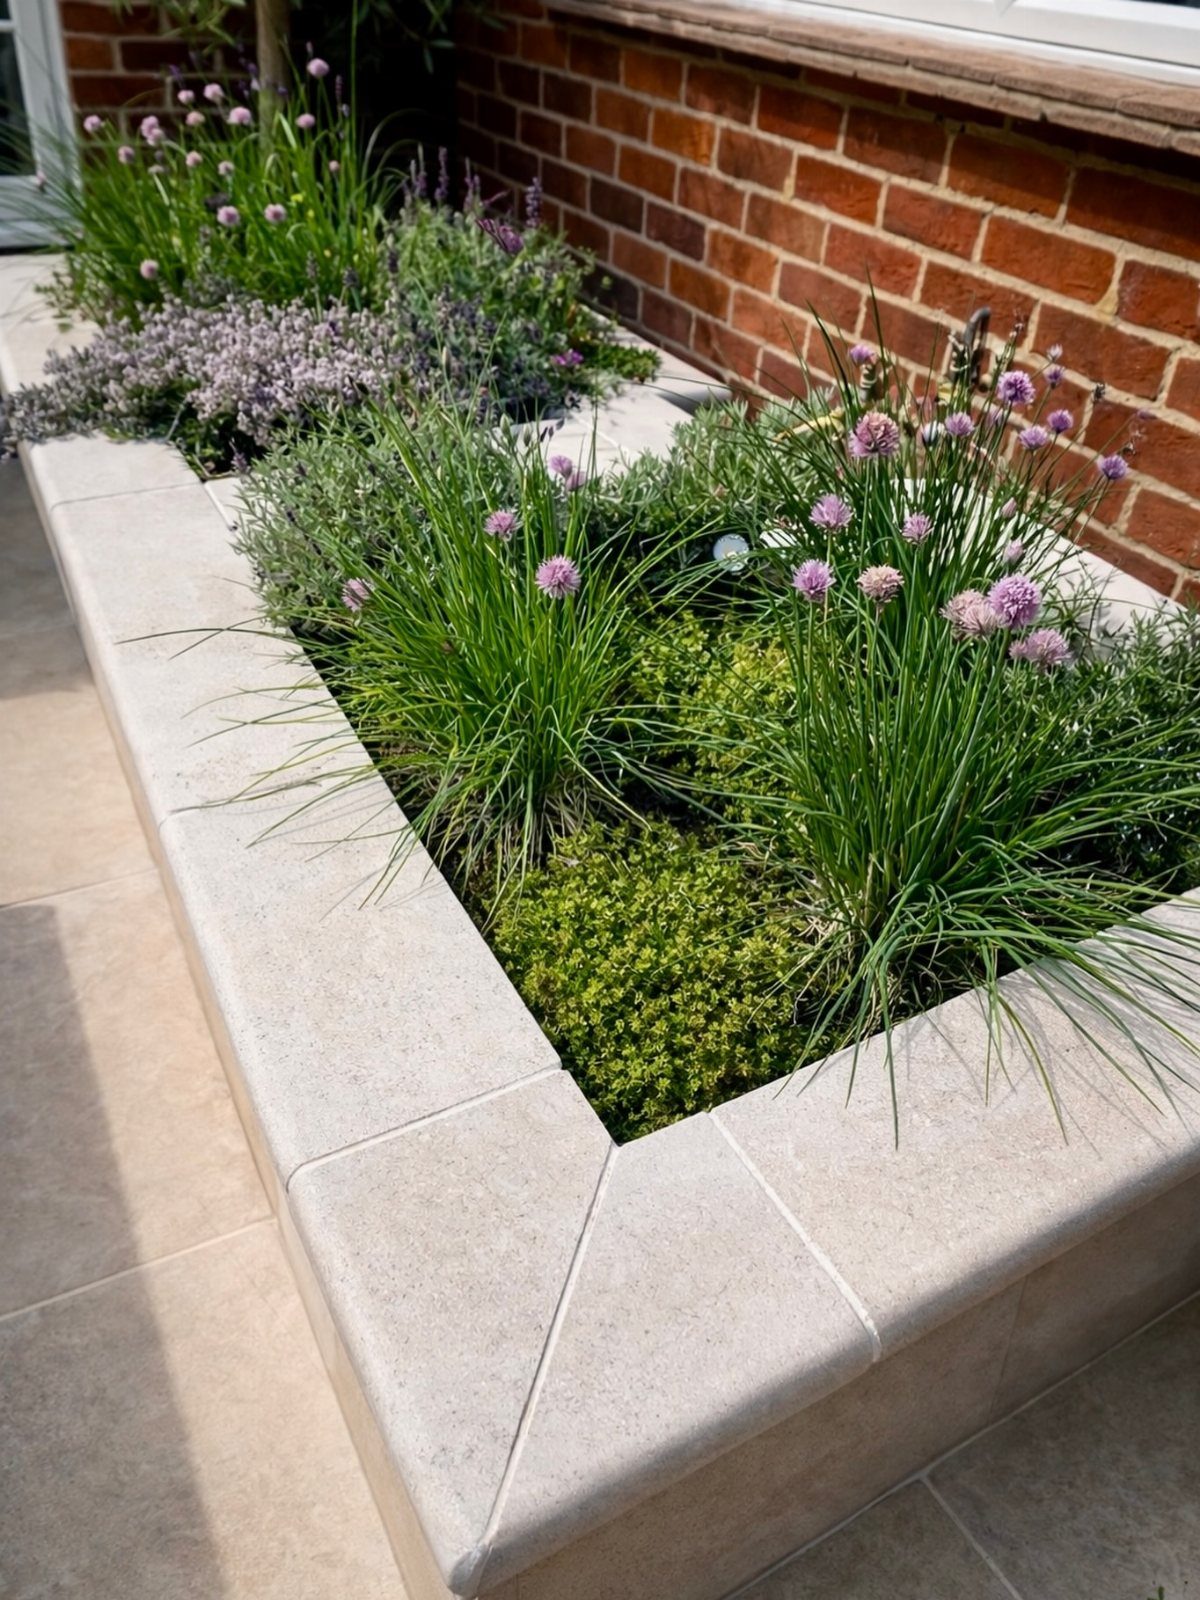
Stacked fieldstone or limestone blends into patios better than wood ever will.
The thermal mass keeps soil warmer into fall, which I like for extending basil and chives. A dry stack knee-high needs no footing; just level the first course and fit stones like puzzle pieces, widest at the base.
Mortar speeds construction but traps moisture against the wall; I prefer dry stack with gravel backing for drainage. The gaps between imperfect stones are where I tuck thyme and creeping jenny.
10. Brick and Wood Raised Bed
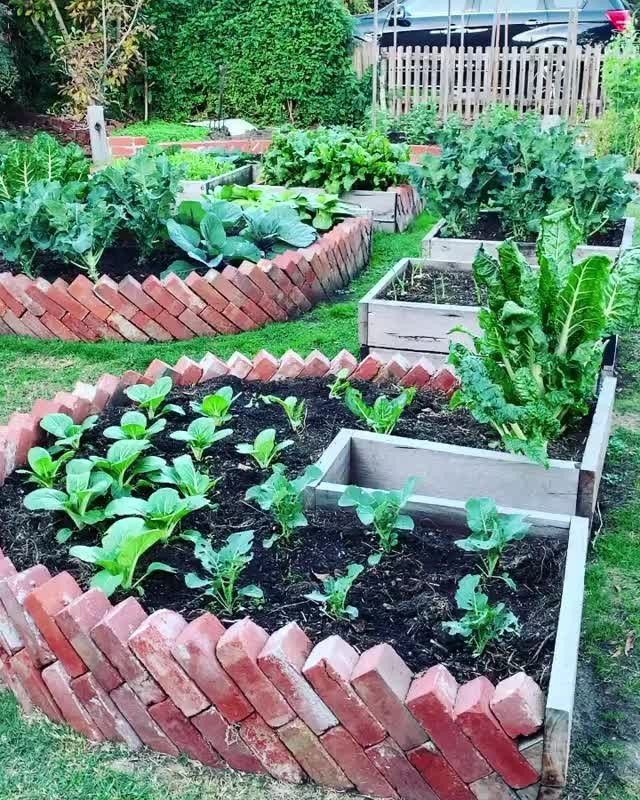
Brick curves where wood cannot, and wood spans straight runs faster than brick.
Combined, you get serpentine beds with clean sides: brick soldier courses on the arcs, cedar planks on the long faces. The 2 materials meet with metal L-brackets sunk below frost line.
I would use reclaimed brick for color that already looks settled, and seal the wood with linseed oil on a schedule I actually keep. The brick edge warms soil for early greens; the wood side stays cooler for mid-season lettuce.
11. River Rock Divider Garden Bed
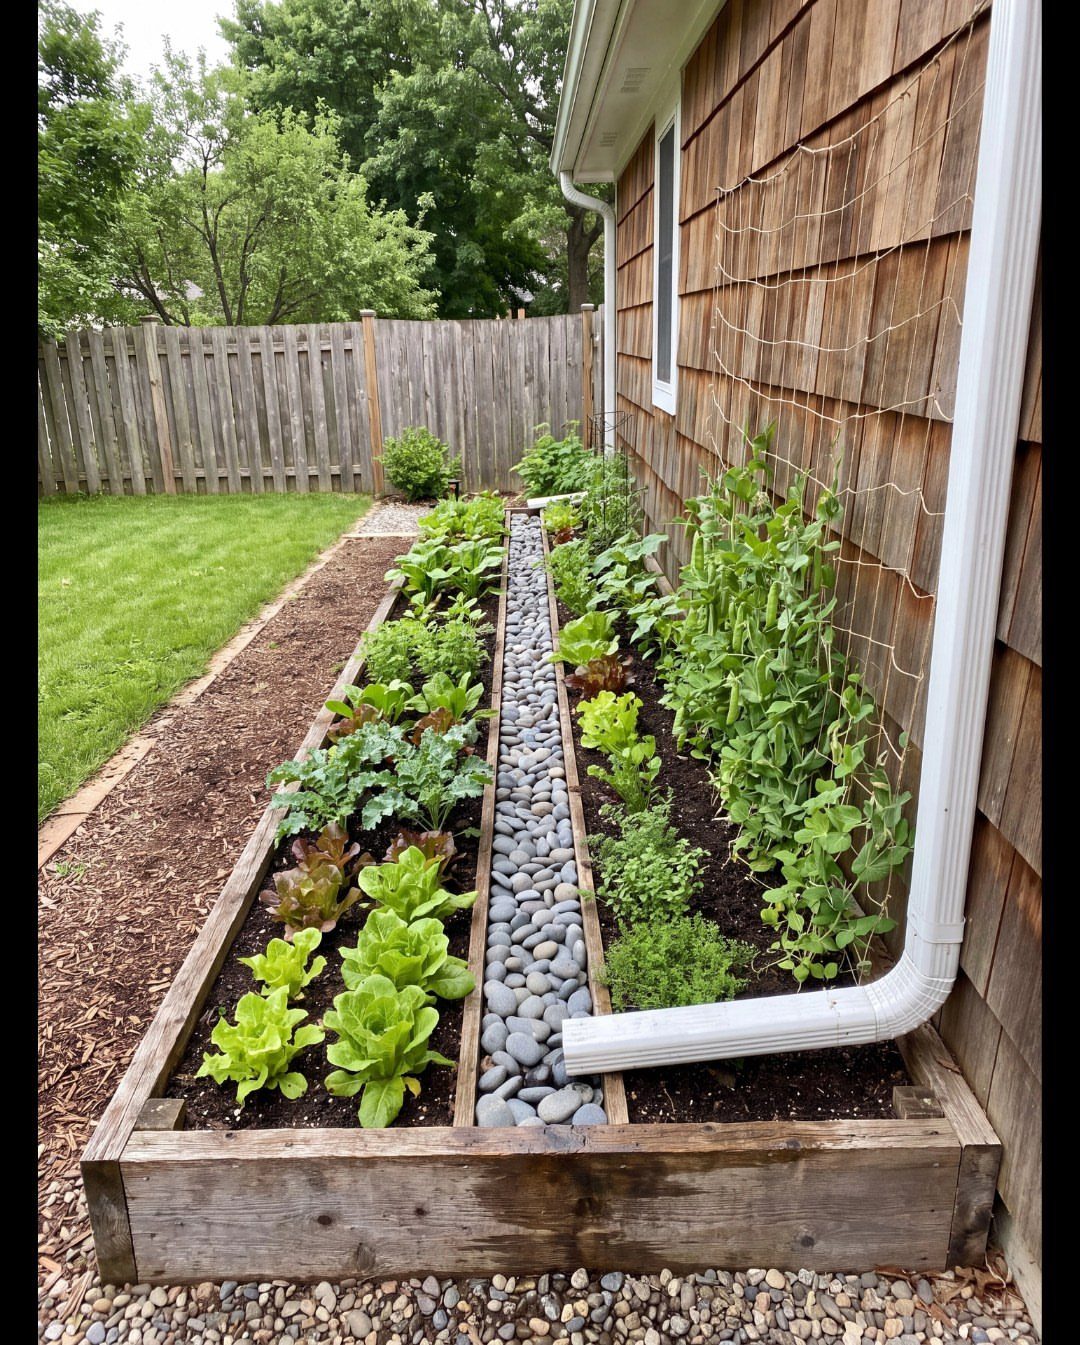
A central channel of smooth stones turns one long bed into two microclimates: south-facing greens on one side, east-facing peas on the other, with drainage between them.
The rock absorbs daytime heat and radiates it back at night, which I have found helps germination in cool springs.
Slope the trench slightly toward the downspout end, and lay landscape fabric under the stones so they do not sink into mud.
The wood frame still carries the soil load; 2 x 10s work for shallow greens, deeper boards for root vegetables.
Benefits of Raised Garden Beds
Raised beds drain faster than ground-level soil because the box bottom sits above the compacted layer underneath. Water moves through instead of pooling, which matters for tomatoes and peppers that rot in wet feet.
The contained soil also lets you build substrate from scratch. Bring in compost and peat instead of fighting clay or sand; start each season with known chemistry rather than guessing what the yard has accumulated.
For back and knee issues, height is the fix.
A standing box brings plants up to you, which matters if bending or kneeling is hard on your back or knees. Even a low frame helps; any lift off the ground cuts the bend angle compared to kneeling on dirt.
Pest control is more mixed than some guides suggest.
Height alone stops voles and rabbits, but slugs climb. I would not count on any bed as Fort Knox; check undersides of leaves weekly and hand-pick before dawn.
James Prigioni, creator of The Gardening Channel with James Prigioni on YouTube, gives a couple additional reasons. Raised beds are more ergonomic and can be built at different heights to accommodate people with various mobilities.
Maintenance Tips
Weeding is manageable only if you stay ahead of it. Check beds twice weekly in spring; an hour then beats a day in July.
Spread mulch 2–3 inches deep, leaves or straw, to block light from germinating seeds. Wood chips work too, though they tie up nitrogen briefly as they break down.
Leave working space around each bed. Leave enough width to kneel or stand beside the bed for planting and harvest; squeeze tighter and you will step into the bed to reach the center, compacting what you just loosened.
Monitor pest damage early.
Holes in leaves mean caterpillars or slugs already inside; by the time plants yellow, the problem has spread. I check the undersides of leaves where eggs cluster, and move fast with hand-picking or insecticidal soap before populations explode.
Frequently Asked Questions
Which raised garden bed is the best quality?
Cedar and redwood last years without treatment, and that durability beats any kit branding.
I would put my money on thick-cut heartwood cedar over composite or coated metal for longevity; the natural oils resist rot while composites degrade in UV and metals eventually rust at seams.
What are the downsides of using raised garden beds?
The upfront cost runs higher than planting straight in the ground, and the exposed box sides dry out faster in summer heat.
I check mine more often than in-ground beds during hot spells; a 2–3 inch mulch layer helps but does not eliminate the extra watering. Slugs climb, too, so height alone is not pest proof.
Is it cheaper to build a raised bed or buy one?
Building your own wins on price, especially with salvaged or repurposed materials.
Corrugated metal from old roofing and reclaimed brick cost close to nothing compared with kit prices, and dimensional lumber has stayed high enough that skipping the store-bought frame saves real money.
A basic wood box with corner stakes takes one afternoon and a miter saw.
What vegetables should not be grown in a raised bed?
Nothing is off limits if the depth matches the crop. Carrots and other root vegetables need deep, loose soil to develop properly; a shallow bed stunts them.
Lettuce manages fine in a single course of cinder blocks, while carrots need two stacked. Match the bed height to the vegetable or stick with leafy greens and herbs in low boxes.





