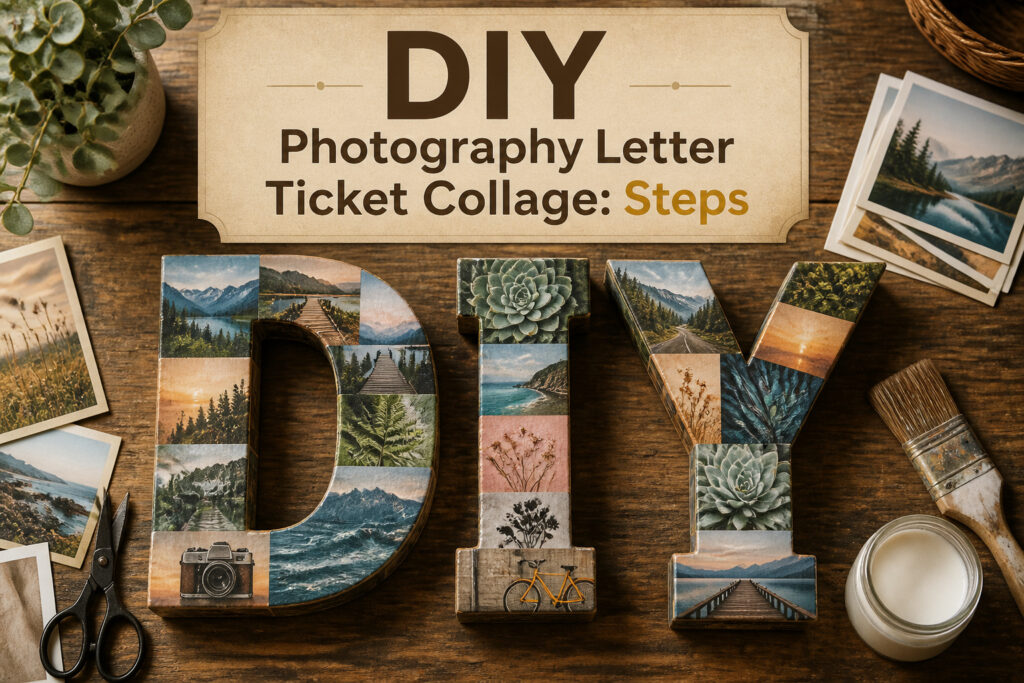
A DIY photography letter ticket collage turns printed photos into large decorative initials or words by covering paper mache letters with cut-to-fit snapshots. The catch is that skipping the dry-fit stage costs you torn prints and visible seams, since Mod Podge sets fast and paper mache edges curve where you don’t expect. I learned that after knocking a whole "A" off my workbench and rebuilding it from a phone photo I almost didn’t take.
1. Prepare the Letters
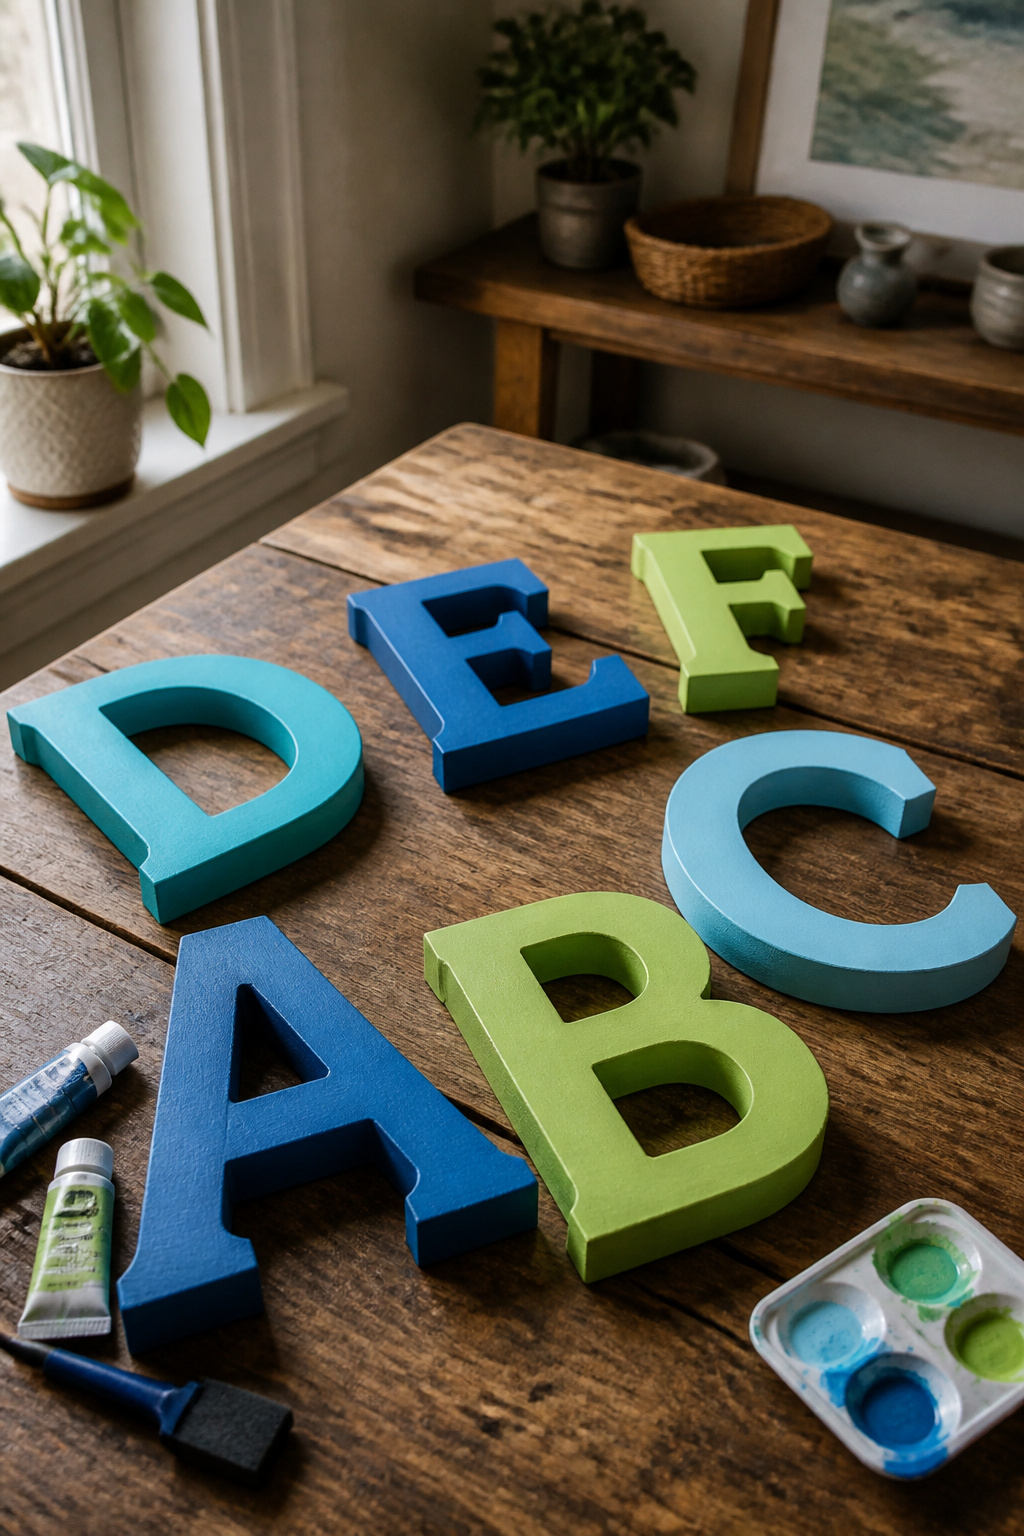
12-inch paper mache letters give you a surface that is light enough to hang on a rental wall with a single Command strip and forgiving enough to trim photos around. Wood works too, but the grain can telegraph through thin prints and the weight adds up fast if you are spelling a whole word.
I painted my paper mache sides and backs with cheap acrylic craft paint and a foam brush. Two coats covered the factory brown, and I left them to dry overnight because Mod Podge will lift any paint that is not fully cured. The face stays bare; the photos cover it completely, so painting there wastes time and material.
2. Select and Print Photos
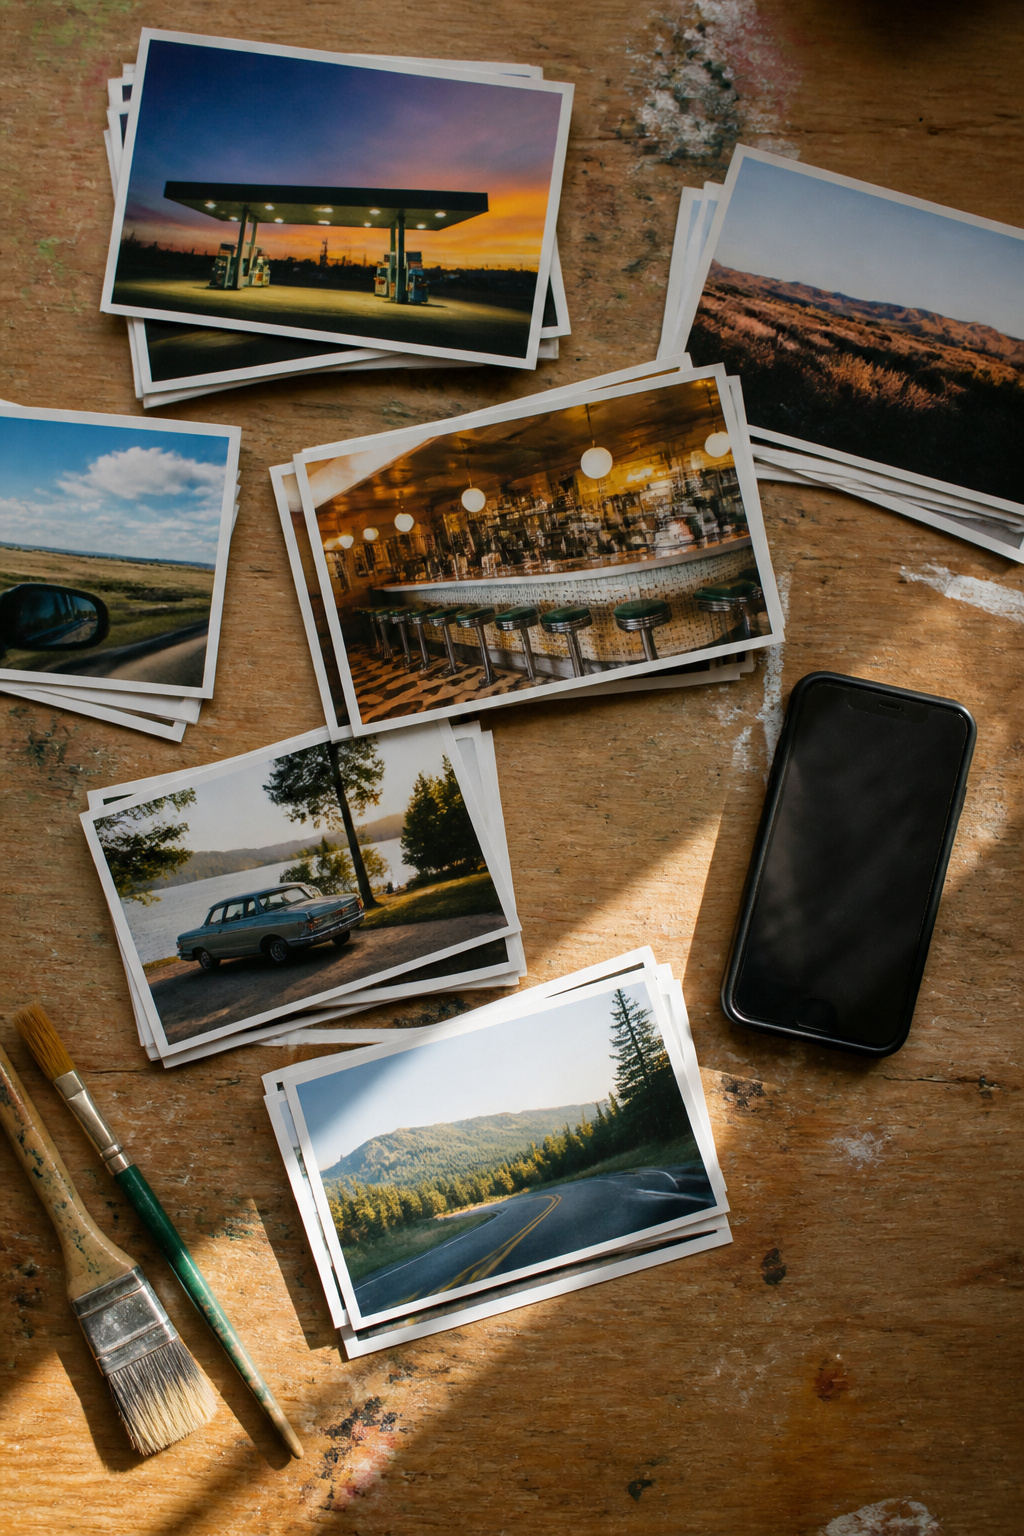
Printing your own photos at home can run expensive fast, which is why I use a pharmacy app instead. The collage itself needs 5 to 10 photos per letter depending on print size, so even a short word multiplies quickly. I order 4-by-6s through an app, pick them up the same afternoon, and skip the ink-and-paper math entirely.
For my own project I chose shots from a road trip through Arizona: a gas station at dusk, my friend’s hand on a diner counter, the red dirt through a car window. Those moments mattered more than anything perfectly composed, and that emotion is what carries the finished letter across a room.
The sources agree on one point worth following: print more than you think you need. Most letters take 5 to 7 photos, sometimes 8 to 10 with smaller prints, and having extras on hand changes everything. My first layout for the "A" looked balanced on the table but fell apart once I started tracing edges; the third photo I had rejected earlier ended up anchoring the whole shape. Without that extra print, I would have been back at the store or settling for a gap.
3. Layout Photos on Each Letter
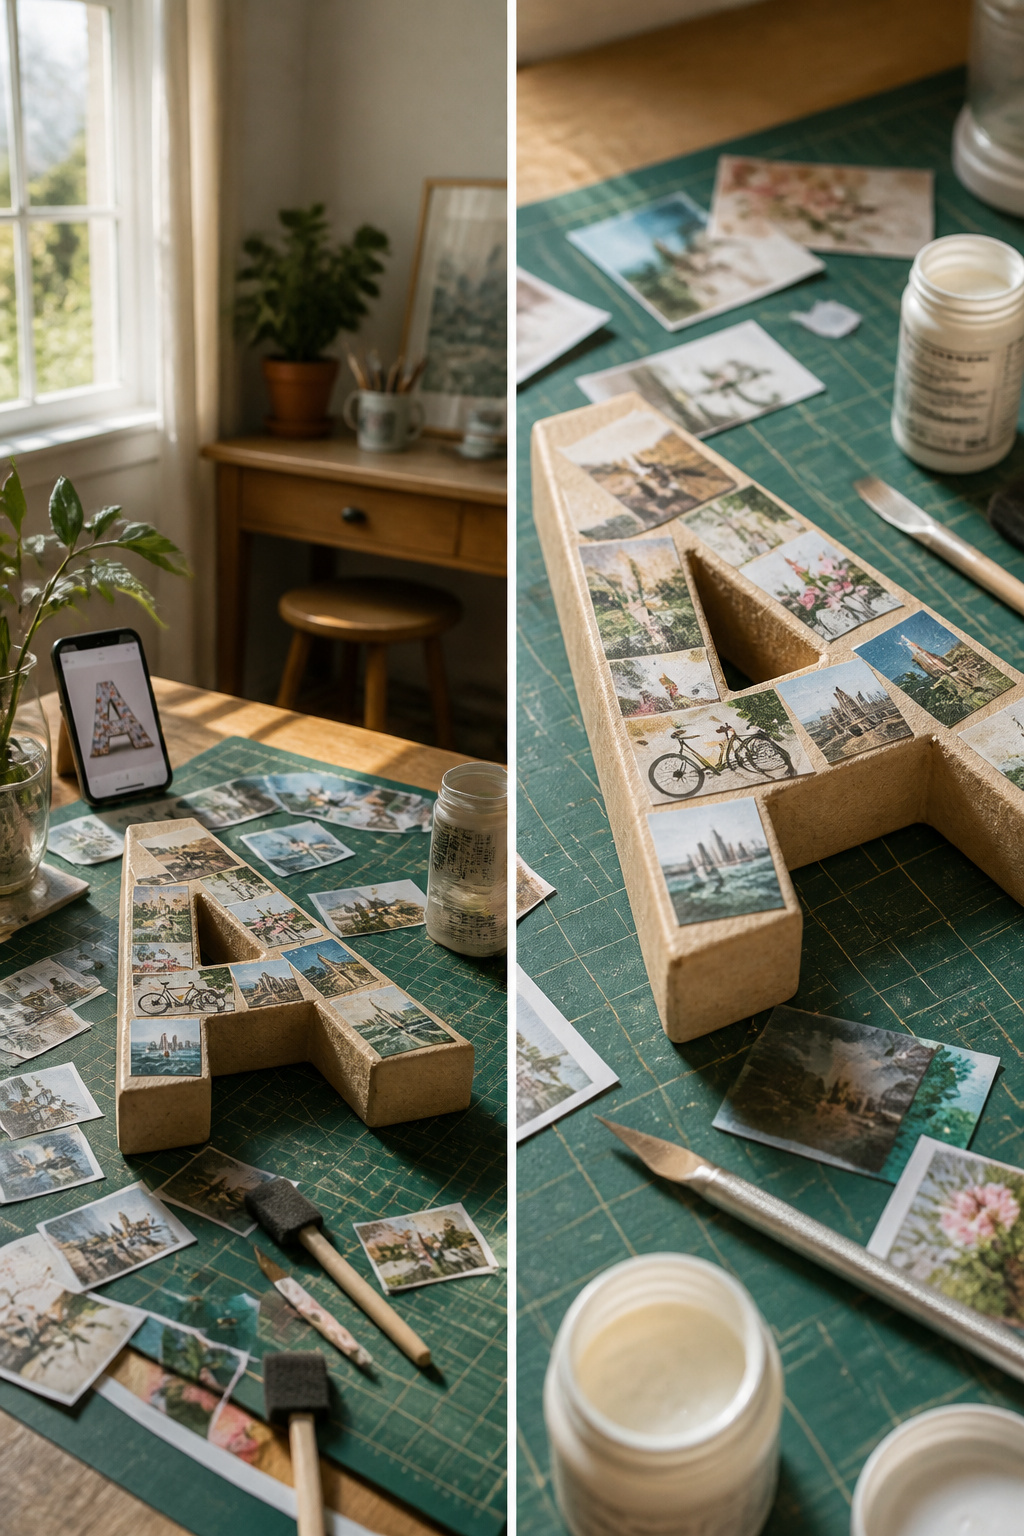
Dry-fit every photo before a single drop of Mod Podge touches the letter. The 12-inch paper mâché surface fills faster than it looks; most letters need 5 to 7 photos for full coverage, and the edges of a "V" or an "M" will force decisions you don’t see until pieces overlap. I skipped this once, started adhering as I went, and ended up with a photo lapping the wrong side of an "A" where the crossbar narrowed. Fixed it by peeling back the wet edge and trimming to a clean line, but the paper tore and the finish never matched.
Snap a reference photo with your phone before you lift anything. Layouts have a way of looking obvious until you bump the table or sneeze at the wrong moment. My phone photo saved an hour of guesswork the time I knocked a whole letter clean off the workbench reaching for scissors. The photos went everywhere, but the reference let me rebuild the exact arrangement in two minutes.
4. Cut Photos to Fit
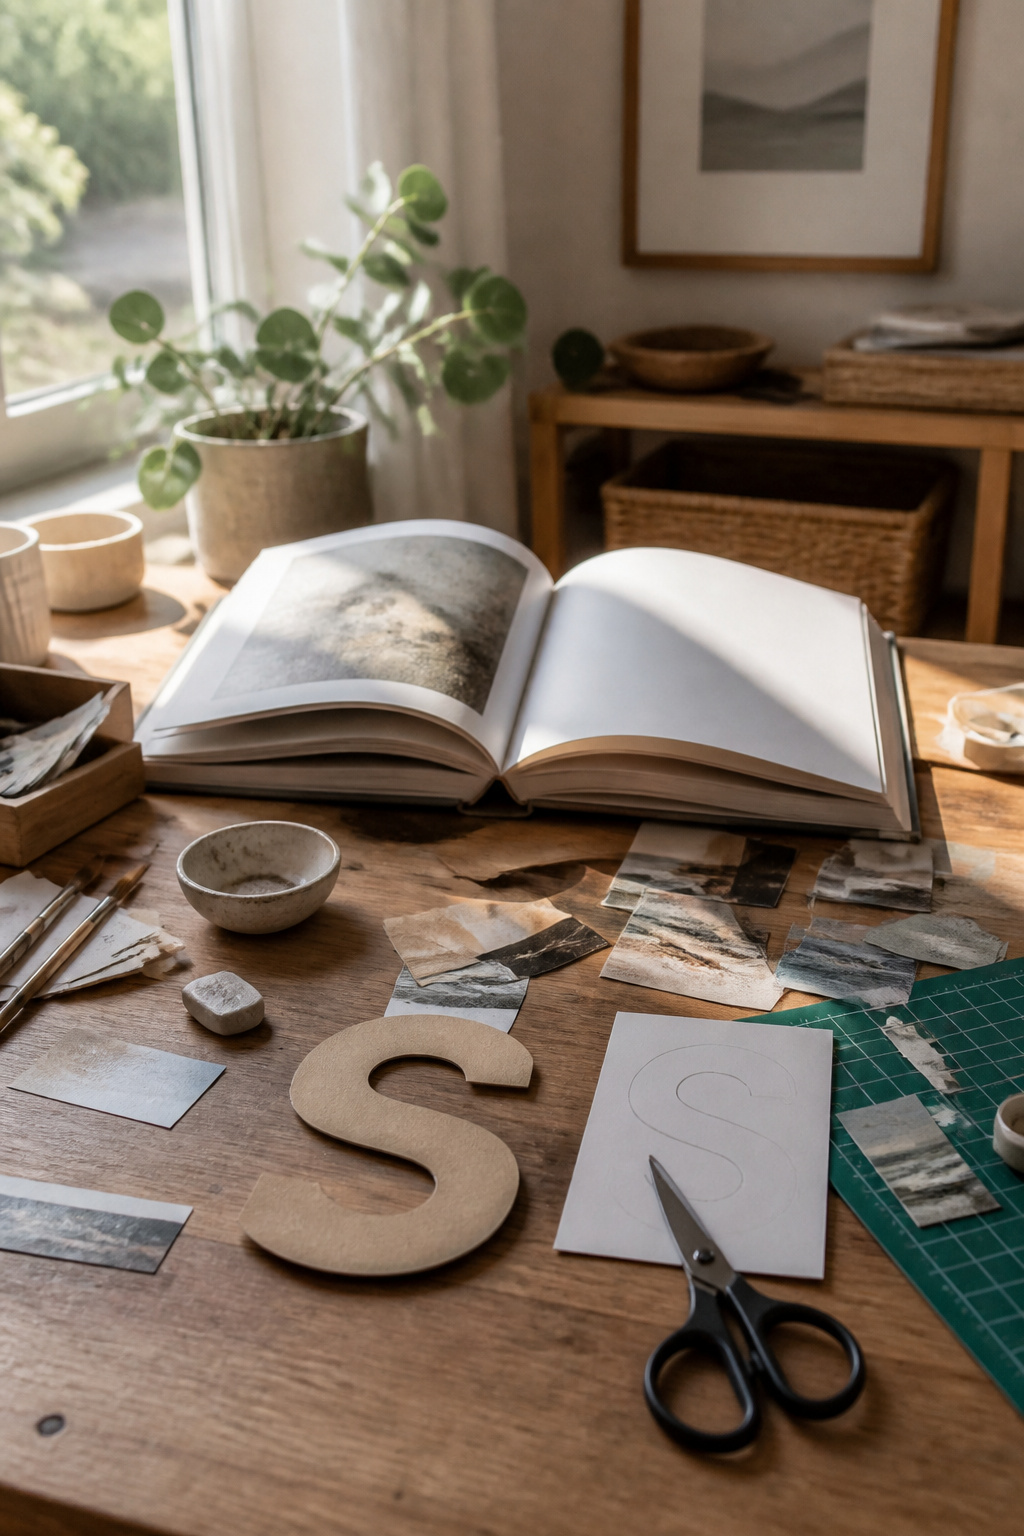
Turn each letter facedown and trace its outline on the back of the photo with a pencil, pressing hard enough to mark but not so hard you score the paper. The inside corner of an A and the curve on an S are where I had to recut, because my first trace sat a quarter inch off the edge and left a gap that showed the painted letter underneath. For those spots, I cut a little wide the first time and trimmed back in tiny slivers rather than risk cutting too short.
Peel the backing away slowly, especially near the edges you just cut. If the photo starts to curl, flatten it under a book for a few minutes before you move to Mod Podge. Most letters take five to seven photos to cover, so one bad cut means printing another 4-by-6 rather than forcing a gap.
5. Adhere Photos With Mod Podge
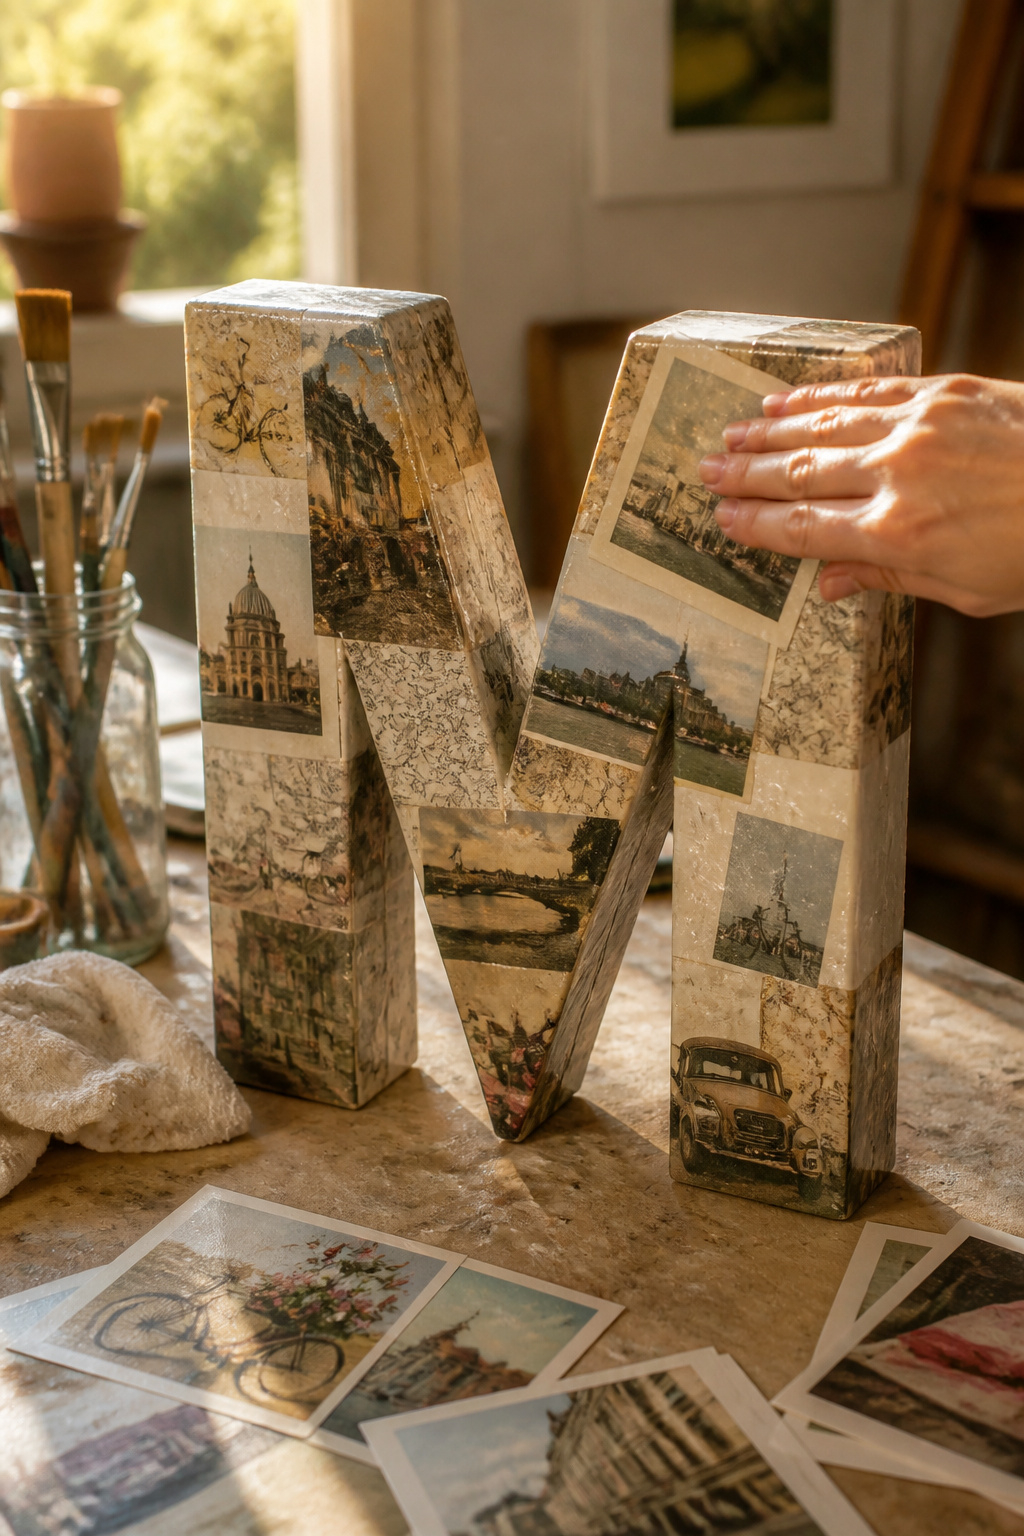
Mod Podge goes on white and dries clear, but brushstrokes stay visible, so work in thin layers and keep your fingers clean as you smooth each photo into place. I brush a small section of the letter first, lay the photo down gently, then press outward from the center with my fingertips to push bubbles and wrinkles toward the edges. Thick layers will warp the paper and leave cloudy spots; thin ones tack up fast and let you reposition before anything sets. The first time I tried this I painted the whole M at once, and by the time I reached the third photo the glue had started to skin over, trapping a crease I couldn’t work out. Now I work one or two photos at a time, smoothing until the surface feels flat under my palm, then moving on. Photos meeting at an edge can be sanded flush later with fine grit paper once everything is dry, so a slight overlap beats leaving gaps.
6. Finish Edges and Seal
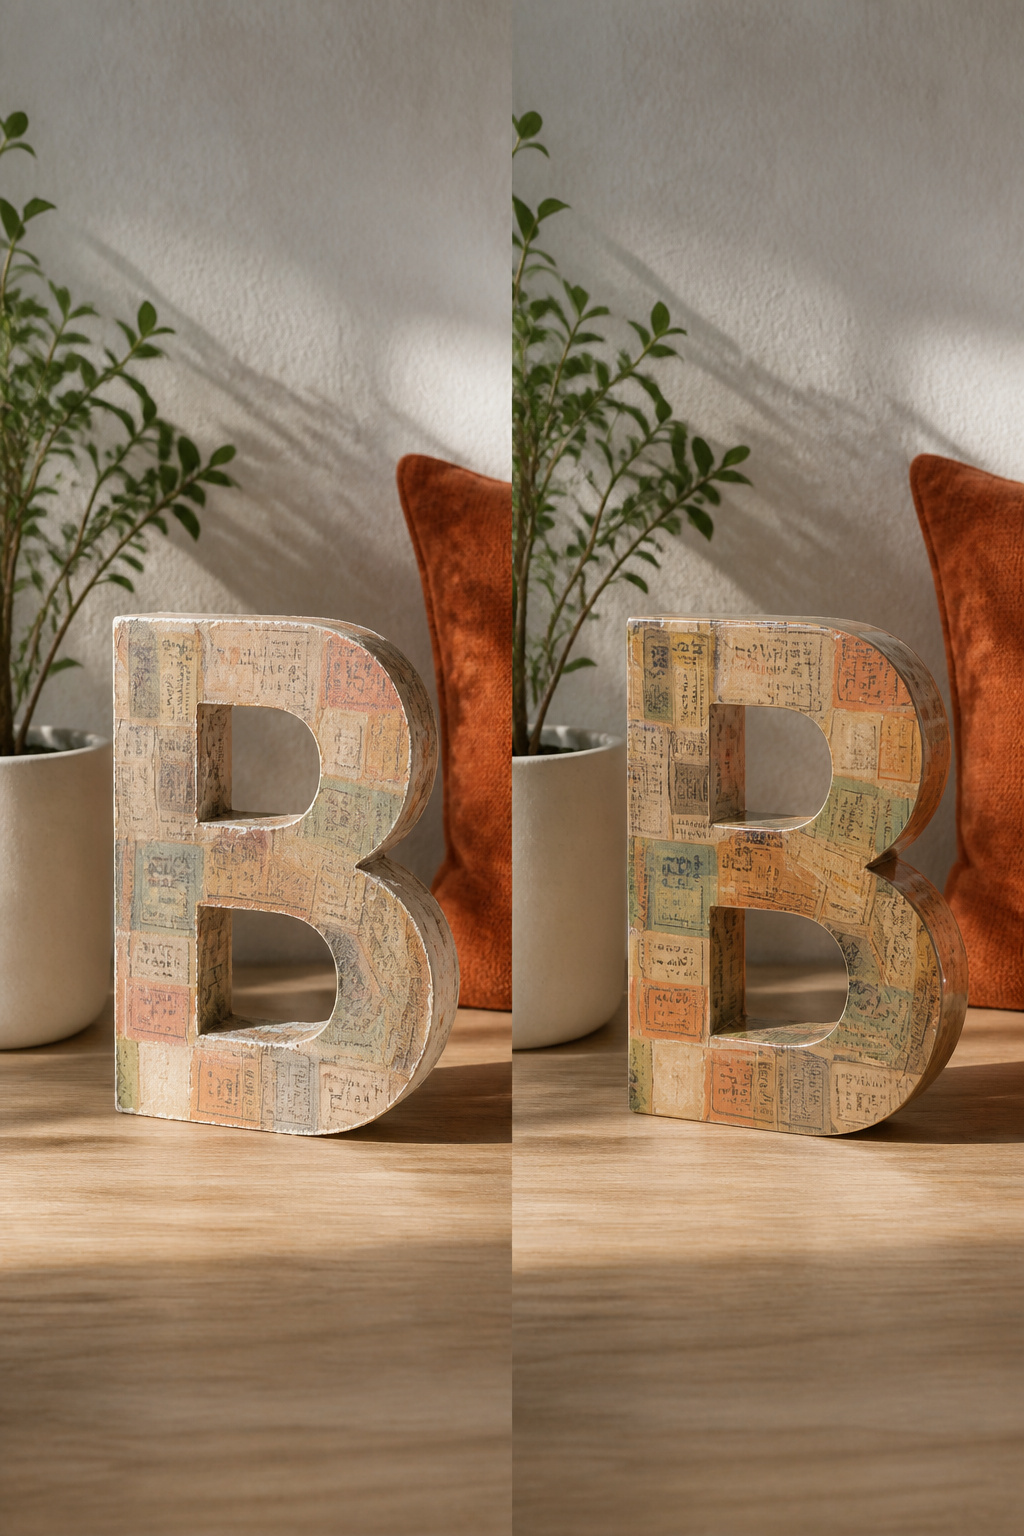
Fine grit sandpaper will even out the edges where two photos meet, though I only bothered on one letter and skipped the other. The difference in hand feel is real; the sanded edge catches less on a sleeve when you move the piece, but from three feet back the unsanded one looks the same.
For sealing, a thin layer of Mod Podge brushed over the whole surface works, and it dries clear even though it goes on white. Brushstrokes stay visible, which is why I reached for Poly Sealant Spray instead for the final coat. It lays down flat and matte, no streaks.
Six months in, the spray-sealed letter has held up better against dusting and the occasional bump. The Mod Podge finish on the other piece picked up a few cloudy spots where moisture sat, from a humid bathroom wall nearby. Neither sealant is required for the collage to look finished, but the spray wins if the letter will live anywhere damp or high-traffic.
Materials for Photo Collage Letters
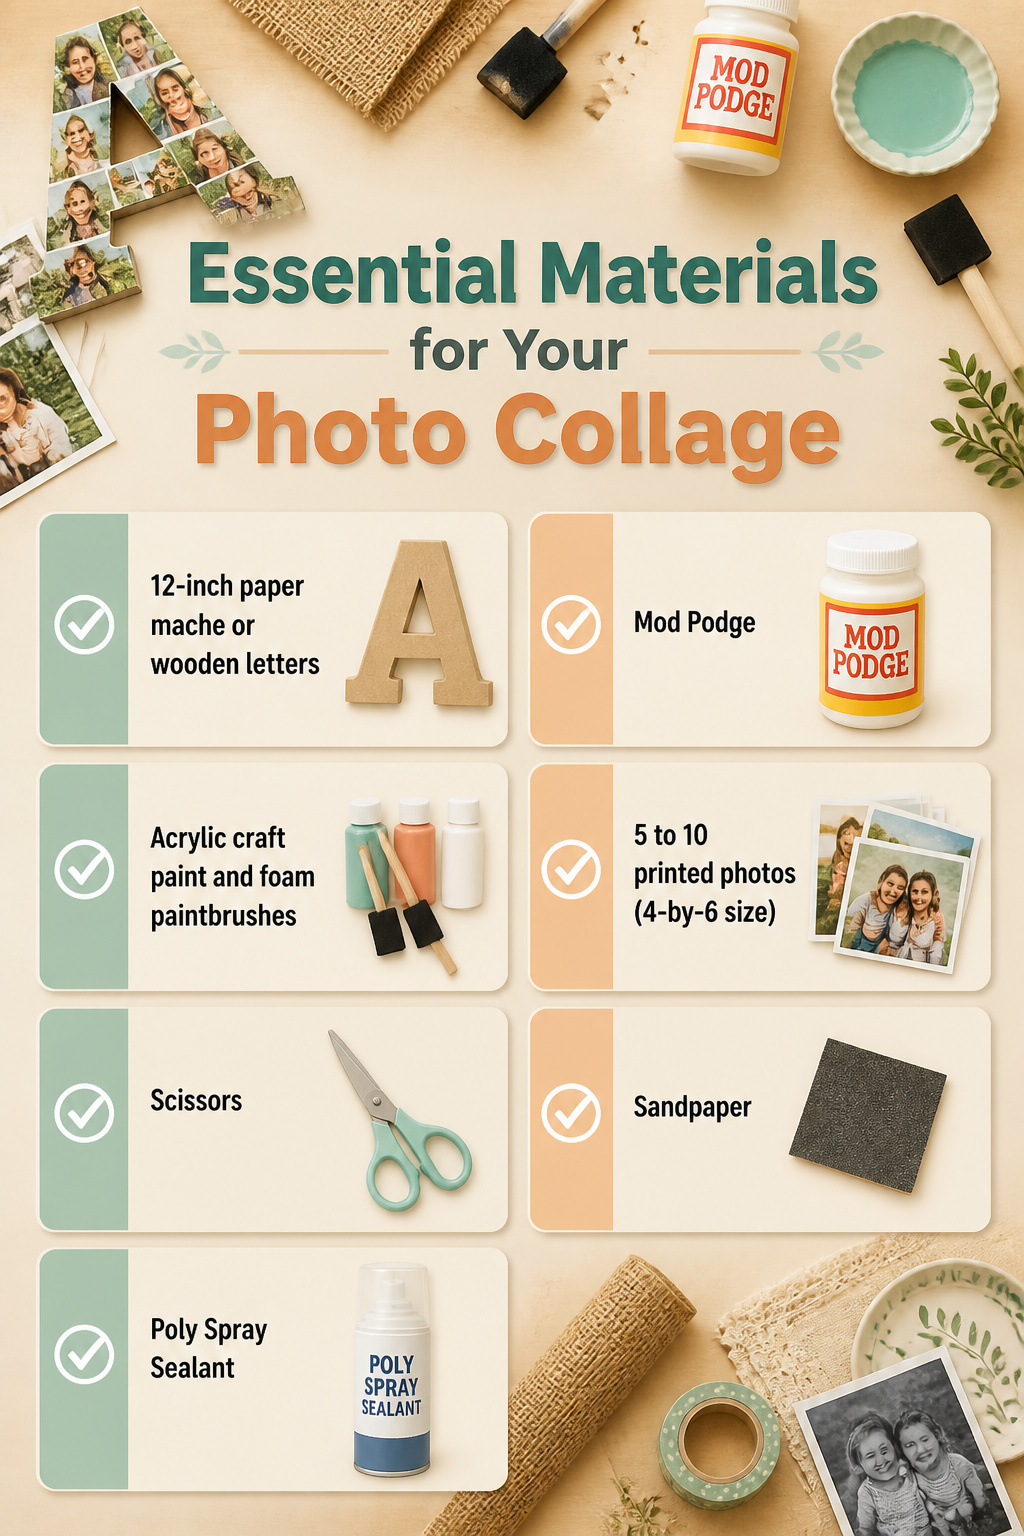
Most of these supplies sat in my craft drawer already. The Mod Podge, acrylic paint, and foam brushes were leftovers from another weekend project, so my actual spend at the craft store landed around $18 for the letters and a fresh can of Poly Spray Sealant.
Here is what you need:
- 12-inch paper mache or wooden letters, found at any craft store
- Mod Podge
- Acrylic craft paint and foam paintbrushes if you want color on the sides and back
- 5 to 10 printed photos per letter, 4-by-6 size works best
- Scissors
- Sandpaper if you want to clean up the edges where photos meet
- Poly Spray Sealant if you want a brushstroke-free finish over Mod Podge alone
Paper Mache or Wooden Letters
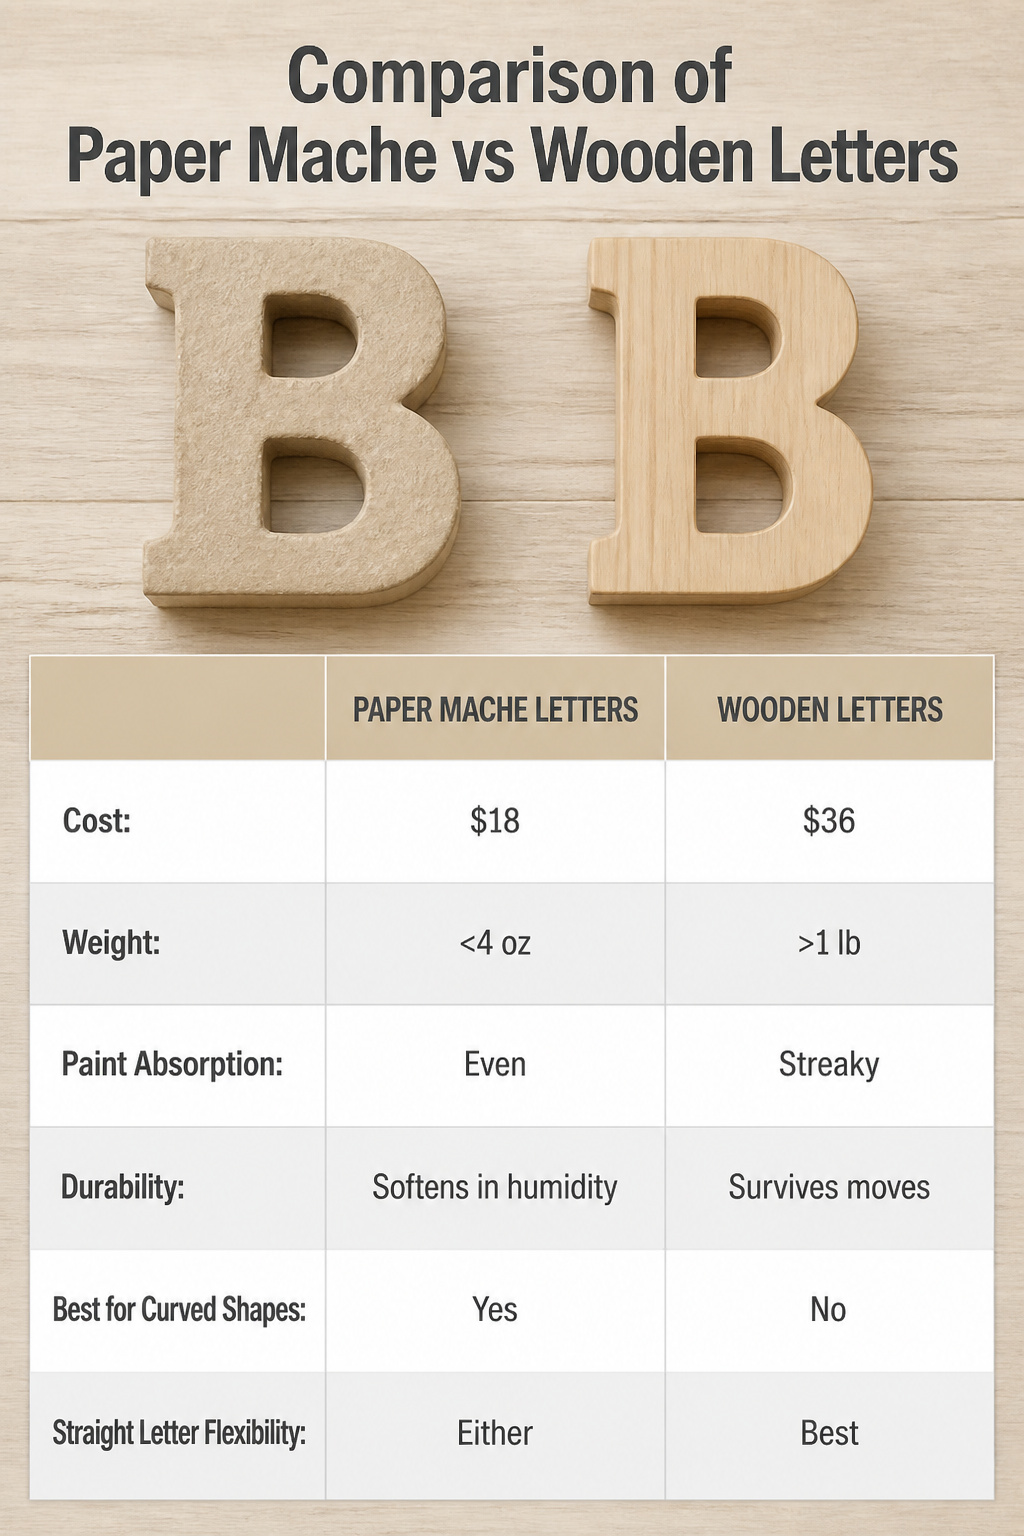
Paper mache letters cost about half what unfinished wood runs, and the weight difference matters more than the price gap. A 12-inch wood letter can top a pound; the same size in paper mache sits under four ounces. That matters when your collage hangs on a rental wall with Command strips that max out at a few pounds each.
Paint soaks differently too. Wood grain pulls in acrylic and leaves a streaky first coat that needs sanding between layers. Paper mache drinks paint fast but evenly; two coats cover without prep. Over years, though, wood wins. Paper mache softens in humid bathrooms and dents if a corner catches a vacuum hose. Wood letters survive moves.
For a collage that spells out a name above a couch, paper mache wins for anything curved or hollow like O, P, or B. The weight savings let those shapes hang safely. I used wood once for a single monogram M and drilled a proper anchor into drywall, but for the full "WANDER" ticket collage in my last apartment, paper mache letters went up with four strips each and came down clean at lease end. Straight letters like I or T could go either way; the material barely matters.
Photo Selection and Printing
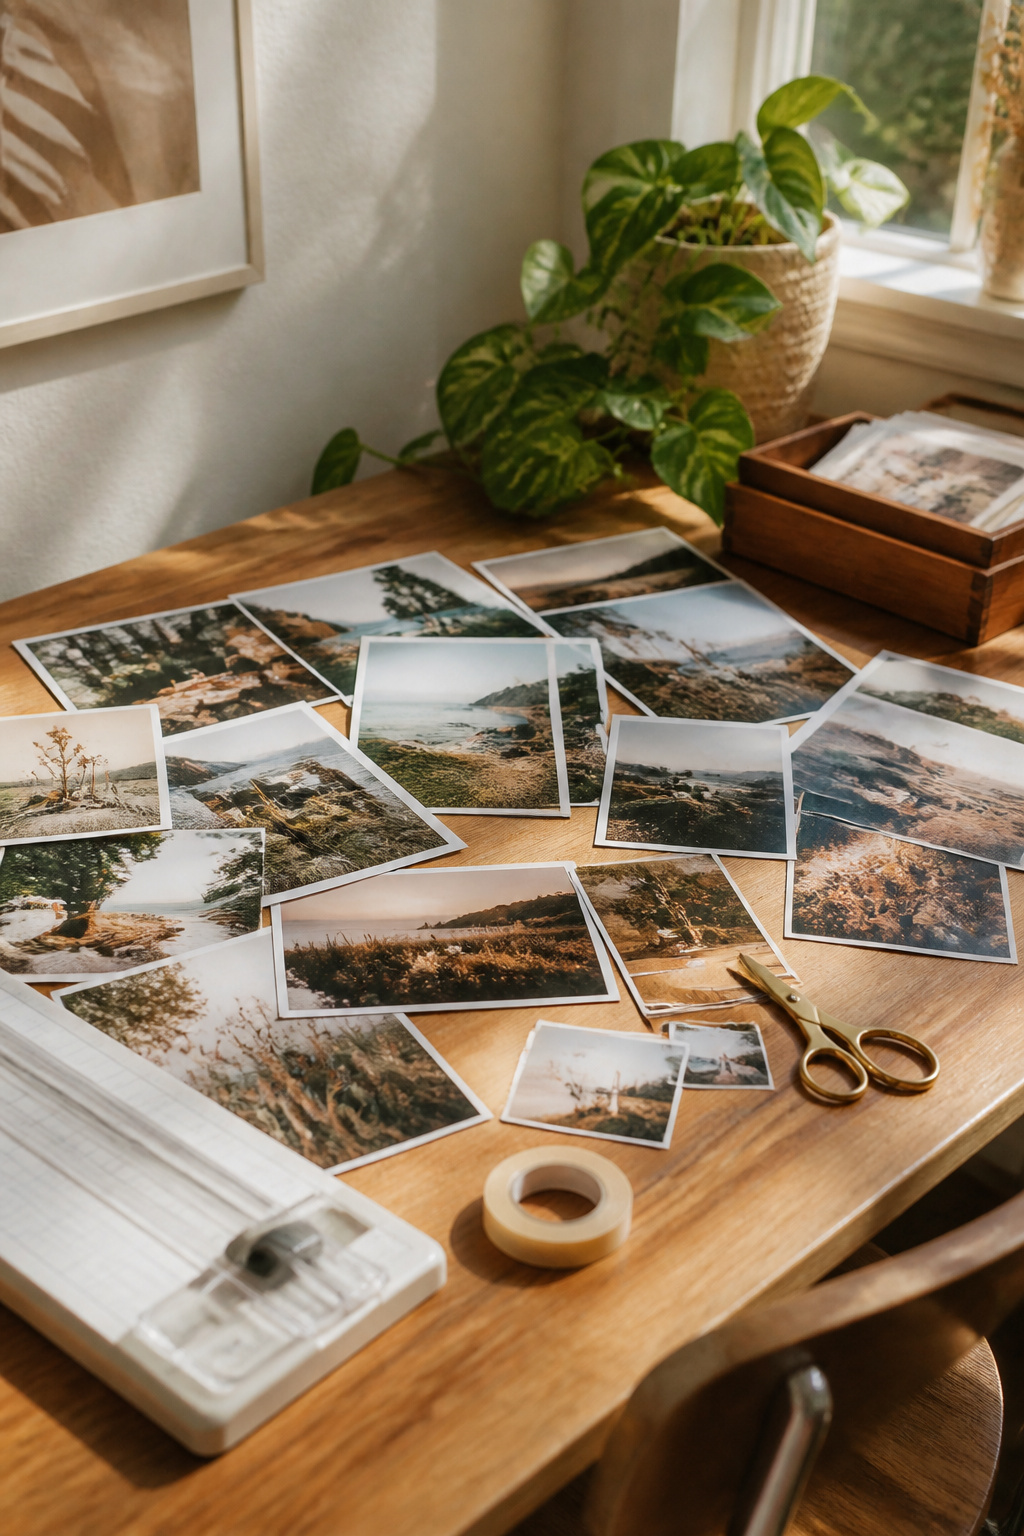
The photos you choose make or break the collage, so I go with moments that already matter to me, not ones that just look pretty. A blurry shot of my dog mid-sneeze beats a perfect sunset if I grin every time I see it.
For printing, I have tried all three paths. My home printer wastes too much ink on photo paper for a project this size, and the color shifts after a few months near a window. Drugstore kiosks are faster and cheaper, though the machines sometimes auto-crop heads off the top of frames. Apps like Shutterfly or Snapfish mail decent prints, but shipping adds days I rarely have. I end up at the drugstore most often, checking the preview screen like a hawk before I hit confirm.
Matte finish is non-negotiable in my house. Glossy paper throws glare from every overhead light and lamp, and you end up tilting the letters just to see who is in the picture. Matte reads flat and calm from any angle.
Sizing depends on your letter surface, which the next section covers, but the rule I learned after one collage came up short: print 20 percent more than I think I need. Some shots will crop weird once I hold them against the letter curve. Some I will just change my mind on. The extras go into a shoebox for the next project, so the cost is not wasted.
Creative Layout Ideas
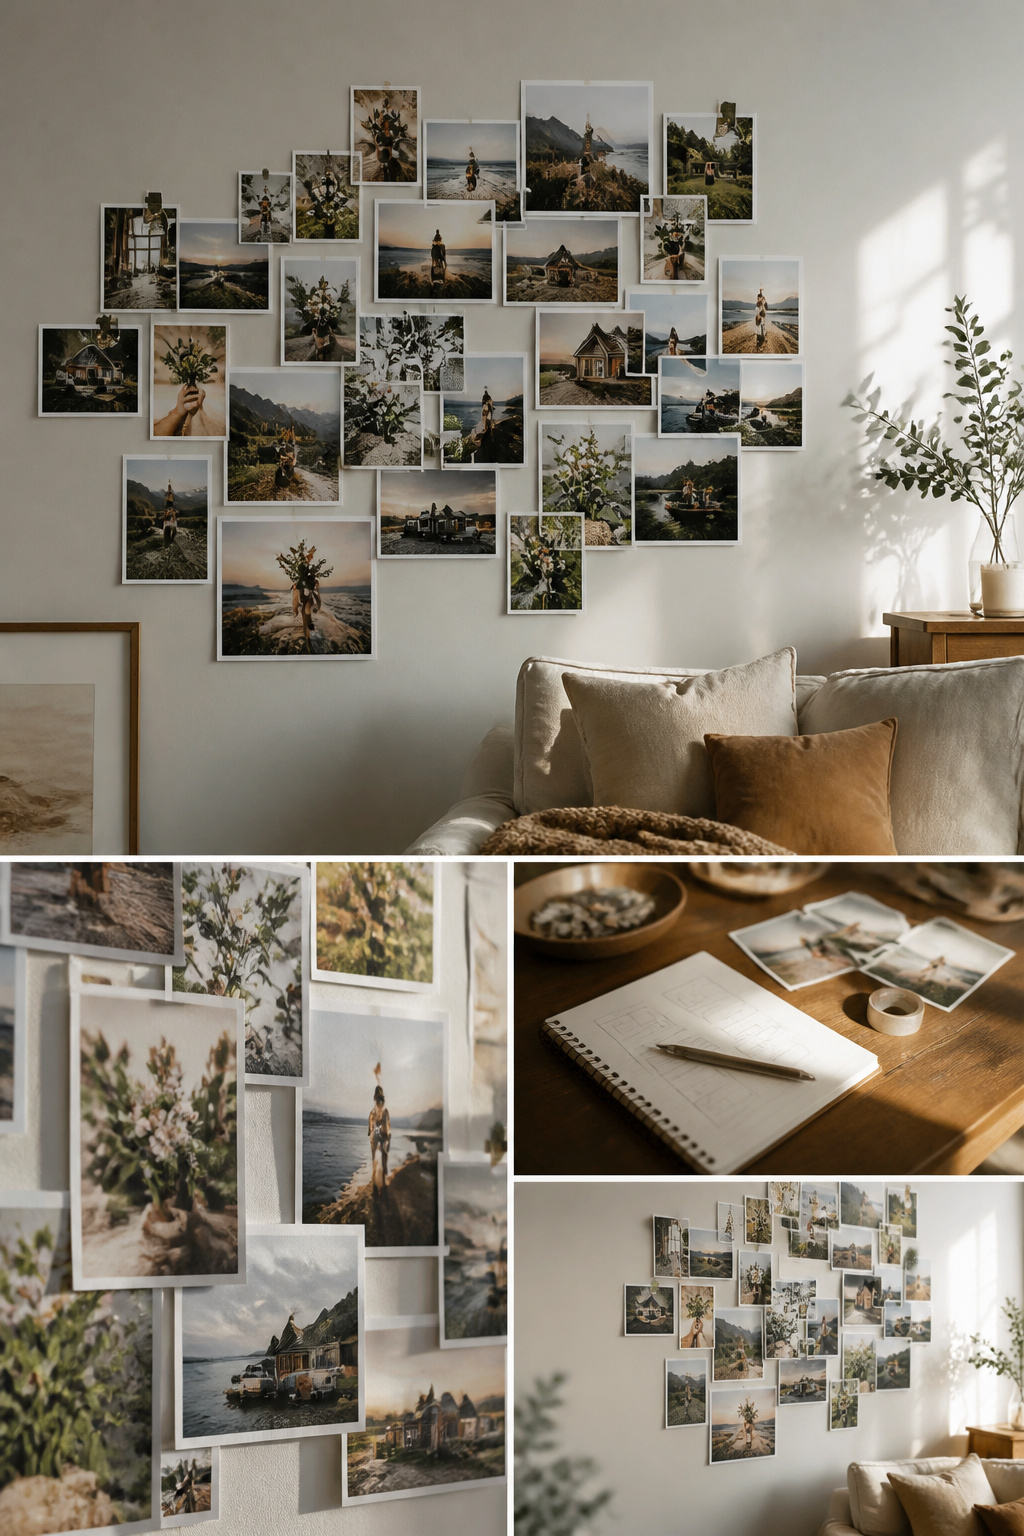
A tiled grid keeps every face visible from the hallway, but overlapping edges gives the collage its depth. I snap a phone picture before I commit anything to glue; that reference shot saves me twice when the cat rearranges my floor layout. Mixing landscape and portrait prints keeps the eye moving, though one letter with narrow vertical bars needed all portrait orientation or the faces cropped weirdly. I tried a dense, no-gaps arrangement first. From across the room it read as a single brown mass, no story at all. Overlapping needs breathing room, a half-inch of white border showing somewhere, or the photos fight each other.
Frequently Asked Questions
What materials do I need for DIY photo collage letters?
You need 12-inch paper mache or wooden letters, Mod Podge, acrylic craft paint with foam brushes if you want color on the sides and back, 5 to 10 printed photos per letter, scissors, and optionally sandpaper and Poly Spray Sealant for finishing. Most of these supplies are common craft drawer items, so actual spending usually lands around $18 for the letters and a fresh can of sealant.
How many photos do I need for each letter?
Each letter takes 5 to 10 photos depending on print size, with most letters falling in the 5 to 7 range for 4-by-6 prints. Print more than you think you need; extras save trips back to the store when a layout changes or a cut goes wrong, and leftover prints just go into a shoebox for the next project.
Can I use embellishments on my photo collage letters?
Yes, washi tape, glitter, and other decorative elements can enhance the collage, though the article focuses on clean photo coverage without added embellishments. The base technique of overlapping photos already builds depth, so any extras should complement rather than compete with the images themselves.