
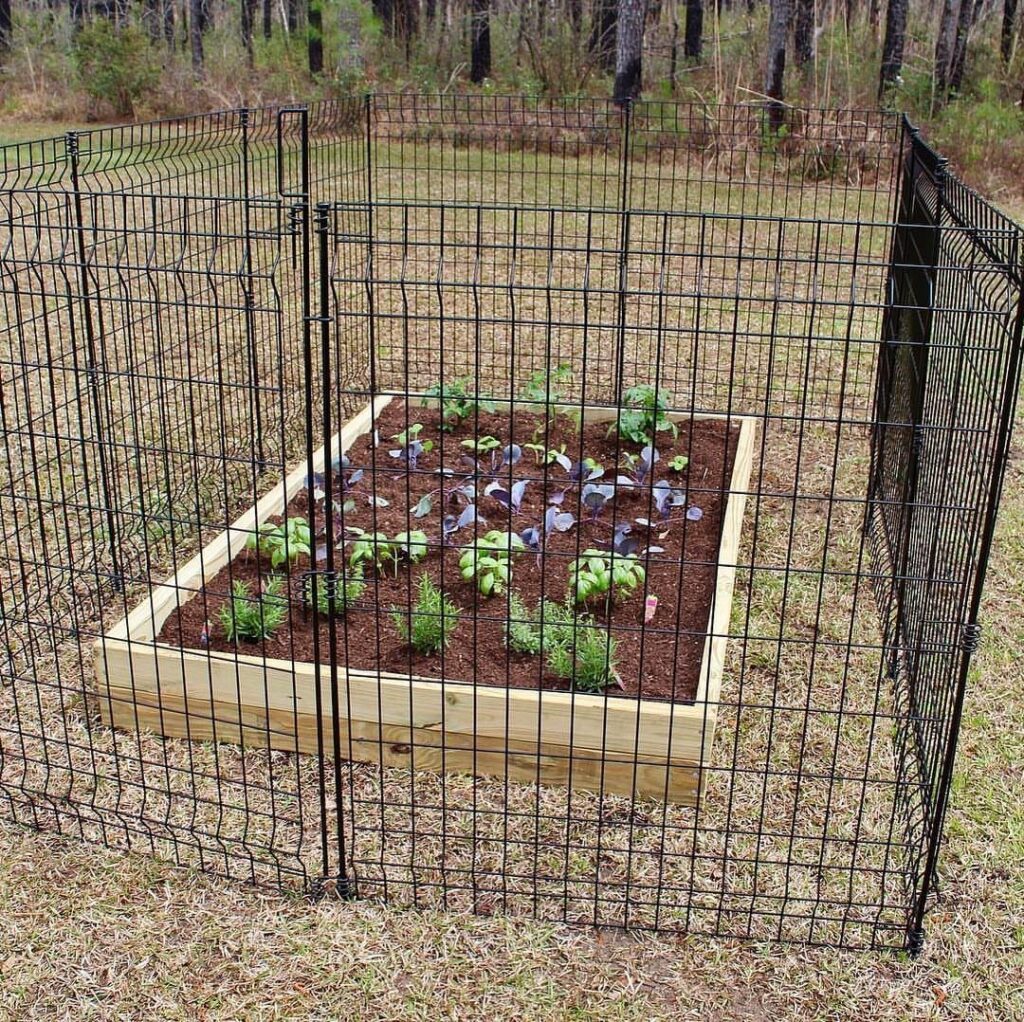
These ideas run from a light wire mesh cover you lift with one hand to a full walk-in enclosure that costs cedar-post money and takes a full weekend to set.
The choice comes down to whether you need to stop rabbits or deer, because a fence that blocks one leaves the other free to feed.
1. Garden Fence Trellis
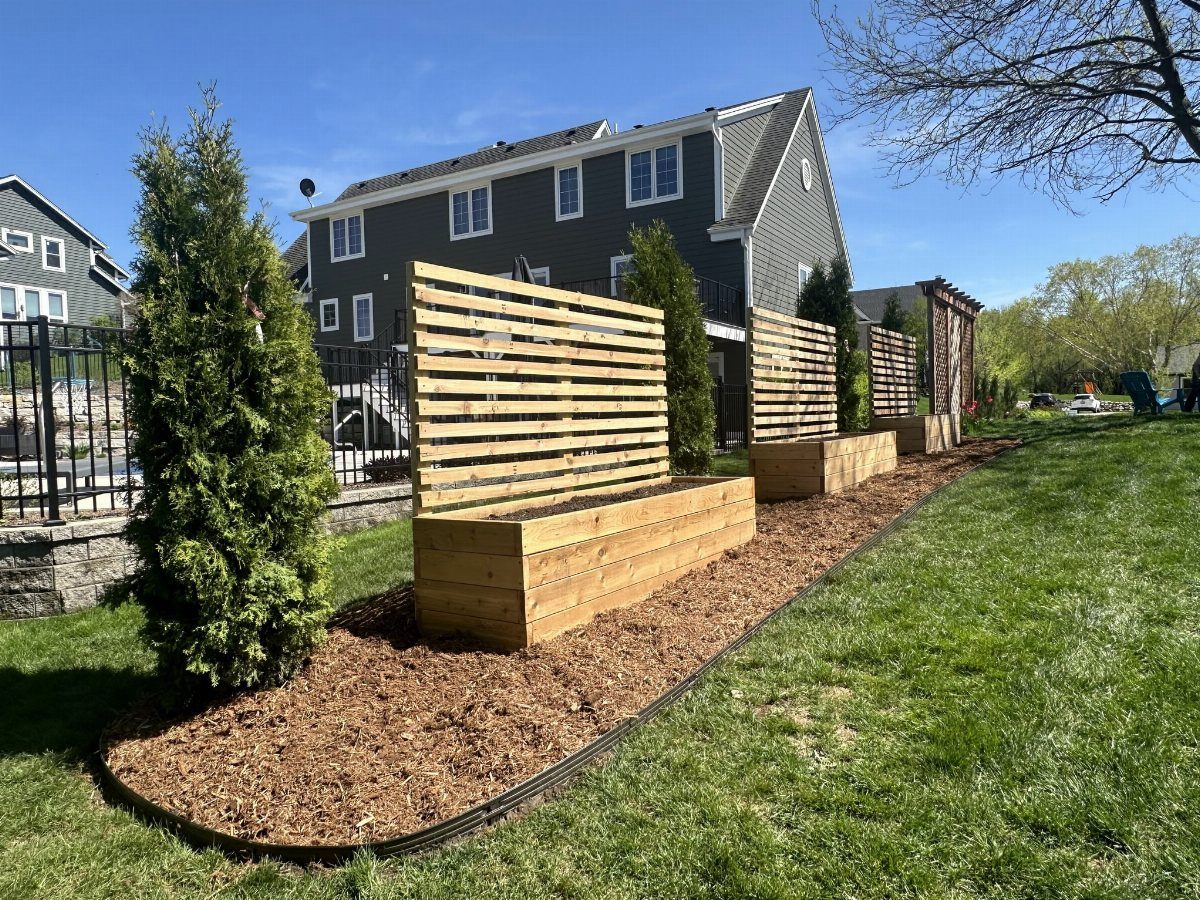
Horizontal slats built into the back of a raised bed give climbing vegetables something to grab without adding a separate trellis later.
I would use cedar or a rot-resistant hardwood for the slats, spacing them close enough that pea tendrils and bean vines can thread through easily.
The whole frame gets built as one unit, which saves a weekend of fussing with ties and stakes. Best for beds against a wall or fence line where the trellis side faces south.
2. Modular Raised Garden Beds
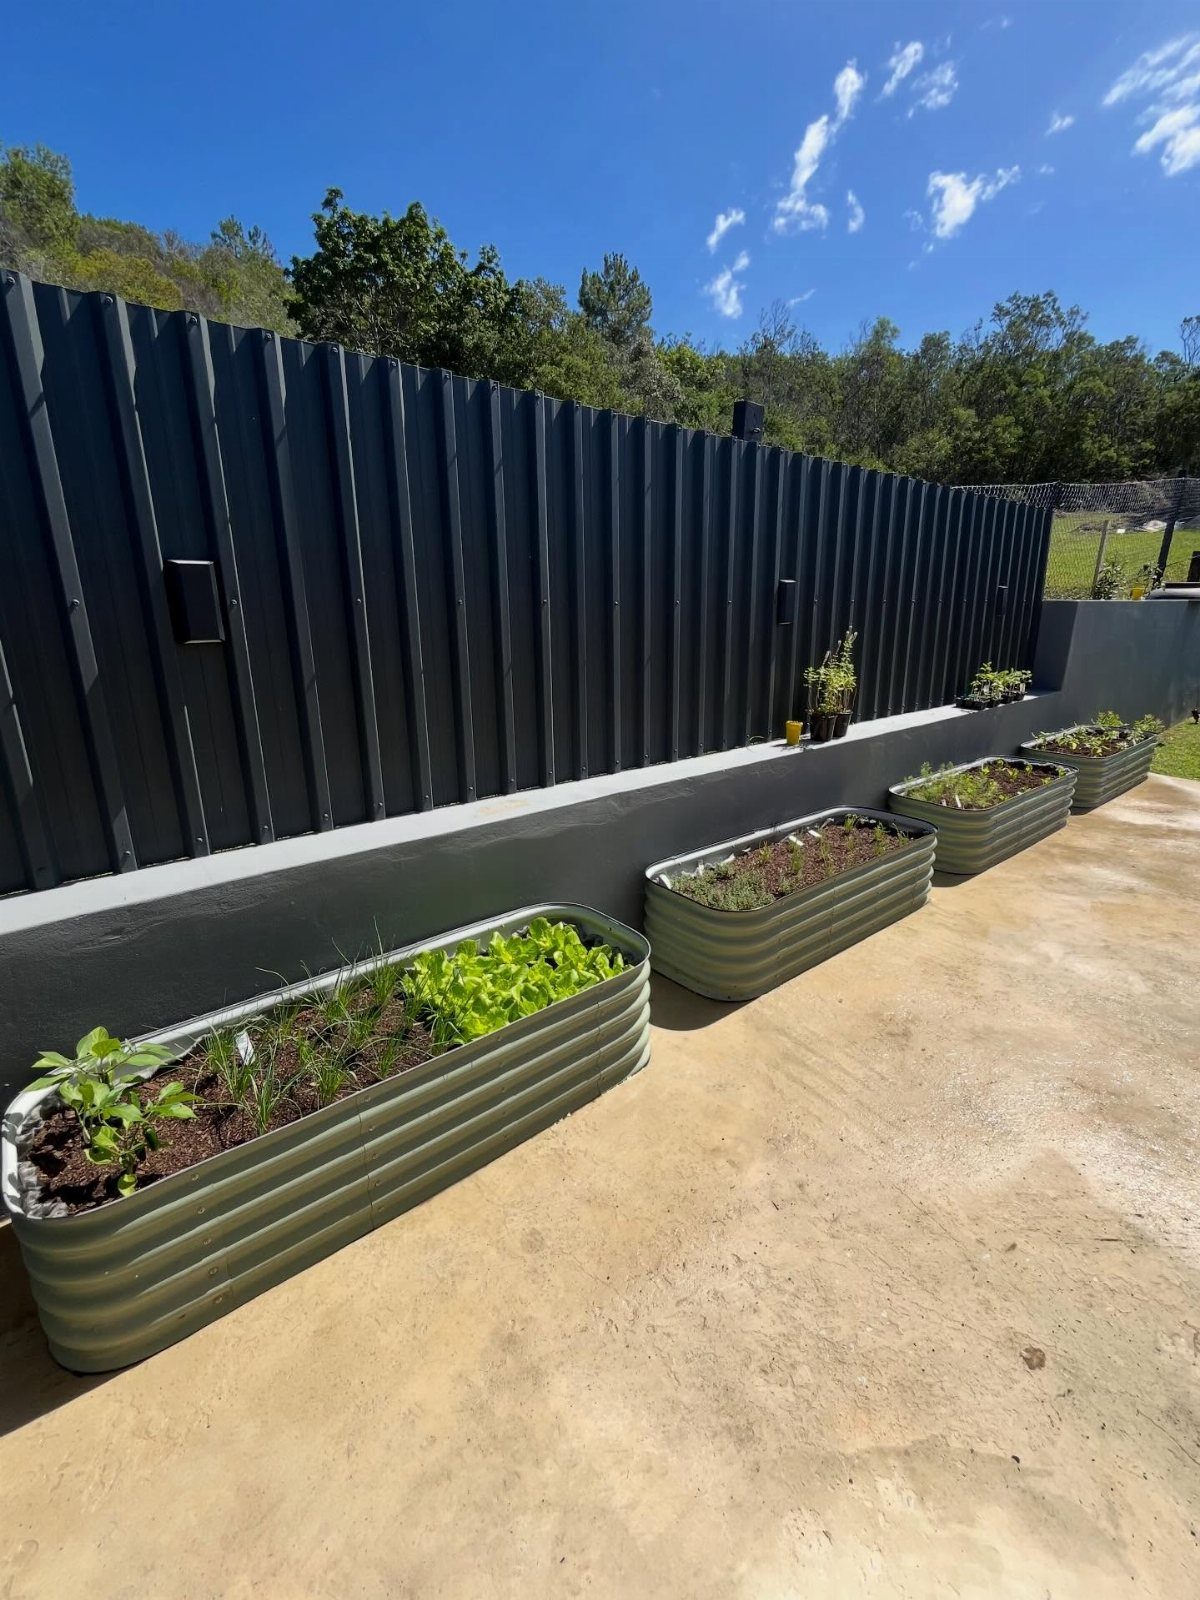
Corrugated metal rounds on a patio let you move the whole garden when the sun shifts or the lease ends. Most kits stack in sections, so you start with 1–2 rings and add height if tomatoes need deeper soil than lettuce.
The metal heats up fast in spring, which I like for early starts, but I would line the inside with landscape fabric to keep roots from baking in July.
Set them on pavers or gravel, not bare soil, so drainage does not pool against the bottom rim.
3. Cedar Wood Fencing
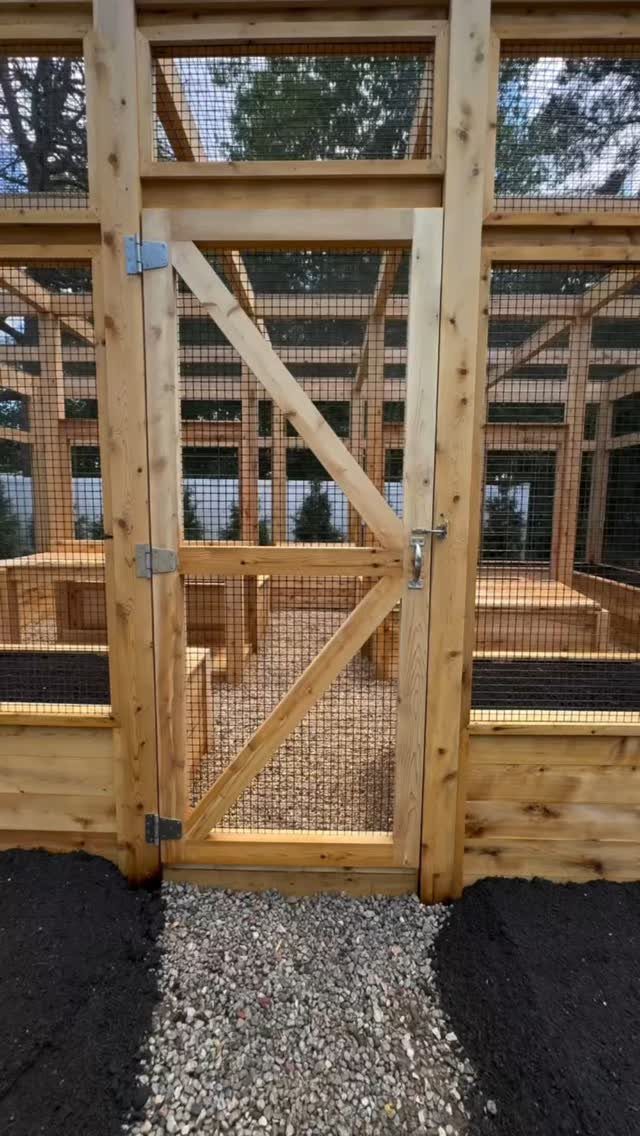
A cedar frame with wire mesh panels gives you a walk-in enclosure that lasts without pressure-treated chemicals leaching near food. Cedar’s natural oils handle damp soil and rot far longer than pine manages untreated.
Hardware cloth keeps rabbits and groundhogs out while the latched door lets you carry a watering can through without crouching. Cost runs higher than spruce, but I would pay it for anything I plan to eat from.
4. Garden Pest Fence
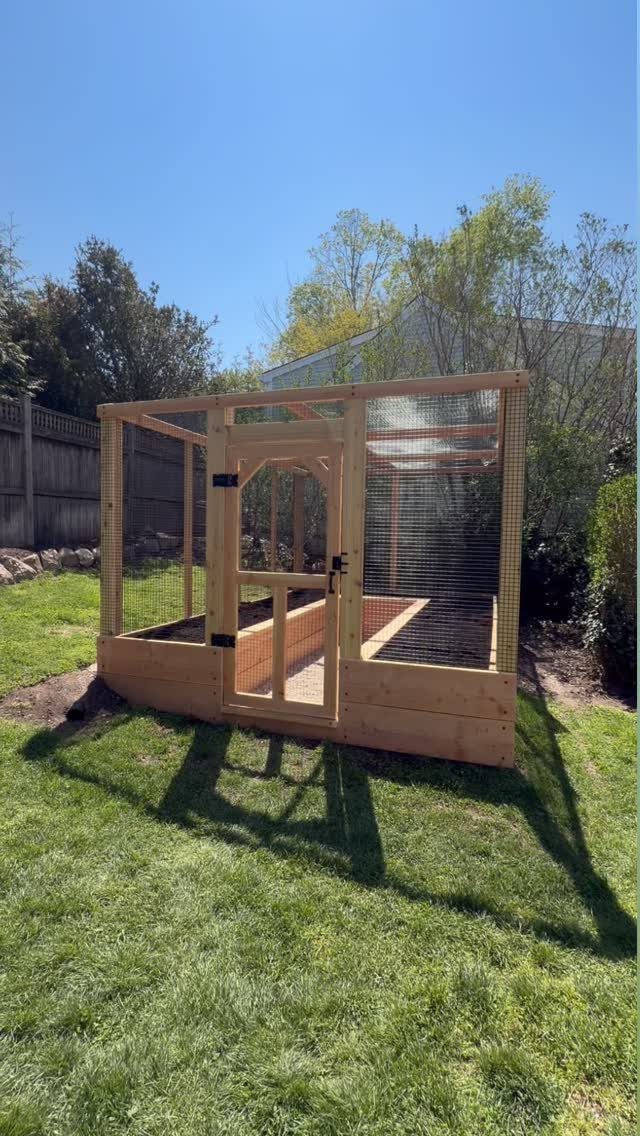
A full cage of wire mesh over and around the bed stops birds, squirrels, and climbing pests from every angle.
I would add a ground skirt of mesh buried outward so nothing tunnels underneath. Height is easy to underestimate; if the roof is low, you will be ducking by August when the tomatoes hit the top.
5. Walk-in Garden Enclosures
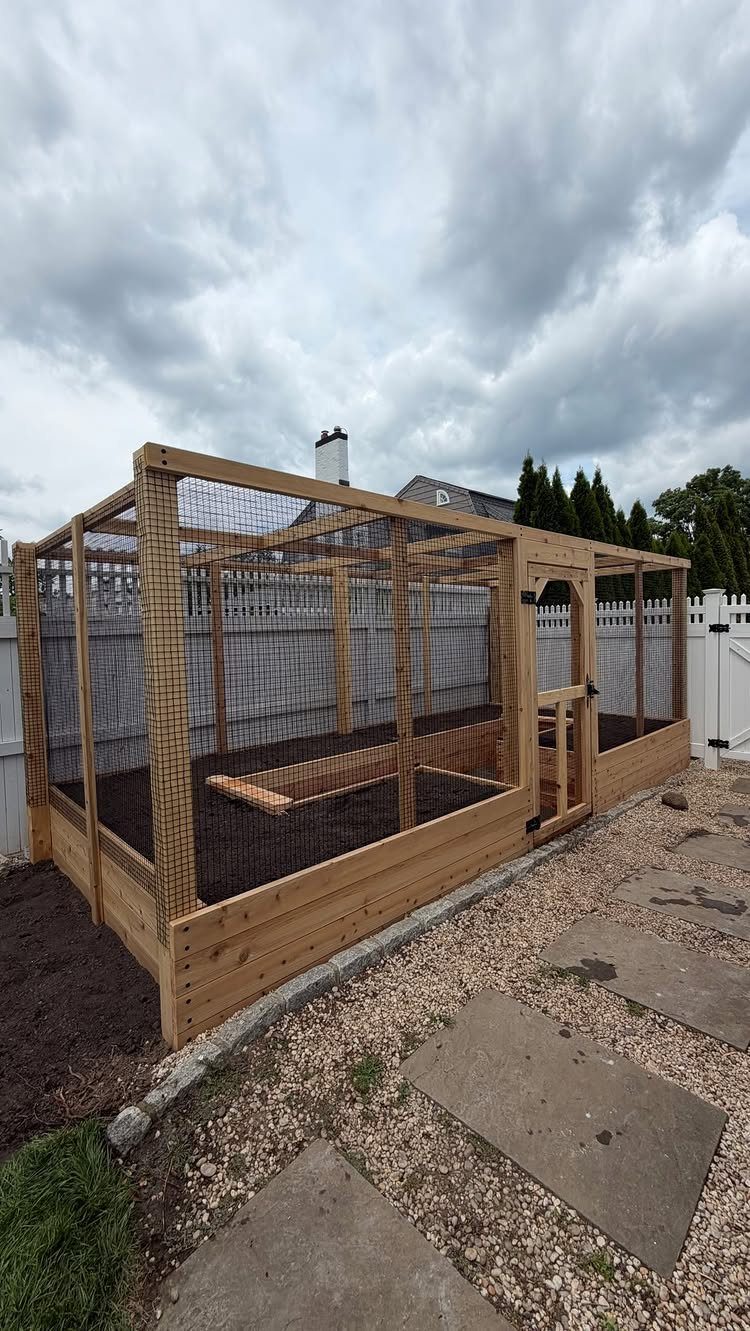
Taller framing with a proper gate changes the whole experience from bending and reaching to standing and walking.
Tall posts with mesh walls and a braced door make the enclosure usable; I would build the door wide enough for a wheelbarrow.
You lose some bed space to the walkway, but you gain the ability to string overhead supports for tomatoes or squash. Best for a permanent backyard plot where you are staying put and the soil underneath is already decent.
6. Elevated Garden Beds
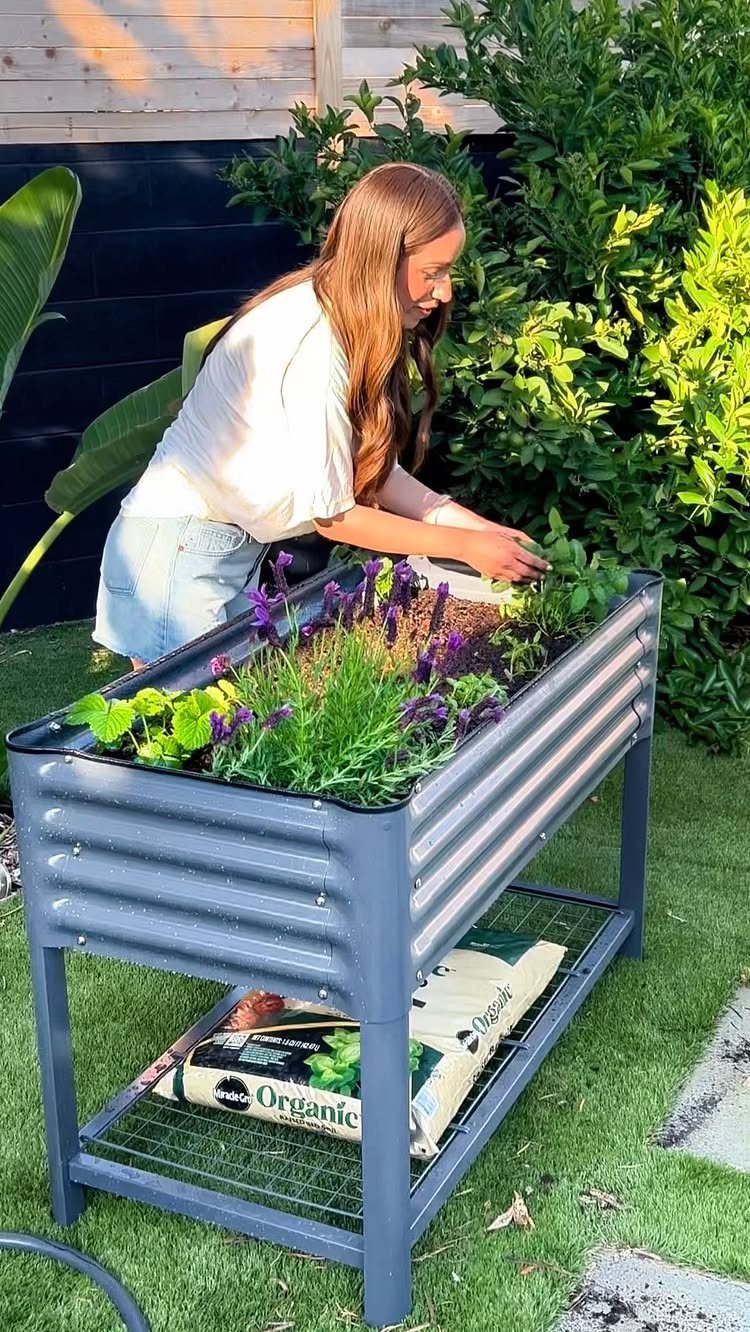
A metal bed on legs puts the soil surface at waist height, which saves my back during planting and keeps rabbits from even thinking about it.
A lower shelf on an elevated bed is dead space for soil bags; I would use it for tools or a watering can instead.
Drainage is the detail that decides whether this works; look for beds with a mesh bottom or plan to drill your own holes so roots do not sit in water.
These dry out faster than ground-level beds, so I would not skip the drip line if you are gone weekends.
7. Wire Mesh Bed Cover
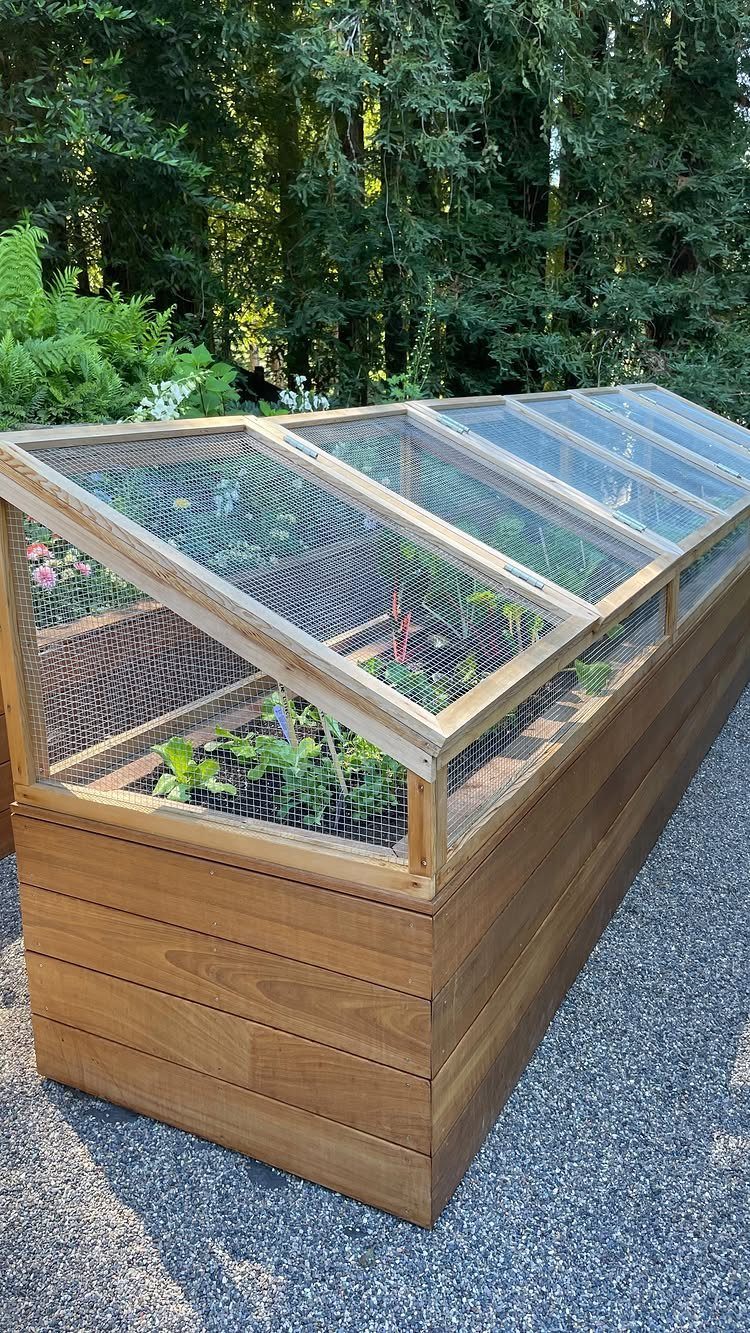
Hinged frames let you lift the whole cover for planting and drop it back before the squirrels notice ripe tomatoes.
I would build the frame from 1×2 cedar, light enough to raise with one hand but stiff enough that mesh does not sag between joints.
Use half-inch hardware cloth, not chicken wire, since raccoon fingers fit through wider gaps. The hinges screw to the back rail of the bed, so the roof tilts open against the fence line or props on a stick.
This suits a single long bed where you want access without removing panels each time. I would add a simple hasp and staple so wind does not flip it during storms.
8. Built-in Wire Mesh Enclosure
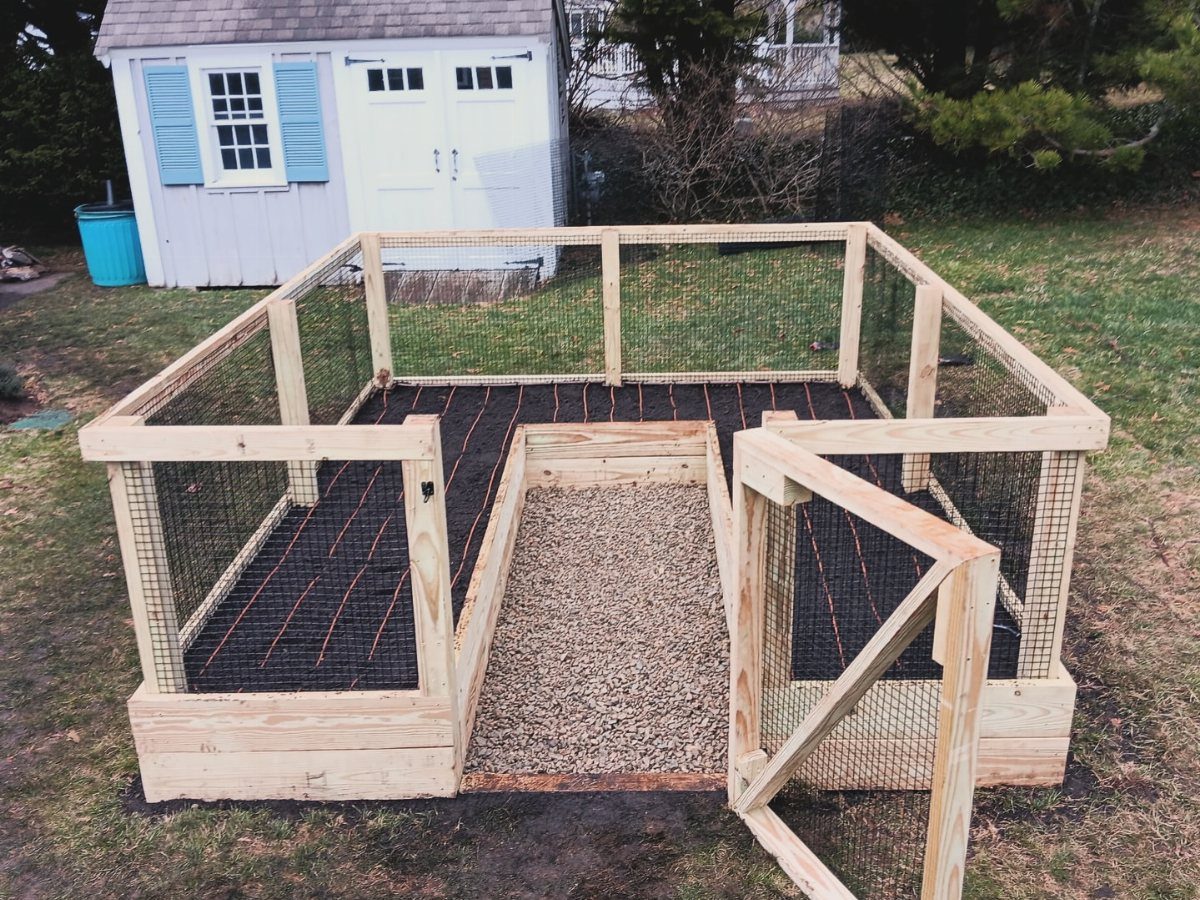
U-shaped beds with mesh built into the framing turn one enclosure into several growing zones with a gravel path down the middle.
The gate in the open side is the detail that makes this usable daily; I would hinge it to swing inward so it does not catch on the yard beyond.
Pressure-treated 4×4 posts carry the mesh panels, set below the gravel line so nothing digs under at the corners.
You lose some soil volume to the walkway, but I would accept that for the ability to reach every plant from standing height.
Best for a permanent backyard spot where the layout is set and the shed sits close enough for tool runs.
Choosing Fencing Materials
I would use cedar for any frame that touches dirt directly, and accept the higher cost as the price of not rebuilding.
Composite boards cost more upfront than wood, but they do not warp or rot, which matters if you are building once and want to forget about maintenance.
Composite boards cost more upfront than cedar, but they do not rot, warp, or need staining, so the math shifts if you are building a permanent plot you intend to keep for the long haul.
Pressure-treated lumber keeps groundhogs out, though I would not use it for the bed itself where roots grow; untreated cedar or redwood is my pick for the frame that holds soil.
I would keep it away from anything I plan to eat and use it only for ornamental beds or flower borders.
Planning Access Points
A gate needs to fit your tools before it fits your body.
Before setting a gate width, I would roll my wheelbarrow or mower up to the opening and watch where the handles and deck edges actually sit, then build in enough clearance that hauling compost does not mean scraping paint.
Hinge placement decides how a gate behaves in daily use. For a walk-in enclosure, this matters more because you will pass through with your hands full.
Removable panels work when a full gate is more structure than you need.
One panel can serve as a gate with a simple hook-and-eye latch or loose-pin hinge; lift it out when you need to run a mower through or store the fence for winter.
I would plan which panel serves this role before I build, because retrofitting means unscrewing hardware that has already settled into place.
Frequently Asked Questions
How to build a garden fence cheaply?
Reclaimed materials and simple designs keep costs down. Loose-pin hinges let one panel lift clean out, giving mower access without building a full gate and letting you stack everything flat come winter.
What to line my raised garden bed with?
Inside metal walls, landscape fabric blocks the worst of July heat so roots don’t bake. For the bottom, cardboard or newspaper suppresses weeds and breaks down into the soil over a season.
For a bed sitting on open soil, I skip a bottom liner; a layer of cardboard kills the grass and lets water drain through fine.





